Tire Balance Bead Kit
Original price was: $20.00.$15.44Current price is: $15.44.
45 in stock
Description
Tire Balance Bead Kit | Vintage Honda Motorcycles
A wheel that is out of balance shakes and takes the shine off an otherwise smooth ride. The old fix was clip-on lead spoke weights and a balancing machine or a truing stand full of assorted weights — assuming the job got done at all. Nuts to that. This kit balances your tires with glass beads that ride inside the tube and do the work for you.
Why You Need This
The beads roll to the light side of the wheel and clump opposite the heavy spot, balancing the whole spinning assembly in real time. Because they reposition themselves every time the wheel rolls, they keep the tire balanced for its entire life — and as the tire wears and its balance shifts, the beads simply follow. If you ever get a flat, you can recover the beads from the tube and reuse them.
How It Works
The beads are glass, and they go in through the valve stem after you remove the valve core. Inside the tire they distribute themselves against the heavy spots of the tire and wheel, evening out the whole rotating assembly. It is dynamic balancing that keeps working as you ride, with no weights hung on the rim.
What’s in the Kit
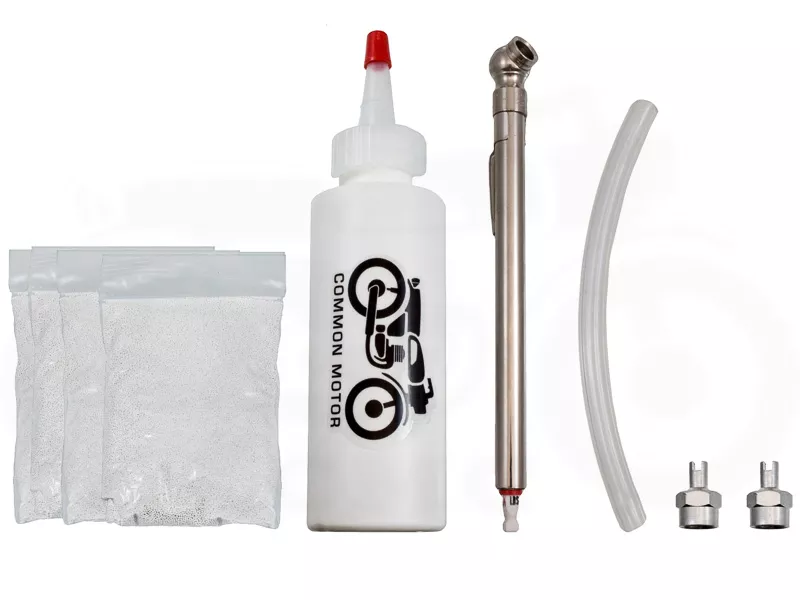
- 4 oz of balance beads (packaged in 1 oz bags)
- Two valve-core tool caps
- Bead installation bottle with applicator tube
- Tire pressure gauge (reads 10–50 psi)
Running low down the road? Reach out and we can get you more beads.
Specifications
| Fits Models | CT90 · CB100 / CL100 · CB125 / CL125 · CB175 / CL175 / SL175 · CB200 / CL200 · CB350 / CL350 / SL350 · CB350F · CB360 / CL360 / CJ360 · CB400F · CB450 / CL450 / CB500T · CB500K / CB550F · CB750 — and any spoke-type wheel running a tube |
|---|---|
| Sold As | Sold as a kit |
Installation
Difficulty: Beginner
- Pull off the old weights first. Remove every clip-on spoke weight and stick-on rim weight before you start — beads and hung weights do not mix.
- Mount the tire, then add the beads last. Get the tube and tire mounted and the wheel back on the bike before you put any beads in.
- Check the valve stem. Some tubes have a restriction inside the stem that blocks the beads — probe it with the dull end of a drill bit. If it is obstructed, you will need a tube that lets the beads pass through.
- Pour them in slowly. With the valve stem up and the tire at the bottom, take the core out and tap the beads in through the applicator a little at a time — too fast and they clog. Rock the wheel back and forth on its axle to help them settle. Start with 1.5 oz per wheel for a standard street tire, and go up to 2 oz for a larger tire like a CL350 Scrambler or a CB550 rear.
Another way in: fill the applicator tube with beads and blow them through with compressed air.
After the beads are in, always point the valve stem up when you check pressure or add air, so the beads do not jam the valve core. They still can occasionally, which is what the core-tool caps are for — so check your pressure where you have an air supply on hand. Our install video walks through the whole process:
Related products
-
- Sale!
- hot sale
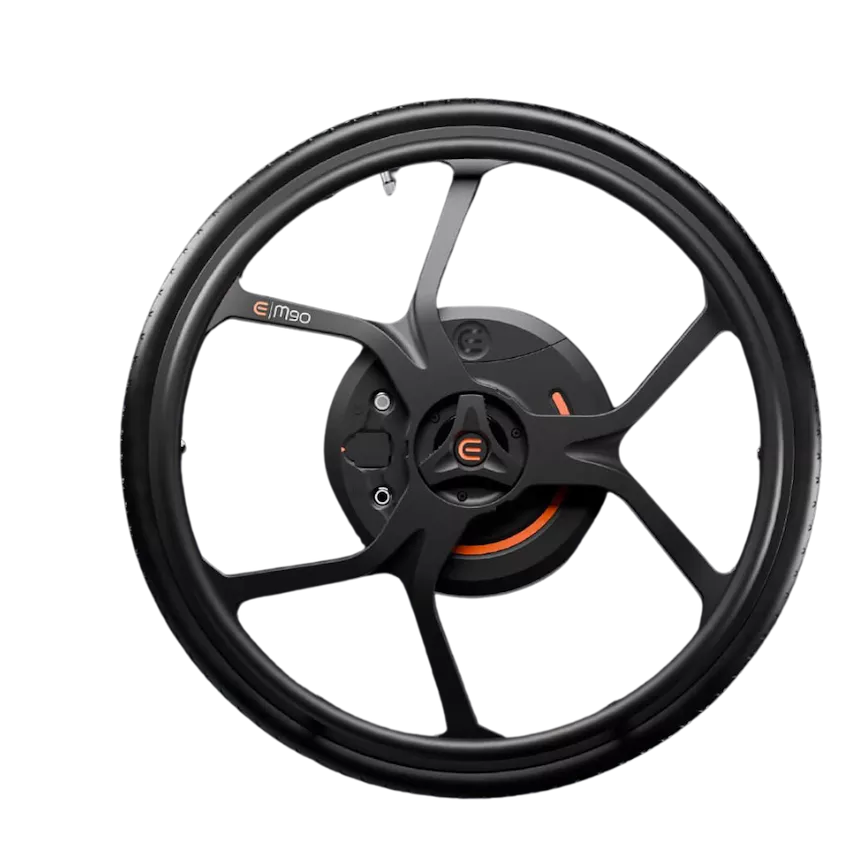
Empulse M90 Power Assist
- Original price was: $3,816.00.$2,767.31Current price is: $2,767.31.
- Add to cart
-
- Sale!
- hot sale
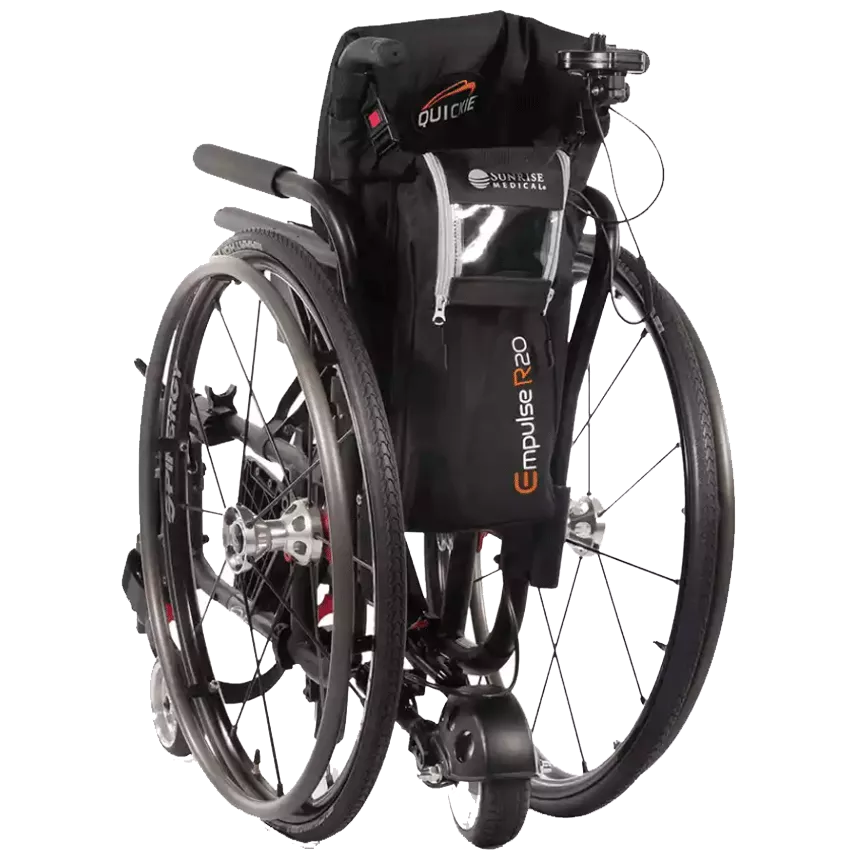
Empulse R20 Power Assist
- Original price was: $1,567.80.$1,164.94Current price is: $1,164.94.
- Add to cart
-
- Sale!
- hot sale
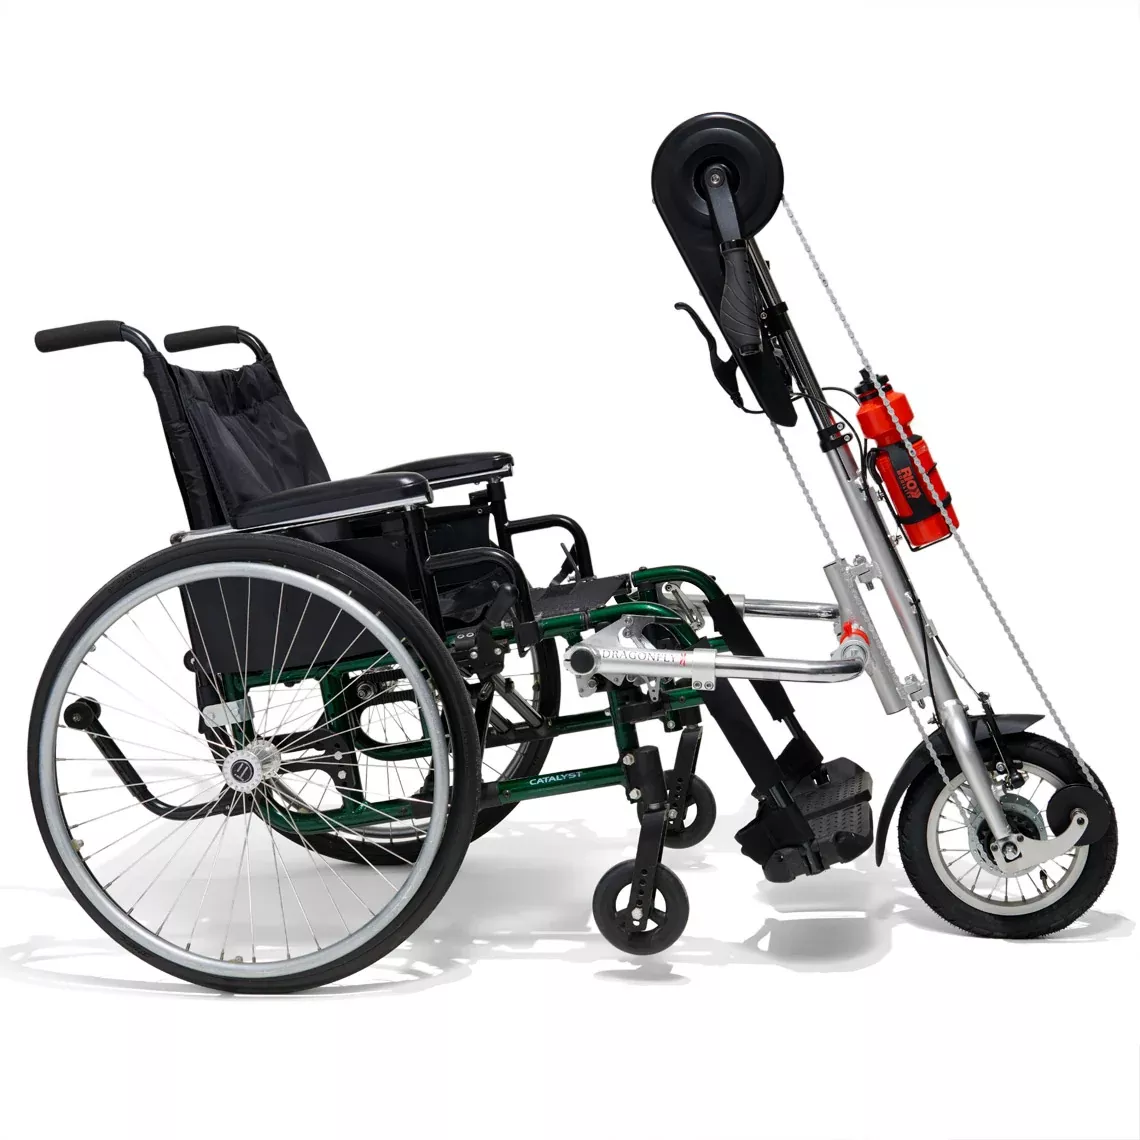
Dragonfly 2.0 – Nexus 8 Manual Handcycle
- Original price was: $1,259.40.$1,004.38Current price is: $1,004.38.
- Add to cart
-
- Sale!
- hot sale
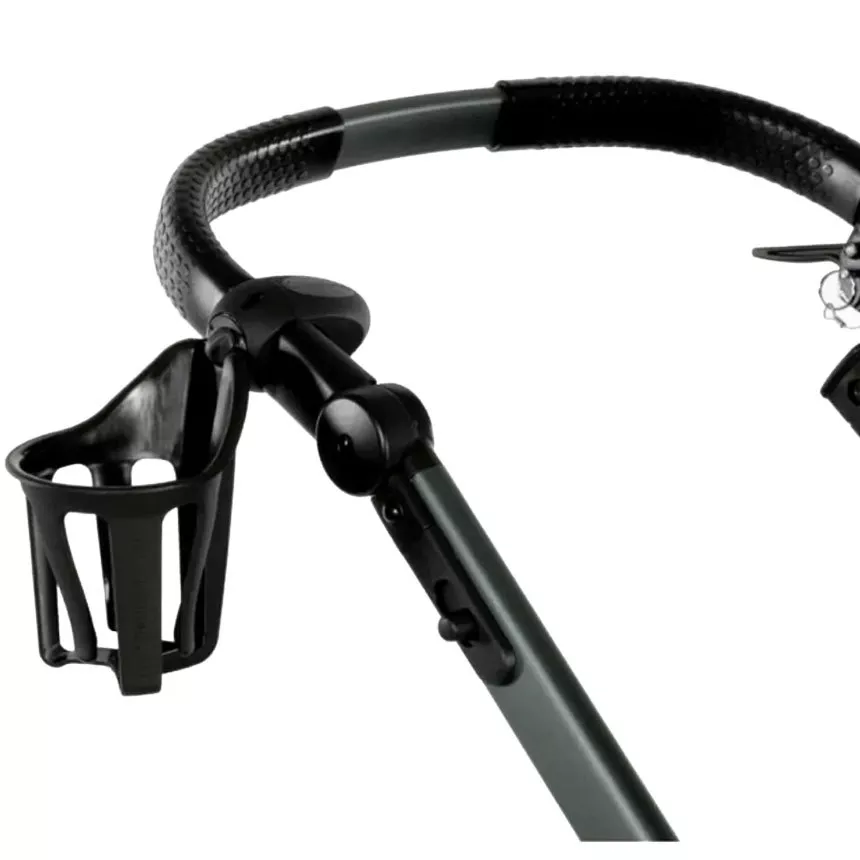
Cup Holder Universal Mount Kit
- Original price was: $28.80.$21.70Current price is: $21.70.
- Add to cart
-
- Sale!
- hot sale
Yadea Elite Prime & KS Series AC Charging Cord (OEM)
- Original price was: $3.20.$1.80Current price is: $1.80.
- Add to cart
-
- Sale!
- hot sale
Inner tube for 12.5″ tire (Gen 2.0)
- Original price was: $12.00.$6.78Current price is: $6.78.
- Add to cart
-
- Sale!
- hot sale
Yadea KS3 & KS3 Lite Front Fender – Yellow OEM Replacement
- Original price was: $4.00.$3.14Current price is: $3.14.
- Add to cart
-
- Sale!
- hot sale
Yadea KS3 & KS3 Lite Front Fender – White OEM Replacement
- Original price was: $4.00.$2.47Current price is: $2.47.
- Add to cart