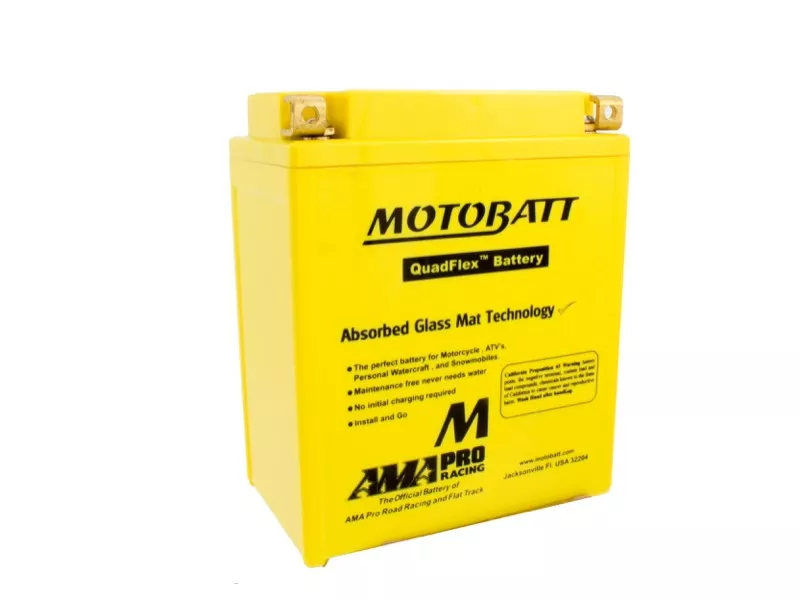
AGM Motorcycle Battery
Original price was: $80.00.$60.53Current price is: $60.53.
26 in stock
Description
Replacement AGM Battery for Vintage Honda CB175 / CB200 / CB350 / CB360 / CB450 / CB500T / CB550 / CB750
A sealed AGM (Absorbed Glass Mat) replacement motorcycle battery that fits the factory battery box on all Honda CB175, CL175, SL175, CB200, CL200, CB350, CL350, SL350, CB360, CL360, CJ360, CB450, CL450, CB500T, CB500K, CB550K, CB550F, CB750K, CB750F, and CB750A motorcycles. Comes pre-charged and ready to install straight out of the box.
Why You Need This
The battery is the heart of the electrical system on every vintage Honda motorcycle. Lead acid batteries are the cheapest option, but they require activation with sulfuric acid and an initial charge before use, and their lifespan can be as short as six weeks if not properly maintained. AGM technology replaces the liquid acid with an absorbed glass mat electrolyte that is sealed, maintenance-free, and holds its charge significantly longer while the bike is parked.
This MotoBatt AGM battery features QuadFlex terminal design with four terminal posts (two positive, two negative) so you can configure the connections to match any wiring layout on your Honda. The terminals are brass with stainless steel hardware to resist corrosion over time. With proper maintenance using an AGM-compatible charger, expect 3 to 4 years of reliable service.
Specifications
| Type | AGM (Absorbed Glass Mat) — sealed, maintenance-free |
|---|---|
| Voltage | 12V |
| Condition | Pre-charged and ready to install |
| Terminals | QuadFlex — 4 brass posts (2 positive, 2 negative) with stainless steel hardware |
| Warranty | 90 days as-is, or 24 months with a MotoBatt charger purchase |
| Replaces OEM | 31500-460-672AH, 31500-283-000, 31500-292-670, 31500-310-671, 31500-310-672, 98203-22250, 98203-23250, 31500-425-672AH, 31500-425-672, 98202-23250, 31500-235-677AH, 31500-222-000, 31500-235-000, 31500-235-677, 31500-307-671, 98203-21240 |
| Sold As | Individual — pre-charged and ready to use |
Important Notes
- AGM chargers only: Old-style lead acid “trickle” chargers charge at different rates than AGM batteries require. Using one can damage your AGM battery. Use an AGM-specific charger to maintain battery health.
- Not a power generator: A battery is a reservoir of electrons — think of it like a fuel tank. It depletes and fills up. The charging system on the bike helps fill it while riding, but a charger is needed to keep it topped off during storage (1 month or longer).
- Charging system matters: The vintage Honda charging systems are weak by modern standards. A degraded voltage regulator or rectifier will not properly charge any battery. Upgrading your charging components is the single best electrical upgrade you can make alongside a new battery.
- Why not lithium-ion? Lithium-ion batteries require very specific charging voltage windows that the vintage Honda charging systems may not be able to hit consistently. AGM works reliably with the stock and upgraded charging systems on all supported models.
Model-Specific Notes
- CB175 / CL175 / SL175 / CB200 / CL200 / CB350 / CL350 / SL350 / CB360 / CL360 / CJ360 / CB450 / CL450 / CB500T (twins): These bikes use a single-phase permanent magnet charging system. Upgrade with the combo Regulator / Rectifier (CMC 3023) for reliable charging output.
- CB500K / CB550K / CB550F (fours): These bikes use a three-phase charging system that requires a different Regulator / Rectifier (CMC 3518).
- CB750 K0–K5 / CB750F / CB750K / CB750A: Uses the same battery size. The CB750 three-phase charging system is separate from the twin-cylinder system.
- Factory battery spec: The Honda factory service manuals specify battery type 12N12A-4A-1 (Yuasa), 12V, 12AH. This AGM battery is a direct replacement.
Installation
Difficulty: Beginner
Tools needed: Wire brush, 10mm wrench
- Clean the battery terminals on your bike with a wire brush to remove any corrosion.
- Configure the QuadFlex terminal posts to match your wiring layout — choose the positive and negative posts that line up with your cables.
- Connect the positive terminal (red) first, then the negative (black).
- When removing for service, disconnect in reverse order — negative first, then positive. This order prevents short circuits.
Related products
-
- Sale!
- hot sale
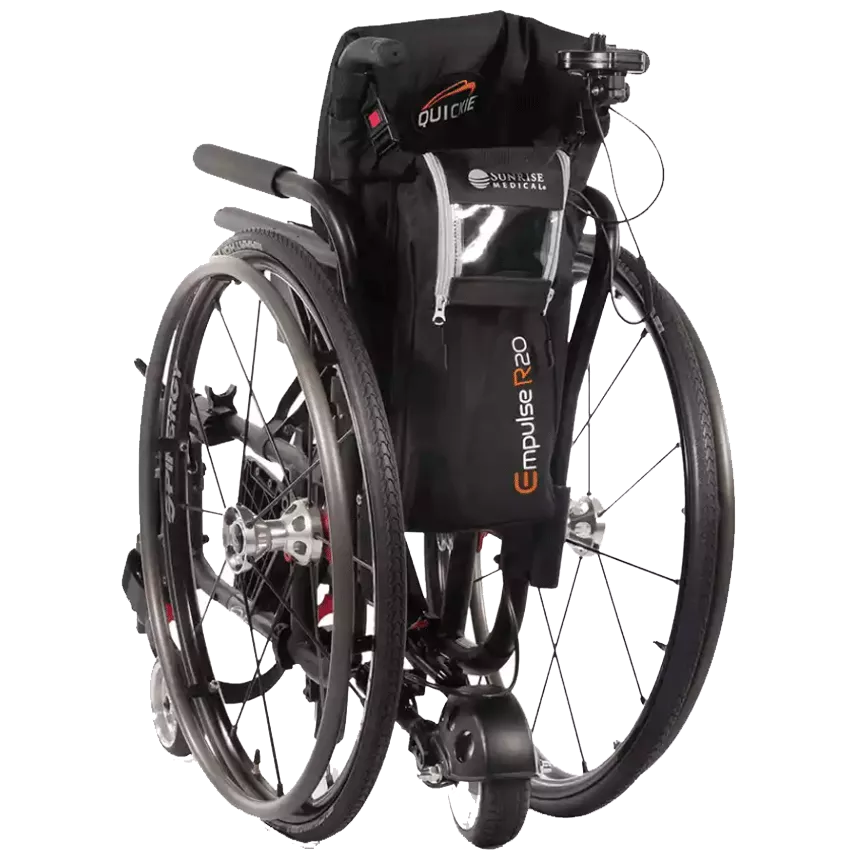
Empulse R20 Power Assist
- Original price was: $1,567.80.$1,164.94Current price is: $1,164.94.
- Add to cart
-
- Sale!
- hot sale
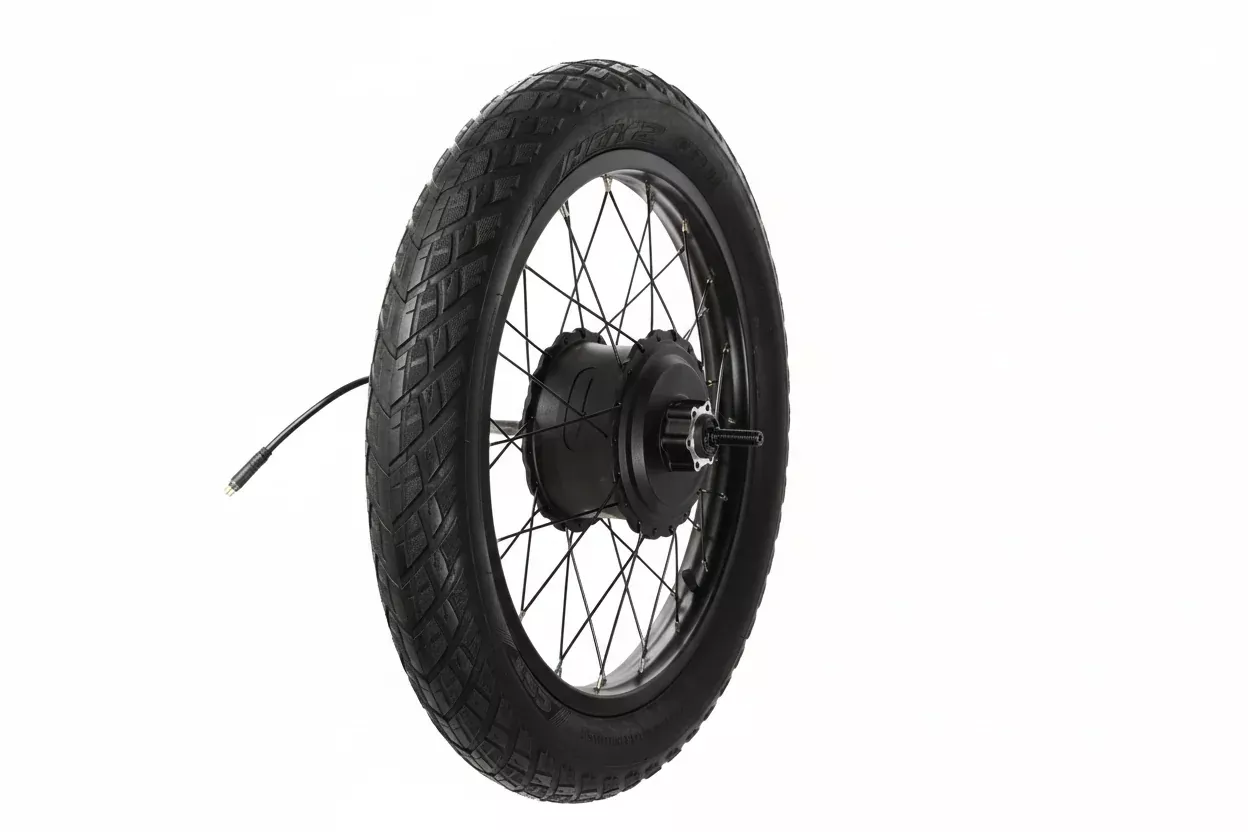
YADEA COCOA REAR WHEEL ASSEMBLY
- Original price was: $199.20.$102.45Current price is: $102.45.
- Add to cart
-
- Sale!
- hot sale
Inner tube for 12.5″ tire (Gen 2.0)
- Original price was: $12.00.$6.78Current price is: $6.78.
- Add to cart
-
- Sale!
- hot sale
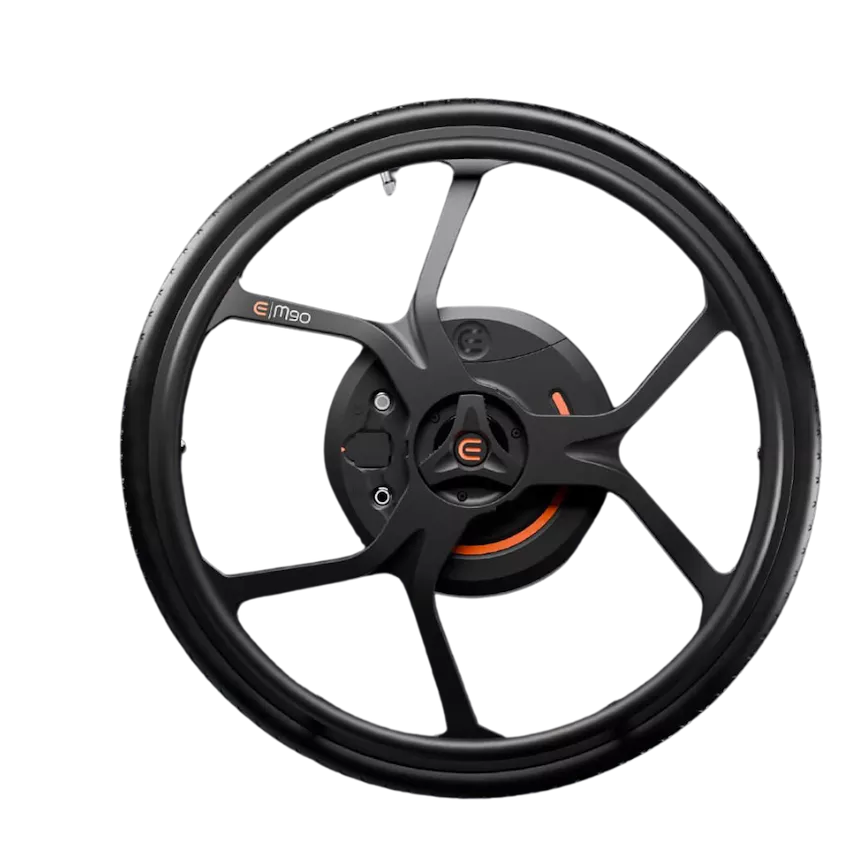
Empulse M90 Power Assist
- Original price was: $3,816.00.$2,767.31Current price is: $2,767.31.
- Add to cart
-
- Sale!
- hot sale
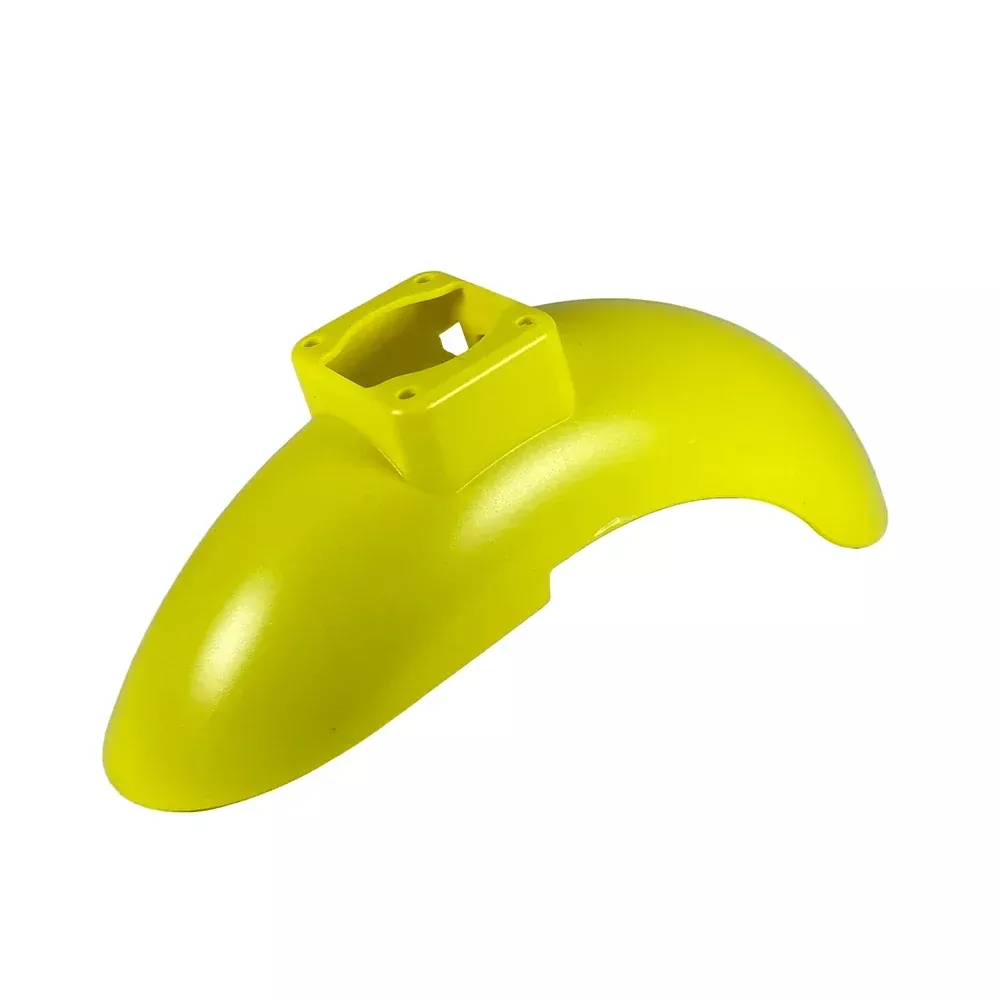
Yadea KS3 & KS3 Lite Front Fender – Yellow OEM Replacement
- Original price was: $4.00.$3.14Current price is: $3.14.
- Add to cart
-
- Sale!
- hot sale
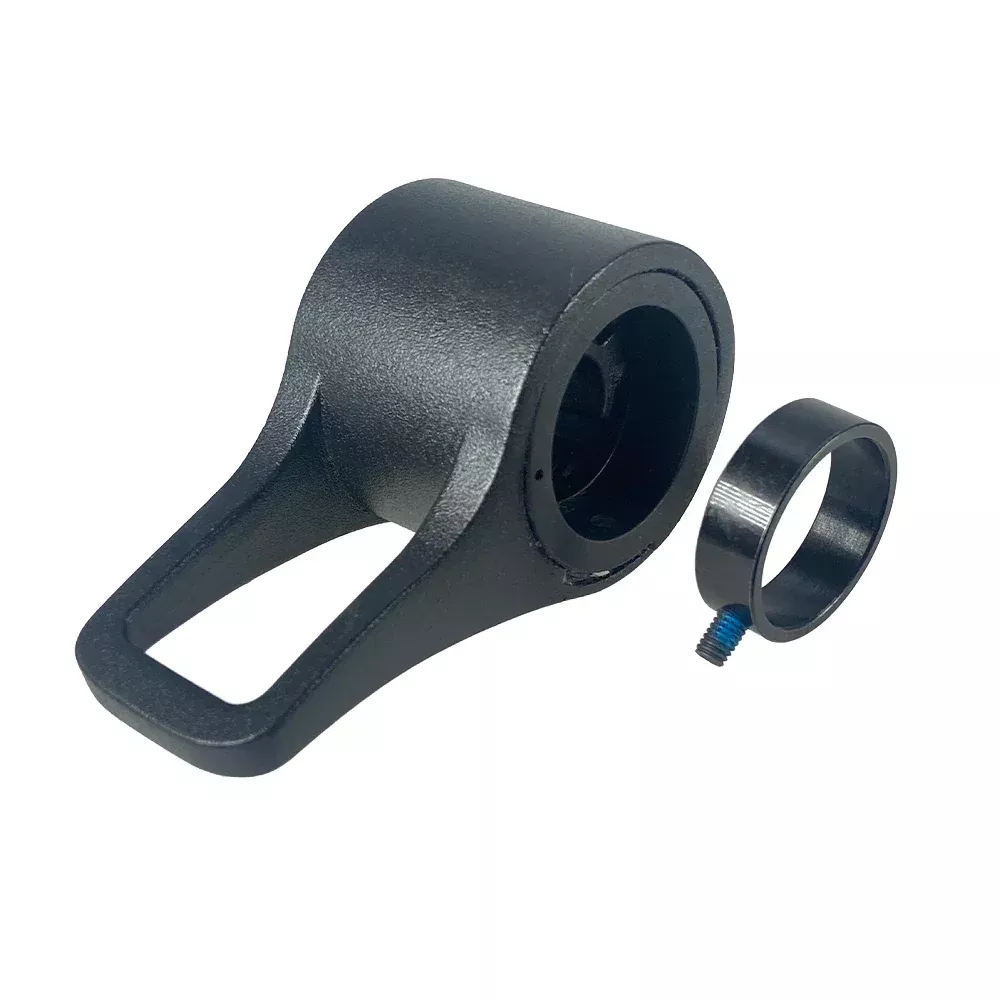
Yadea KS5/KS5 Pro Folding Latch Buckle – Genuine OEM
- Original price was: $6.40.$4.96Current price is: $4.96.
- Add to cart
-
- Sale!
- hot sale
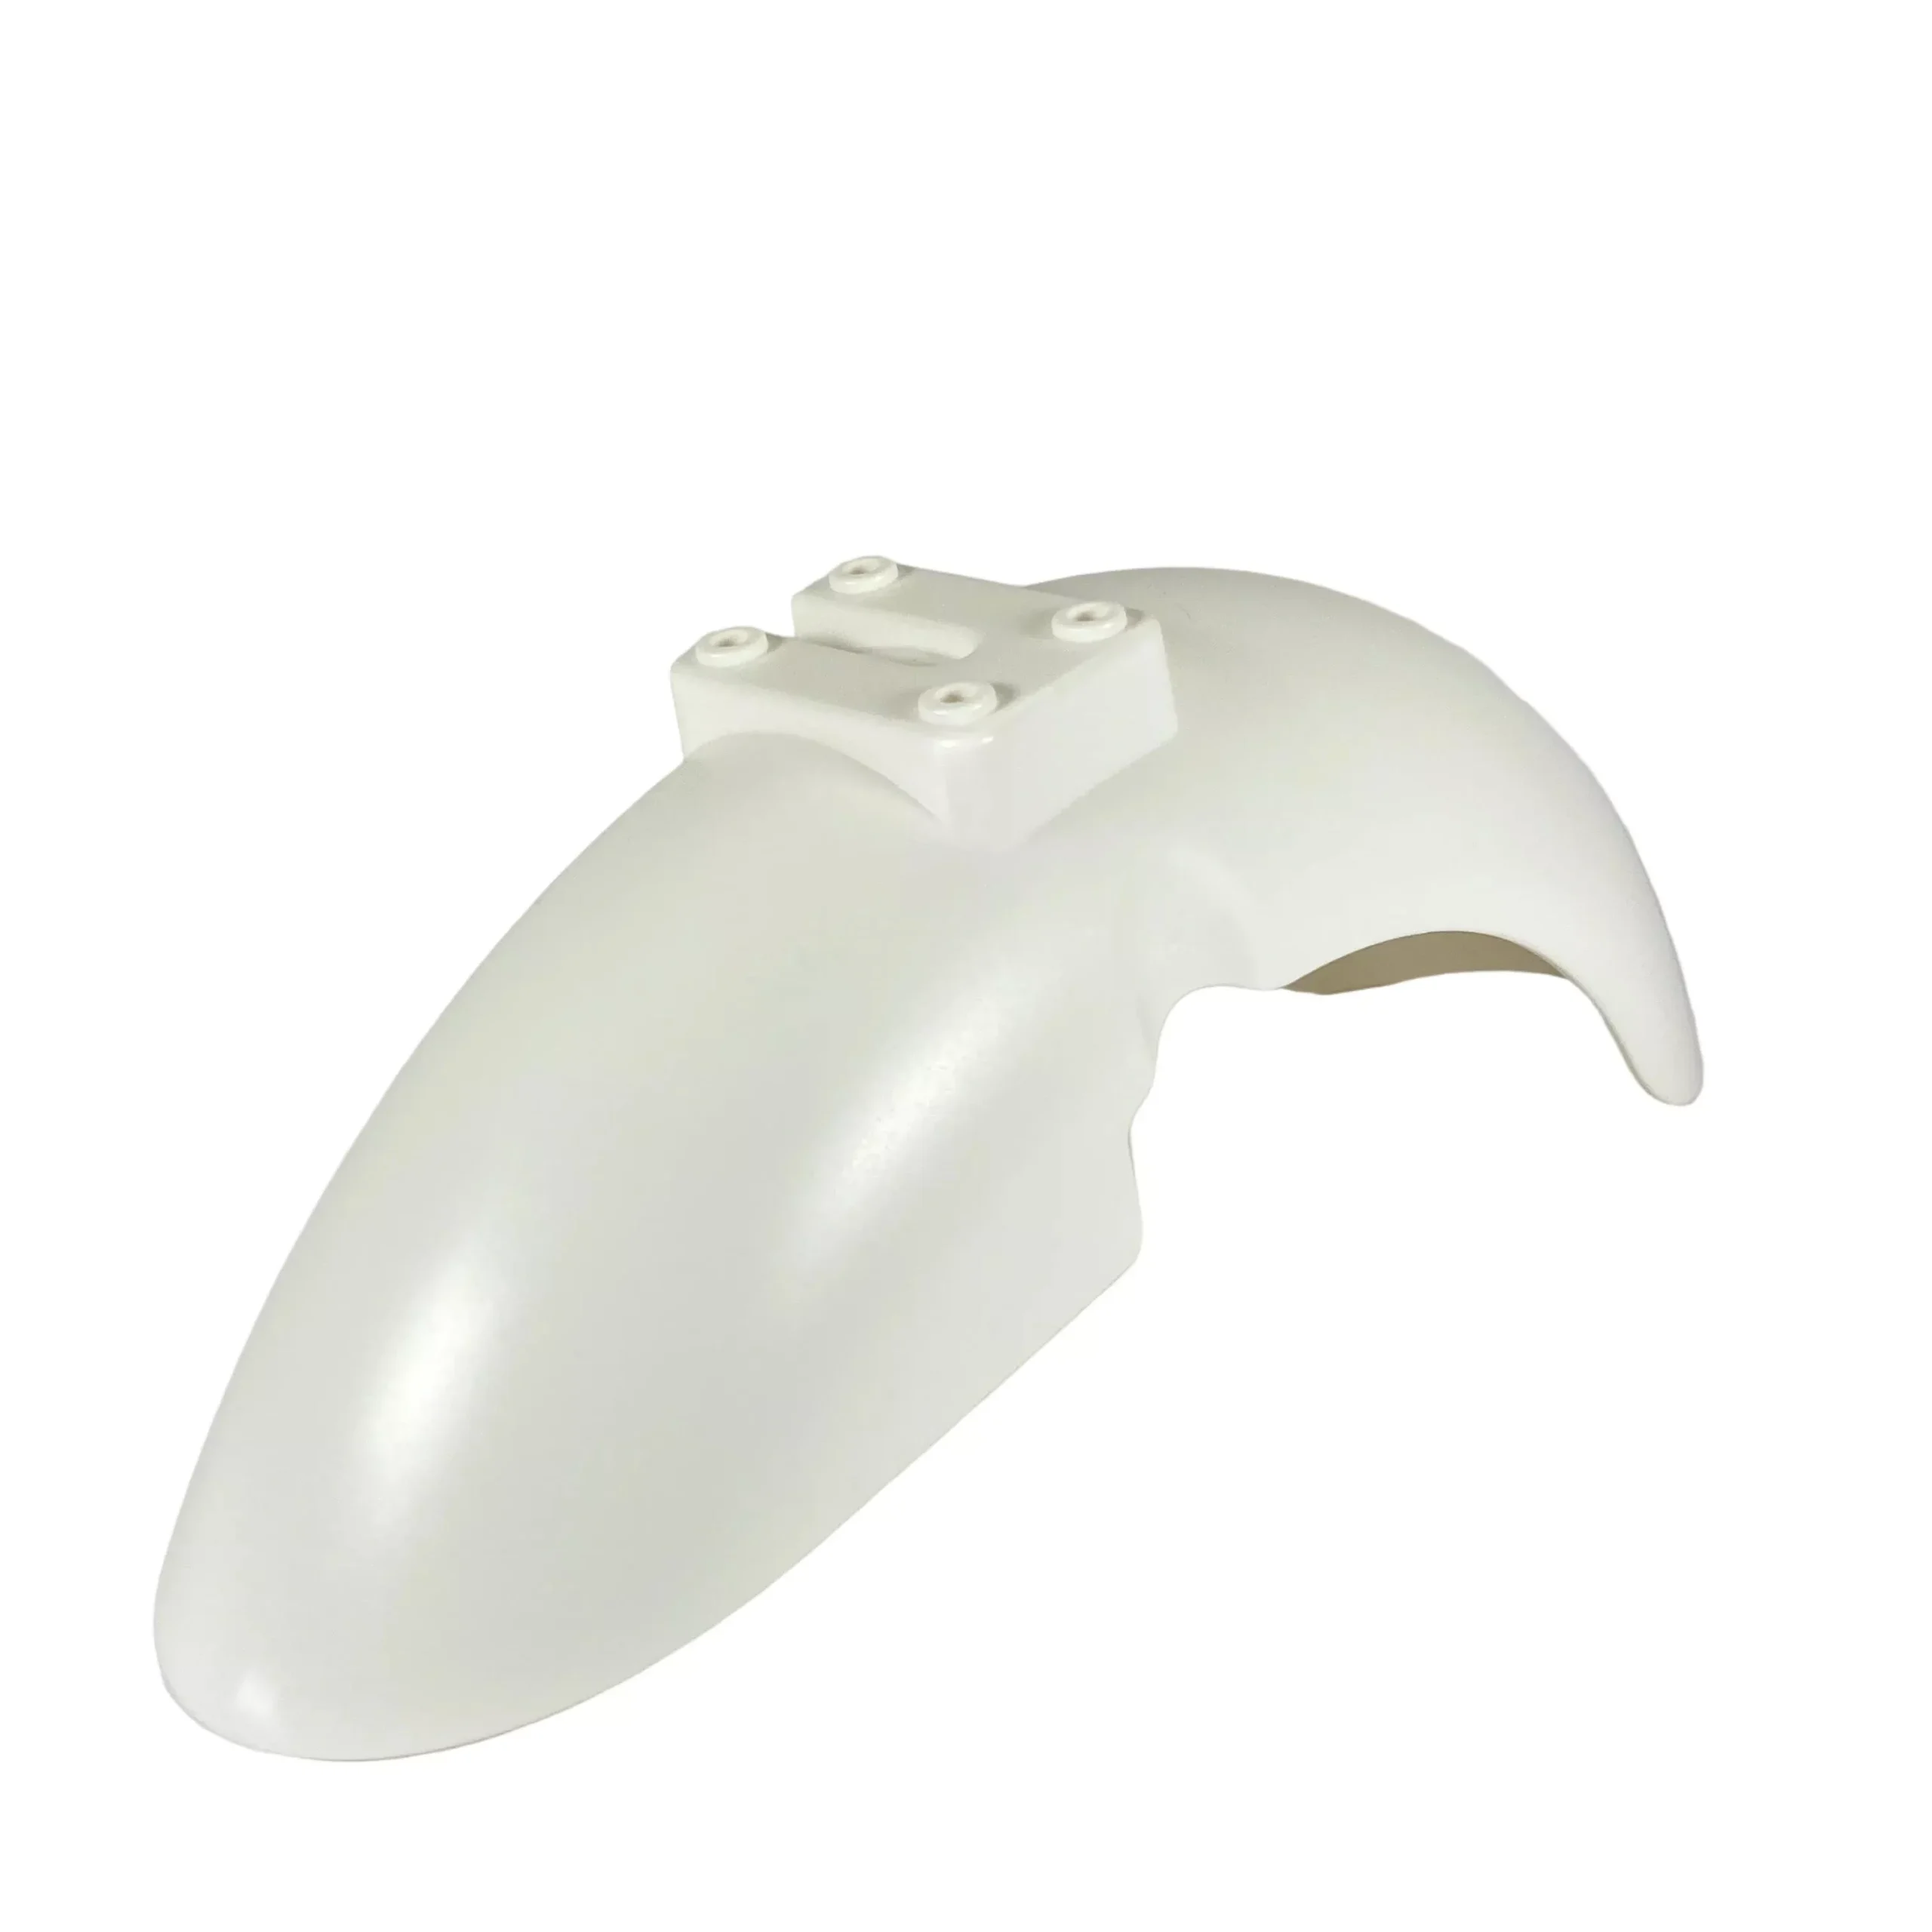
Yadea KS3 & KS3 Lite Front Fender – White OEM Replacement
- Original price was: $4.00.$2.47Current price is: $2.47.
- Add to cart
-
- Sale!
- hot sale
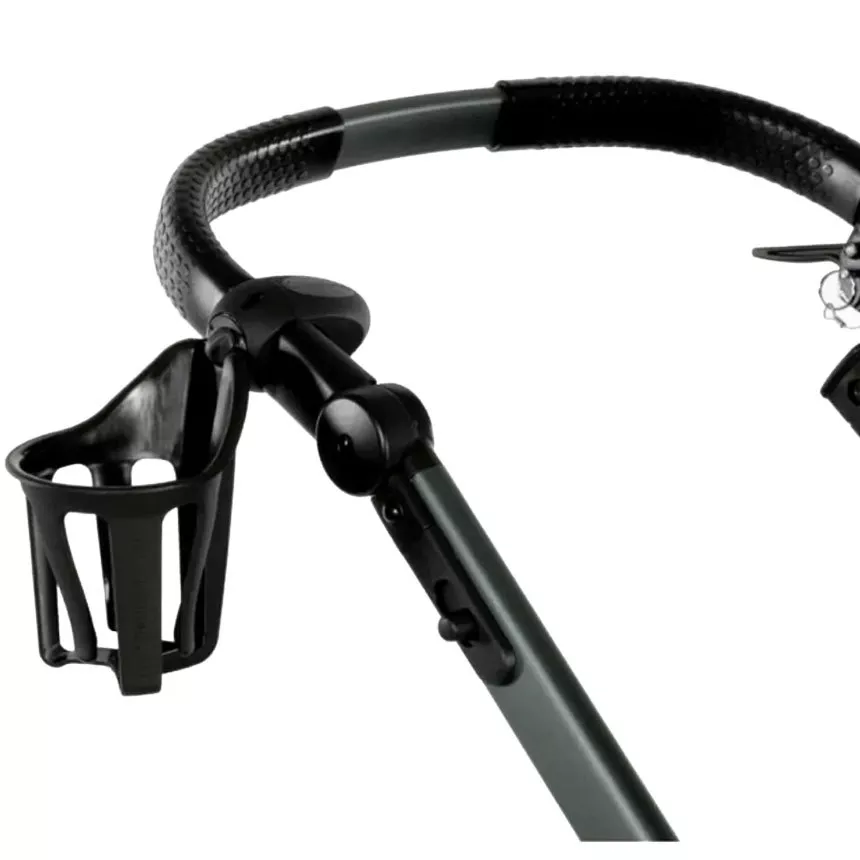
Cup Holder Universal Mount Kit
- Original price was: $28.80.$21.70Current price is: $21.70.
- Add to cart