Carburetor Rebuild Kit | Honda CB175 / CL175 / CB200
Original price was: $24.00.$17.78Current price is: $17.78.
83 in stock
Description
Carburetor Rebuild Kit | Honda CB175 / CL175 / SL175 / CB200 / CL200
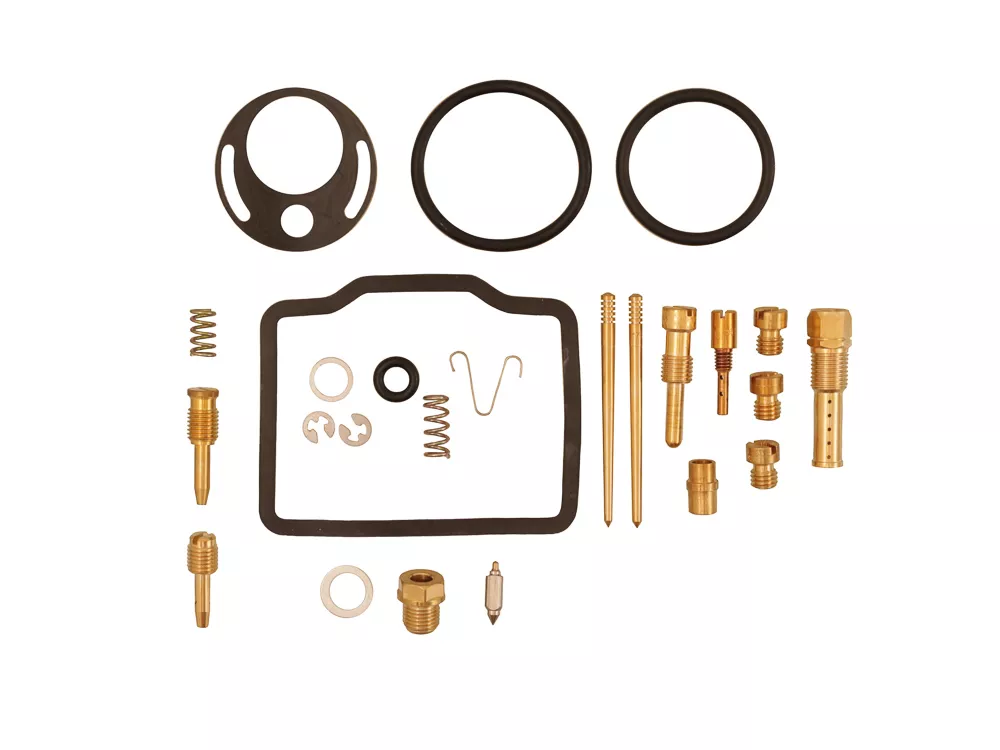
Gummy varnish, clogged jets, corroded brass—if your Keihin slide carburetors aren’t running right, they need more than a cleaning. This is the most comprehensive rebuild kit available for the Honda 175/200 family. One kit covers both the CB175 and CB200 carburetors, including parts most kits skip: the emulsifier tube, discharge nozzle, and both styles of idle mixture screw.
Why You Need This
The Keihin slide carburetors on the 175 and 200 family are some of the simpler carburetors Honda used during production—but they still don’t run right when varnish has clogged the passages and brass parts have corroded. Our rebuild kits are the result of extensive research and development. It took a long time to get this kit configured correctly because of the errors and variances from Honda over the years. The result is one single kit that covers both the 175 and 200 carburetors—they are almost identical, but some internal parts are slightly different, and the kit includes both.
This is by far the most accurate carburetor rebuild kit for the 175s and 200s ever produced. It includes everything you need to completely restore a single carburetor to factory condition.
Specifications
| Spec | Detail |
|---|---|
| Replaces OEM Part Numbers | 99114-246-0880, 99114-246-0900, 99114-246-0920, 99114-246-0950, 16012-306-004, 16016-046-004, 16139-028-004, 16011-355-004, 16011-240-004, 16010-304-305, 16010-304-004, 16012-307-004, 16012-313-004, 16139-304-004, 16012-354-004, 16165-354-004, 99124-292-0350 |
| Carburetor Type | Keihin slide-type (factory original) |
| Fits Models | CB175 K3–K7 (1969–1973), CL175 K3–K7 (1969–1973), SL175 K0–K1 (1970–1972), CB200 (1973–1976), CB200T (1974–1976), CL200 (1974) |
| Sold As | Individual kit (one per carburetor — you need TWO for both carbs) |
Note: Sold individually—you need TWO kits to service both carburetors on your bike.
Model-Specific Notes
- Main jet sizes vary by year: The kit includes 90, 92, and 95 main jets. Check your original main jet size and reuse it if none of the included sizes match your setup. Jetting may also vary if you’ve changed your exhaust or intake.
- CB175 vs CB200 slide needles: The kit includes two different slide needles—one for the 175 and one for the 200. They are labeled with the model number on top. Use the correct one for your bike.
- Early vs late drain plugs: Earlier carbs use a small-head drain screw with a crush washer. Later carbs use a large-head screw with an O-ring. Both seals are included in the kit.
What’s in the Kit
- Main jets: 90, 92, 95 (3 sizes—use the one matching your model year)
- Pilot/slow speed jet: 35
- Float needle and seat with sealing washer & retaining screw
- Emulsifier tube
- Main discharge nozzle
- Main jet needle (2 sizes—one for 175, one for 200, labeled with model number) with retaining clip
- Idle air bleed/mixture screw—both solid and hollow styles included, with spring
- Slide stop (idle speed) screw with spring and position indication marks
- Float bowl gasket
- Slide cover to carb body gasket
- Carb to manifold O-ring
- Manifold to cylinder head O-ring
- Float needle seat washer
- Drain plug seal—both early-style (crush washer) and late-style (O-ring) included
Installation
Difficulty: Intermediate
Tools needed: 7mm wrench, flathead screwdriver, punch, fine sandpaper or Scotch-Brite, carburetor cleaner, light oil
- Disassemble and thoroughly clean the carburetor body. Every passage and jet hole must be flushed and cleared with wire or guitar string. If you think it’s clean enough, it’s probably not—keep going until it’s spotless.
- Install the new discharge nozzle first. Sand the sharp edge with fine sandpaper before inserting—this prevents burrs from catching in the casting. A drop of oil helps. Tap gently with a punch until flush.
- Thread in the new emulsifier tube (7mm wrench, snug only—not tight), then the pilot jet (35) and your chosen main jet.
- Install the new float needle seat with its sealing washer (8mm socket, snug).
- Set the float: recommended float height is 21mm. Measure with the carburetor at a 45-degree angle so the float rests against the needle pin without compressing the spring.
- Reassemble the float bowl with the new gasket. Check the overflow tube in the bowl for micro cracks—if cracked or loose, the carb will constantly leak.
- Install the slide with the correct needle (175 or 200, check the label). The cutaway side of the slide faces the air cleaner. The flat side faces the engine. Slides are left/right specific—do not swap them.
We have a complete 4-part video series covering disassembly, rebuild, and synchronization of these exact carburetors.
Related products
-
- Sale!
- hot sale
Inner tube for 12.5″ tire (Gen 2.0)
- Original price was: $12.00.$6.78Current price is: $6.78.
- Add to cart
-
- Sale!
- hot sale
Knobby tire 12.5″ (Gen 2.0)
- Original price was: $28.00.$18.12Current price is: $18.12.
- Add to cart
-
- Sale!
- hot sale
Dragonfly 2.0 – Nexus 8 Manual Handcycle
- Original price was: $1,259.40.$1,004.38Current price is: $1,004.38.
- Add to cart
-
- Sale!
- hot sale
Yadea Trooper 01 Chain Tensioner – Genuine OEM
- Original price was: $23.20.$14.92Current price is: $14.92.
- Add to cart
-
- Sale!
- hot sale
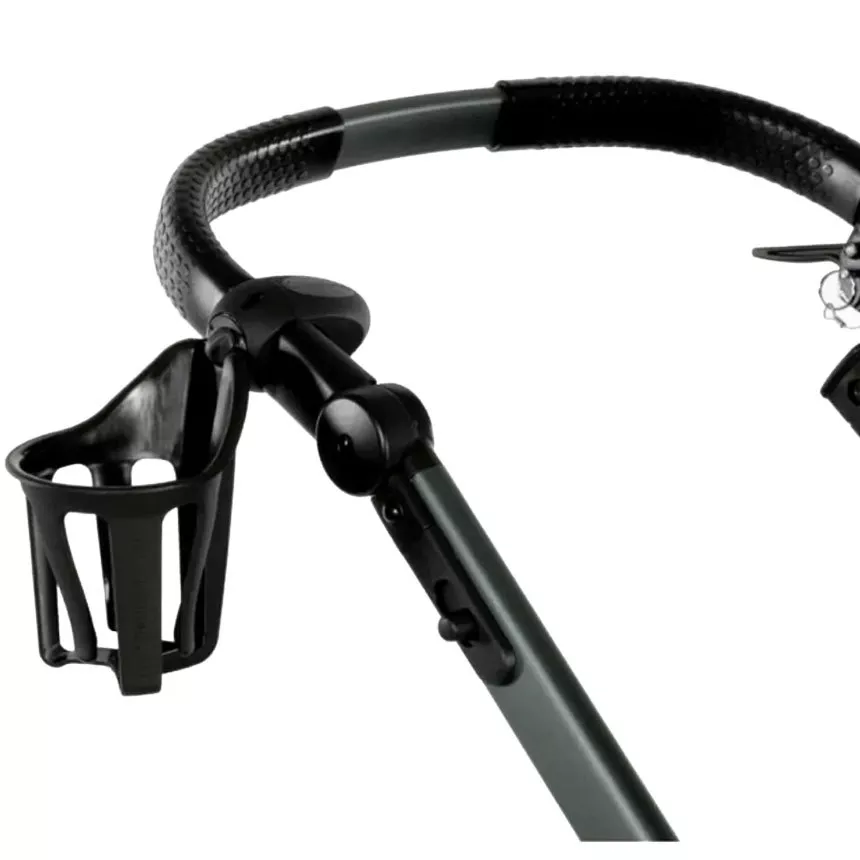
Cup Holder Universal Mount Kit
- Original price was: $28.80.$21.70Current price is: $21.70.
- Add to cart
-
- Sale!
- hot sale
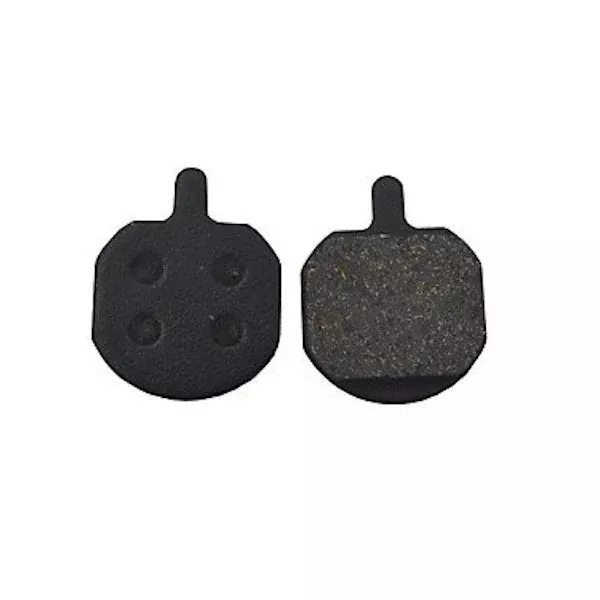
Disc brake pads (Bengal – Gen 2.0)
- Original price was: $15.16.$11.29Current price is: $11.29.
- Add to cart
-
- Sale!
- hot sale
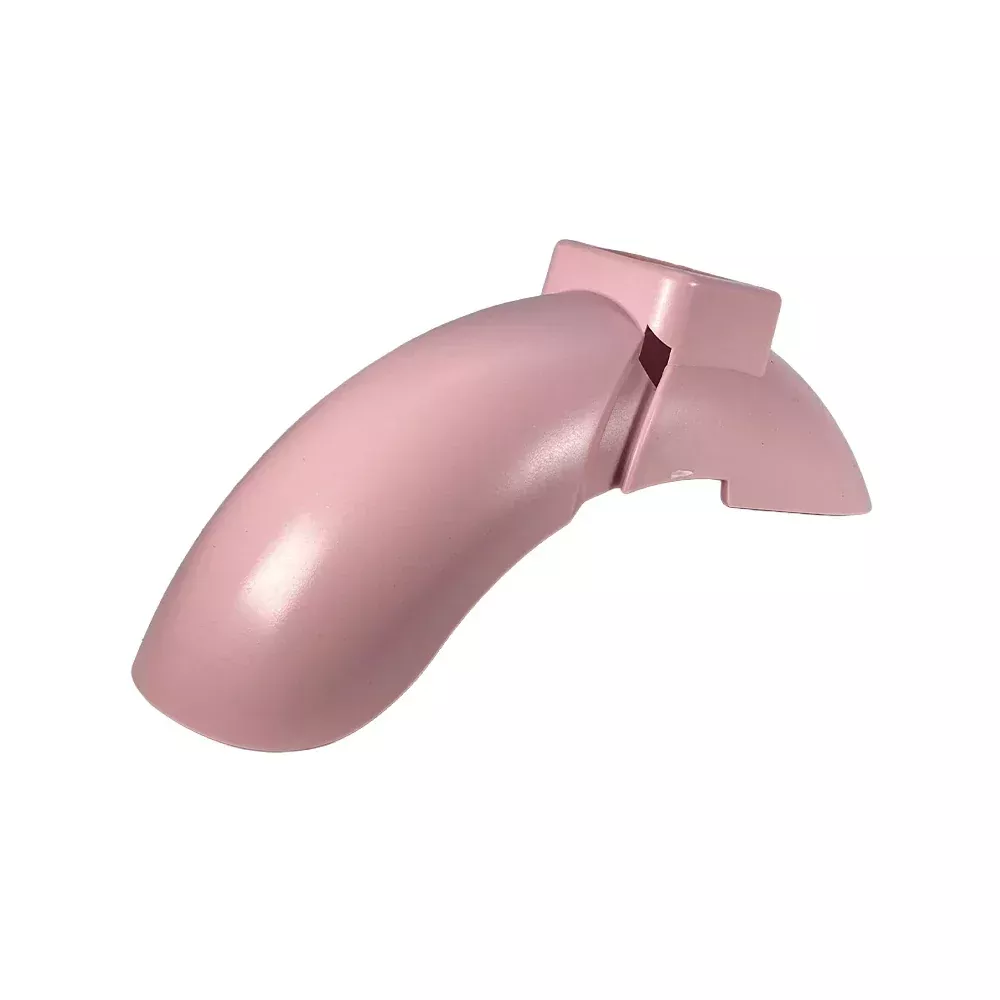
Yadea KS3 & KS3 Lite Front Fender – Pink OEM Replacement
- Original price was: $4.80.$2.94Current price is: $2.94.
- Add to cart
-
- Sale!
- hot sale
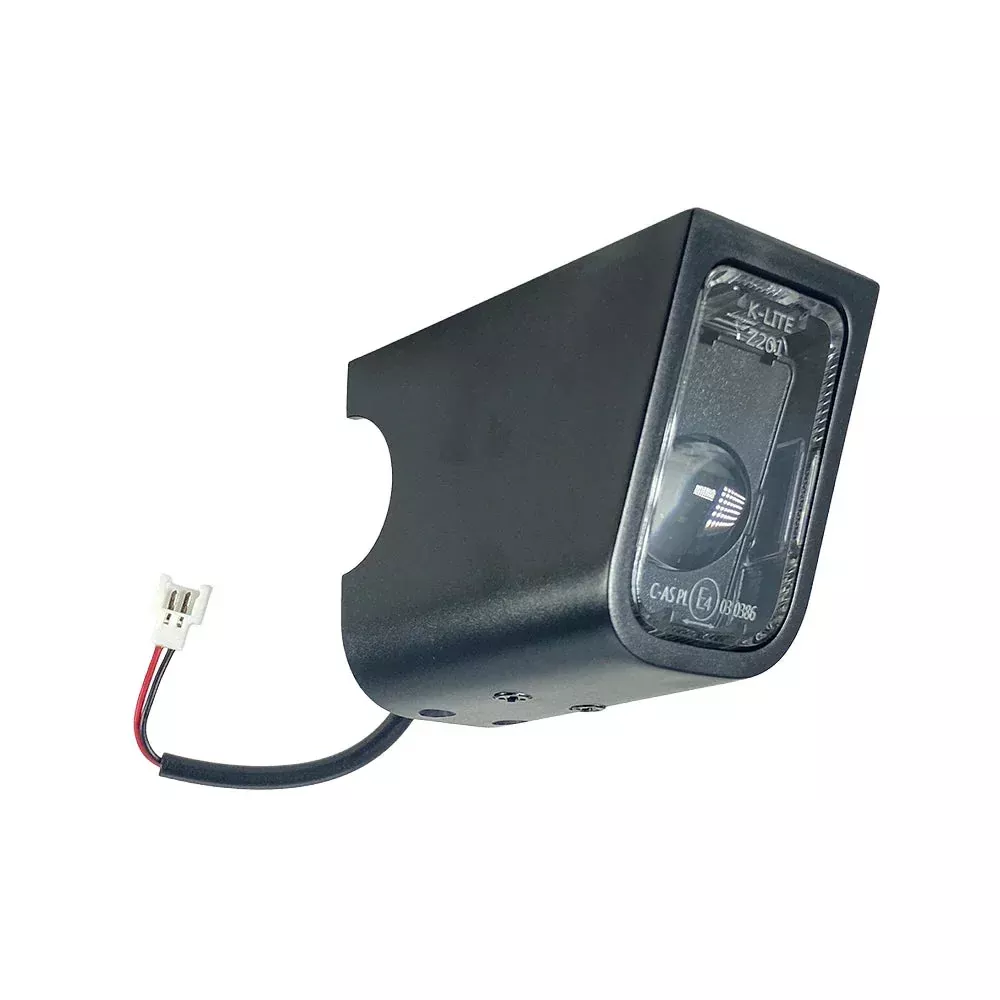
Yadea KS3, KS5 & KS5 Pro LED Headlight – Genuine OEM
- Original price was: $7.20.$4.00Current price is: $4.00.
- Add to cart