Drum Brake Shoes (Front & Rear) | Honda CT90 / Trail 90
Original price was: $19.20.$13.94Current price is: $13.94.
43 in stock
Description
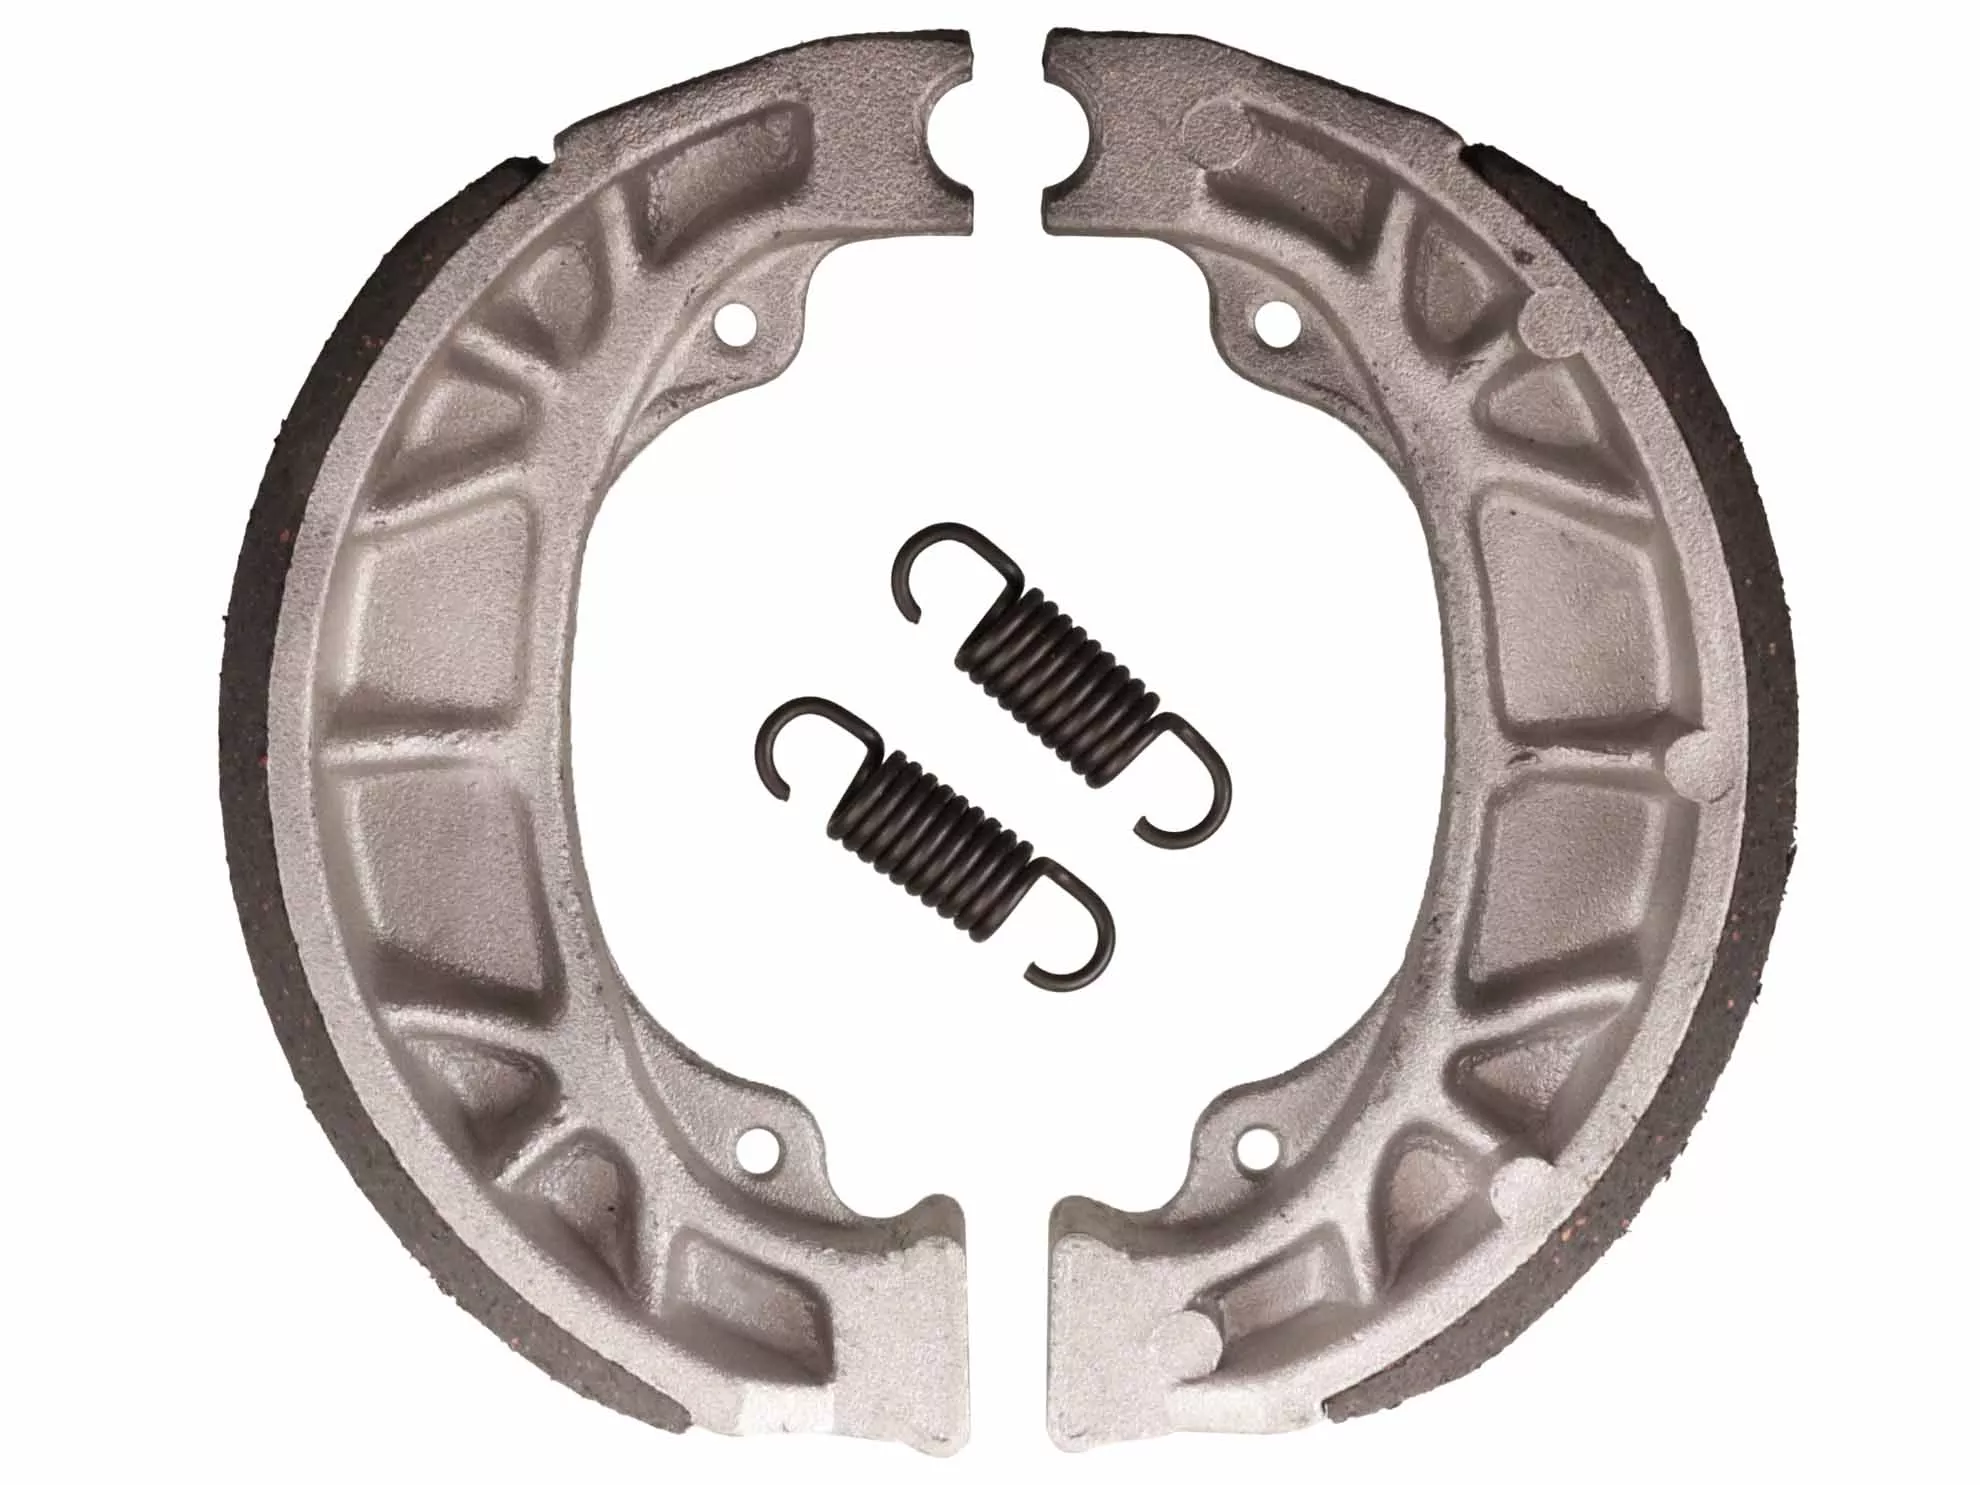
Drum Brake Shoes | Honda CT90 / Trail 90
Old brake shoes don’t wear out so much as fall apart. The friction lining cracks and lets go from the steel shoe underneath, and once it’s metal-on-metal your Trail 90 barely stops at all. These replacement shoes fit both the front and rear drums and bring the brakes back.
Why You Need This
On a fifty-year-old CT90, the lining usually delaminates from the shoe long before it wears thin. You’ll get weak braking, a lever or pedal that needs more and more travel, and eventually the lining crumbling off in chunks. The wear-indicator arrow often never reaches its mark, because the shoes fail this way first.
We stock these in two grades. Premium is an organic friction material for a stock feel; Service is a semi-metallic compound for stronger stopping power. The same shoe works in the front drum and the rear drum, so it’s the one part for either end.
Specifications
| Spec | Detail |
|---|---|
| Replaces OEM Part | 45120-001-010, 451A0-001-670, 43120-365-671, 06430-GBJ-J10, 45133-028-000, 43151-110-000 |
| Fits Models | Honda CT90 / Trail 90 K0-K9 (1966-1978) |
| Friction Material | Premium Grade: organic / Service Grade: semi-metallic |
| Fits | Front and rear drum |
| Sold As | Sold Individually — select Premium or Service Grade at checkout |
Model-Specific Notes
- Front and rear: The CT90 uses the same shoe in both drums, so this one part covers either end.
- Early vs late hardware: These shoes fit every K0-K9, but the brake levers, cables, and adjusters changed around the K5/K6 model years. If you’re also ordering that hardware, match it to your year.
Installation
Difficulty: Intermediate
Tools needed: Brake cleaner, brake grease, 80-grit sandpaper, new cotter pins, gloves, eye protection.
- Pull the wheel and separate the brake panel from the hub. Remove the cotter pin, then lift the old shoes off together with their springs.
- Sand the inside of the drum with 80-grit sandpaper to break the glaze and knock off any rust, then wipe it out with brake cleaner.
- Put a light coat of brake grease on the cam and the shoe pivot points, keeping it well off the friction surface.
- Fit the new shoes, install fresh cotter pins, and reassemble the wheel.
- Adjust the brake before you ride. On the front, set the hand lever to about 20-30 mm (3/4 to 1-1/4 inch) of free play; on the rear, take up the slack at the foot-pedal adjuster. Check that the wheel spins freely with the brake released.
Keep grease off the friction surface. If any gets on the lining, clean it with brake cleaner — contamination kills braking.
Frequently Asked Questions
How many do I need?
These fit both the front and rear drum, and they’re the same shoe. Order one for the drum you’re servicing, or two if you’re doing the front and the rear.
Should I get Premium or Service Grade?
Premium is an organic friction material, closest to the stock feel. Service is a semi-metallic compound with stronger stopping power. Both bolt right in; the choice is how you want the brakes to feel.
How do I know my shoes are worn out?
Don’t wait for the wear-indicator arrow. On these old bikes the lining usually delaminates from the metal shoe before the indicator ever reaches its mark, so pull the wheel and look. Cracking, glazing, or the lining separating from the steel means it’s time.
You Might Also Need
- Rear Brake Adjuster Kit | Honda CT90 — genuine Honda rear-brake hardware to refresh with the shoes
- Rear Brake Cable | Honda CT90 (K0-K5) — a fresh cable to go with fresh shoes
- Rear Wheel Bearing Kit | Honda CT90 — do it while the wheel is off
Last updated: July 2026
Related products
-
- Sale!
- hot sale
Yadea KS6 Pro Rear Hub Motor w/ Tire – Genuine OEM
- Original price was: $130.40.$99.99Current price is: $99.99.
- Add to cart
-
- Sale!
- hot sale
Knobby tire 12.5″ (Gen 2.0)
- Original price was: $28.00.$18.12Current price is: $18.12.
- Add to cart
-
- Sale!
- hot sale
eDragonfly 2.0 Electric Assisted Handcycle
- Original price was: $1,559.40.$976.86Current price is: $976.86.
- Add to cart
-
- Sale!
- hot sale
Empulse R20 Power Assist
- Original price was: $1,567.80.$1,164.94Current price is: $1,164.94.
- Add to cart
-
- Sale!
- hot sale
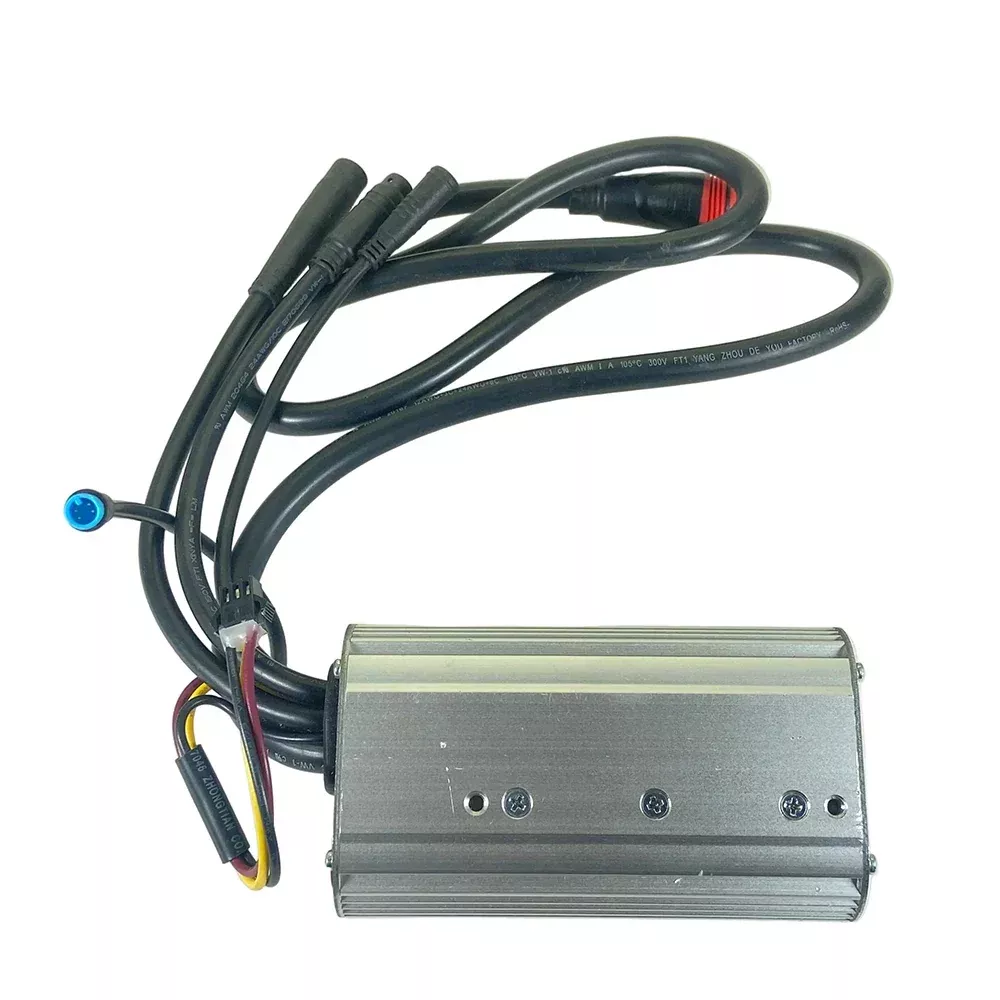
Genuine Yadea Trooper 01/Trooper Plus Motor Controller – OEM
- Original price was: $88.00.$55.16Current price is: $55.16.
- Add to cart
-
- Sale!
- hot sale
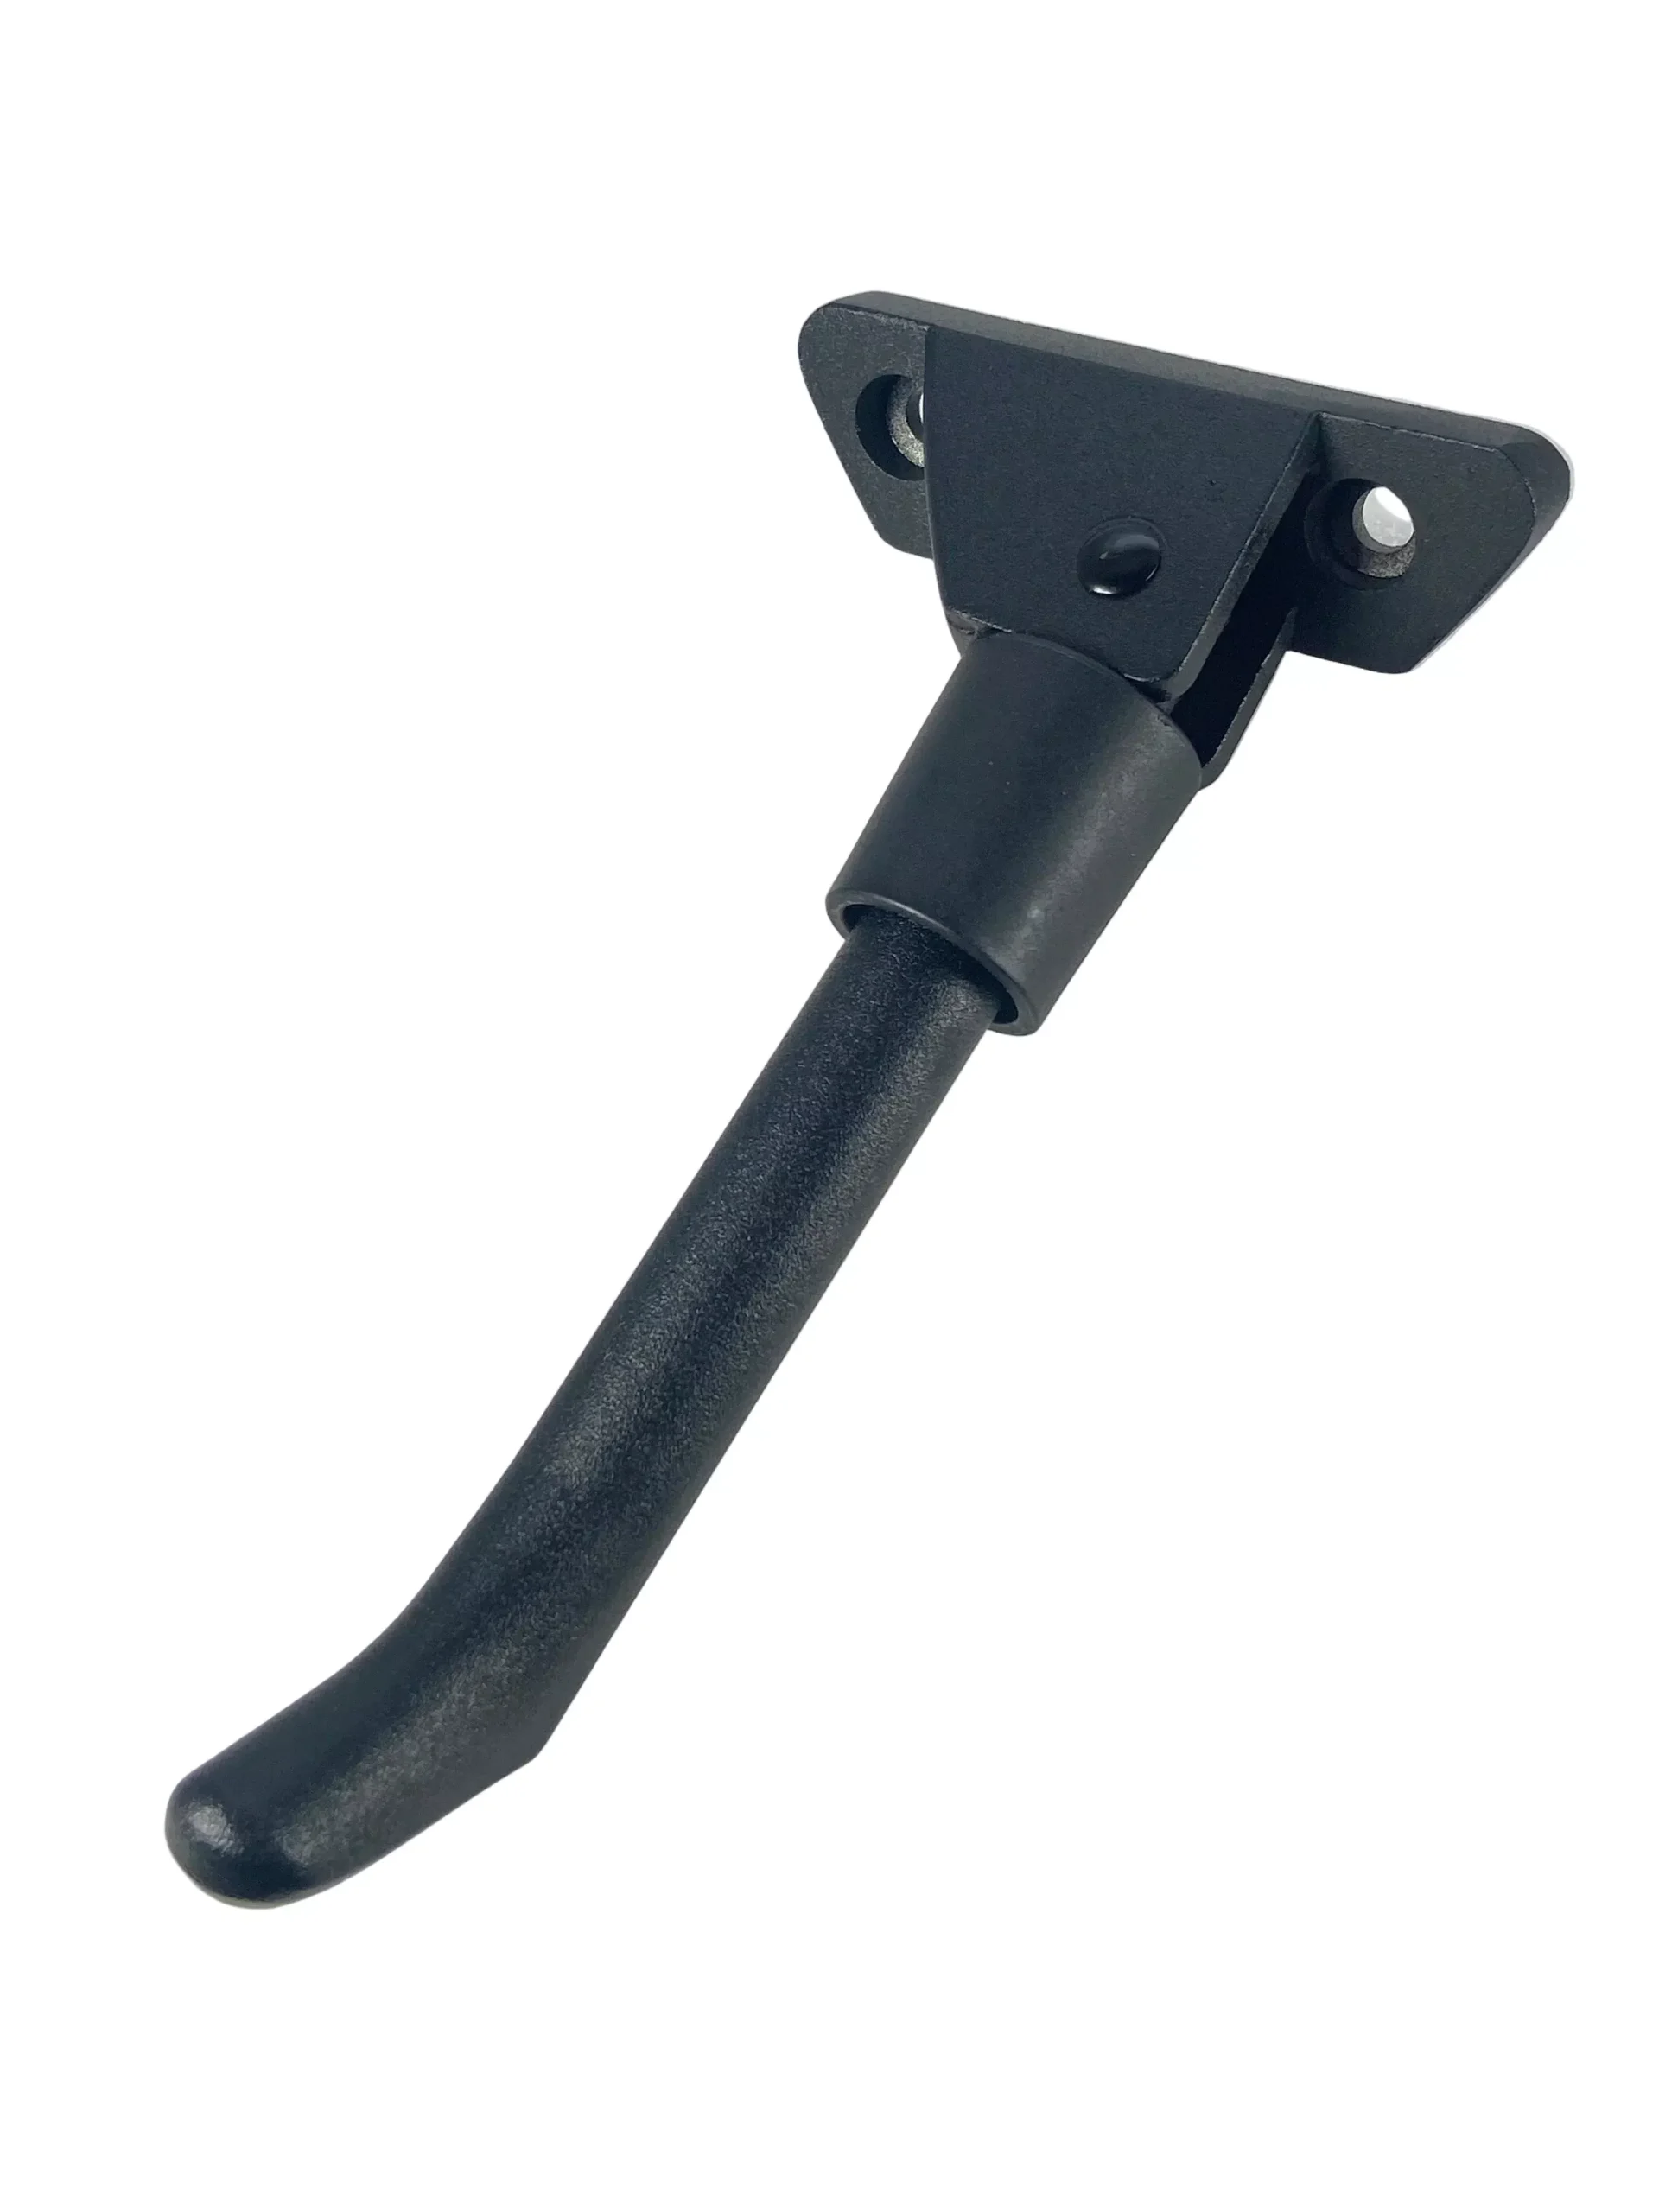
Yadea KS5 & KS5 Pro Kickstand – Genuine OEM
- Original price was: $7.20.$4.60Current price is: $4.60.
- Add to cart
-
- Sale!
- hot sale
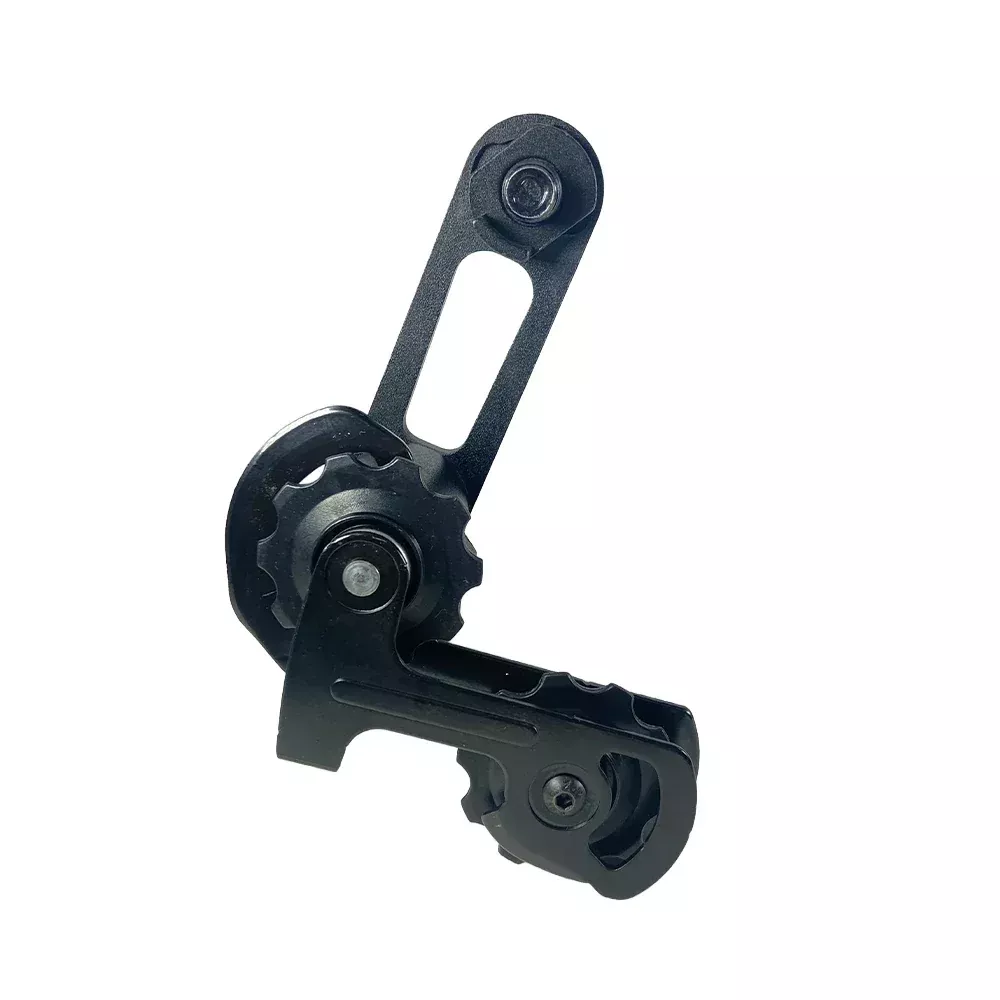
Yadea Trooper 01 Chain Tensioner – Genuine OEM
- Original price was: $23.20.$14.92Current price is: $14.92.
- Add to cart
-
- Sale!
- hot sale
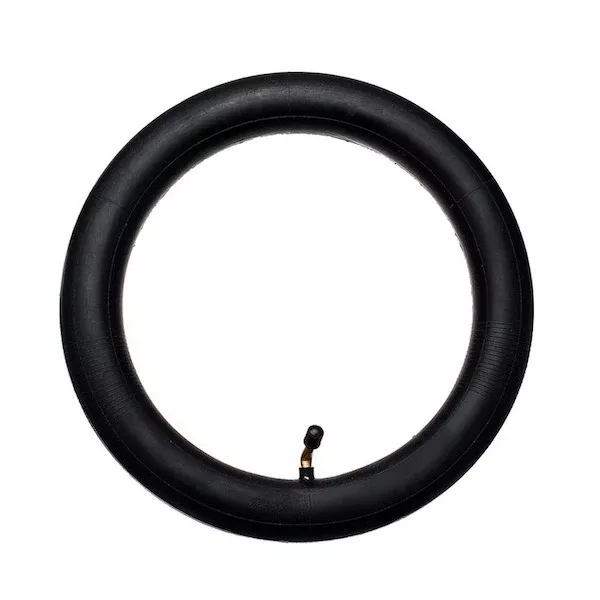
Inner tube for 12.5″ tire (Gen 2.0)
- Original price was: $12.00.$6.78Current price is: $6.78.
- Add to cart