Gasket Kit (Oil Change) | Honda CT90 / Trail 90
Original price was: $12.80.$8.27Current price is: $8.27.
38 in stock
Description
Oil Change Gasket Kit | Honda CT90 / Trail 90
Every CT90 oil change needs a fresh drain plug crush washer and dipstick O-ring at minimum. If you’re cleaning the centrifugal oil filter and pickup screen — recommended every 3 oil changes on these little engines — you’ll also need fresh gaskets for the right side cover and the filter chamber. This kit bundles all 6 gasket types you need for an oil change with filter clean on any CT90 / Trail 90, K0 through K9 (1966-1978).
Why You Need This
Honda specs the CT90 oil change at every 1,000 miles. These little engines work hard — they spend most of their life at near-full throttle, which is harder on oil than the big twins. The factory schedule says clean the centrifugal filter and pickup screen every 6 oil changes (every 6,000 miles). We recommend cleaning every 3 oil changes (3,000 miles) — sludge packs into the rotor faster than the factory schedule assumes.
Either way, the moment you pull the right side cover off, you’ve broken the gaskets that seal the case. They don’t go back together cleanly without fresh ones. In the past, you either reused old gaskets — which leak — or bought a full overhaul kit and paid for parts you didn’t need. This kit gives you exactly the 6 gasket types required for an oil change with filter clean. Nothing extra.
Specifications
| Spec | Detail |
|---|---|
| Replaces OEM Part Numbers | 91301-216-000, 91307-KF0-003, 91307-035-000, 94109-12000, 90407-231-000, 90407-259-000, 11691-028-306, 11691-028-000, 11393-028-306, 11393-028-020, 22112-121-632, 22112-028-000, 22112-028-306, 22112-121-630 |
| Fits Models | CT90 K0 (1966-1968), CT90 K1 (1969), CT90 K2 (1970), CT90 K3 (1971), CT90 K4 (1972-1973), CT90 K5 (1974), CT90 K6 (1975), CT90 K7 (1976), CT90 K8 (1977), CT90 K9 (1978) — Trail 90 |
| Sold As | Kit (8 pieces, 6 gasket types) |
Important: Use 100% mineral 10W-40 only. Most modern diesel oils — Shell Rotella T4, Chevron Delo 400, Mobil Delvac 1300 — reformulated to semi-synthetic in late 2023. Semi-synthetic causes clutch slip on these wet-clutch engines.
Gasket grease trick: Apply a thin layer of grease to both faces of each new gasket during install. Next time you pull the cover, the gasket releases cleanly and you may be able to reuse it.
What’s in the Kit
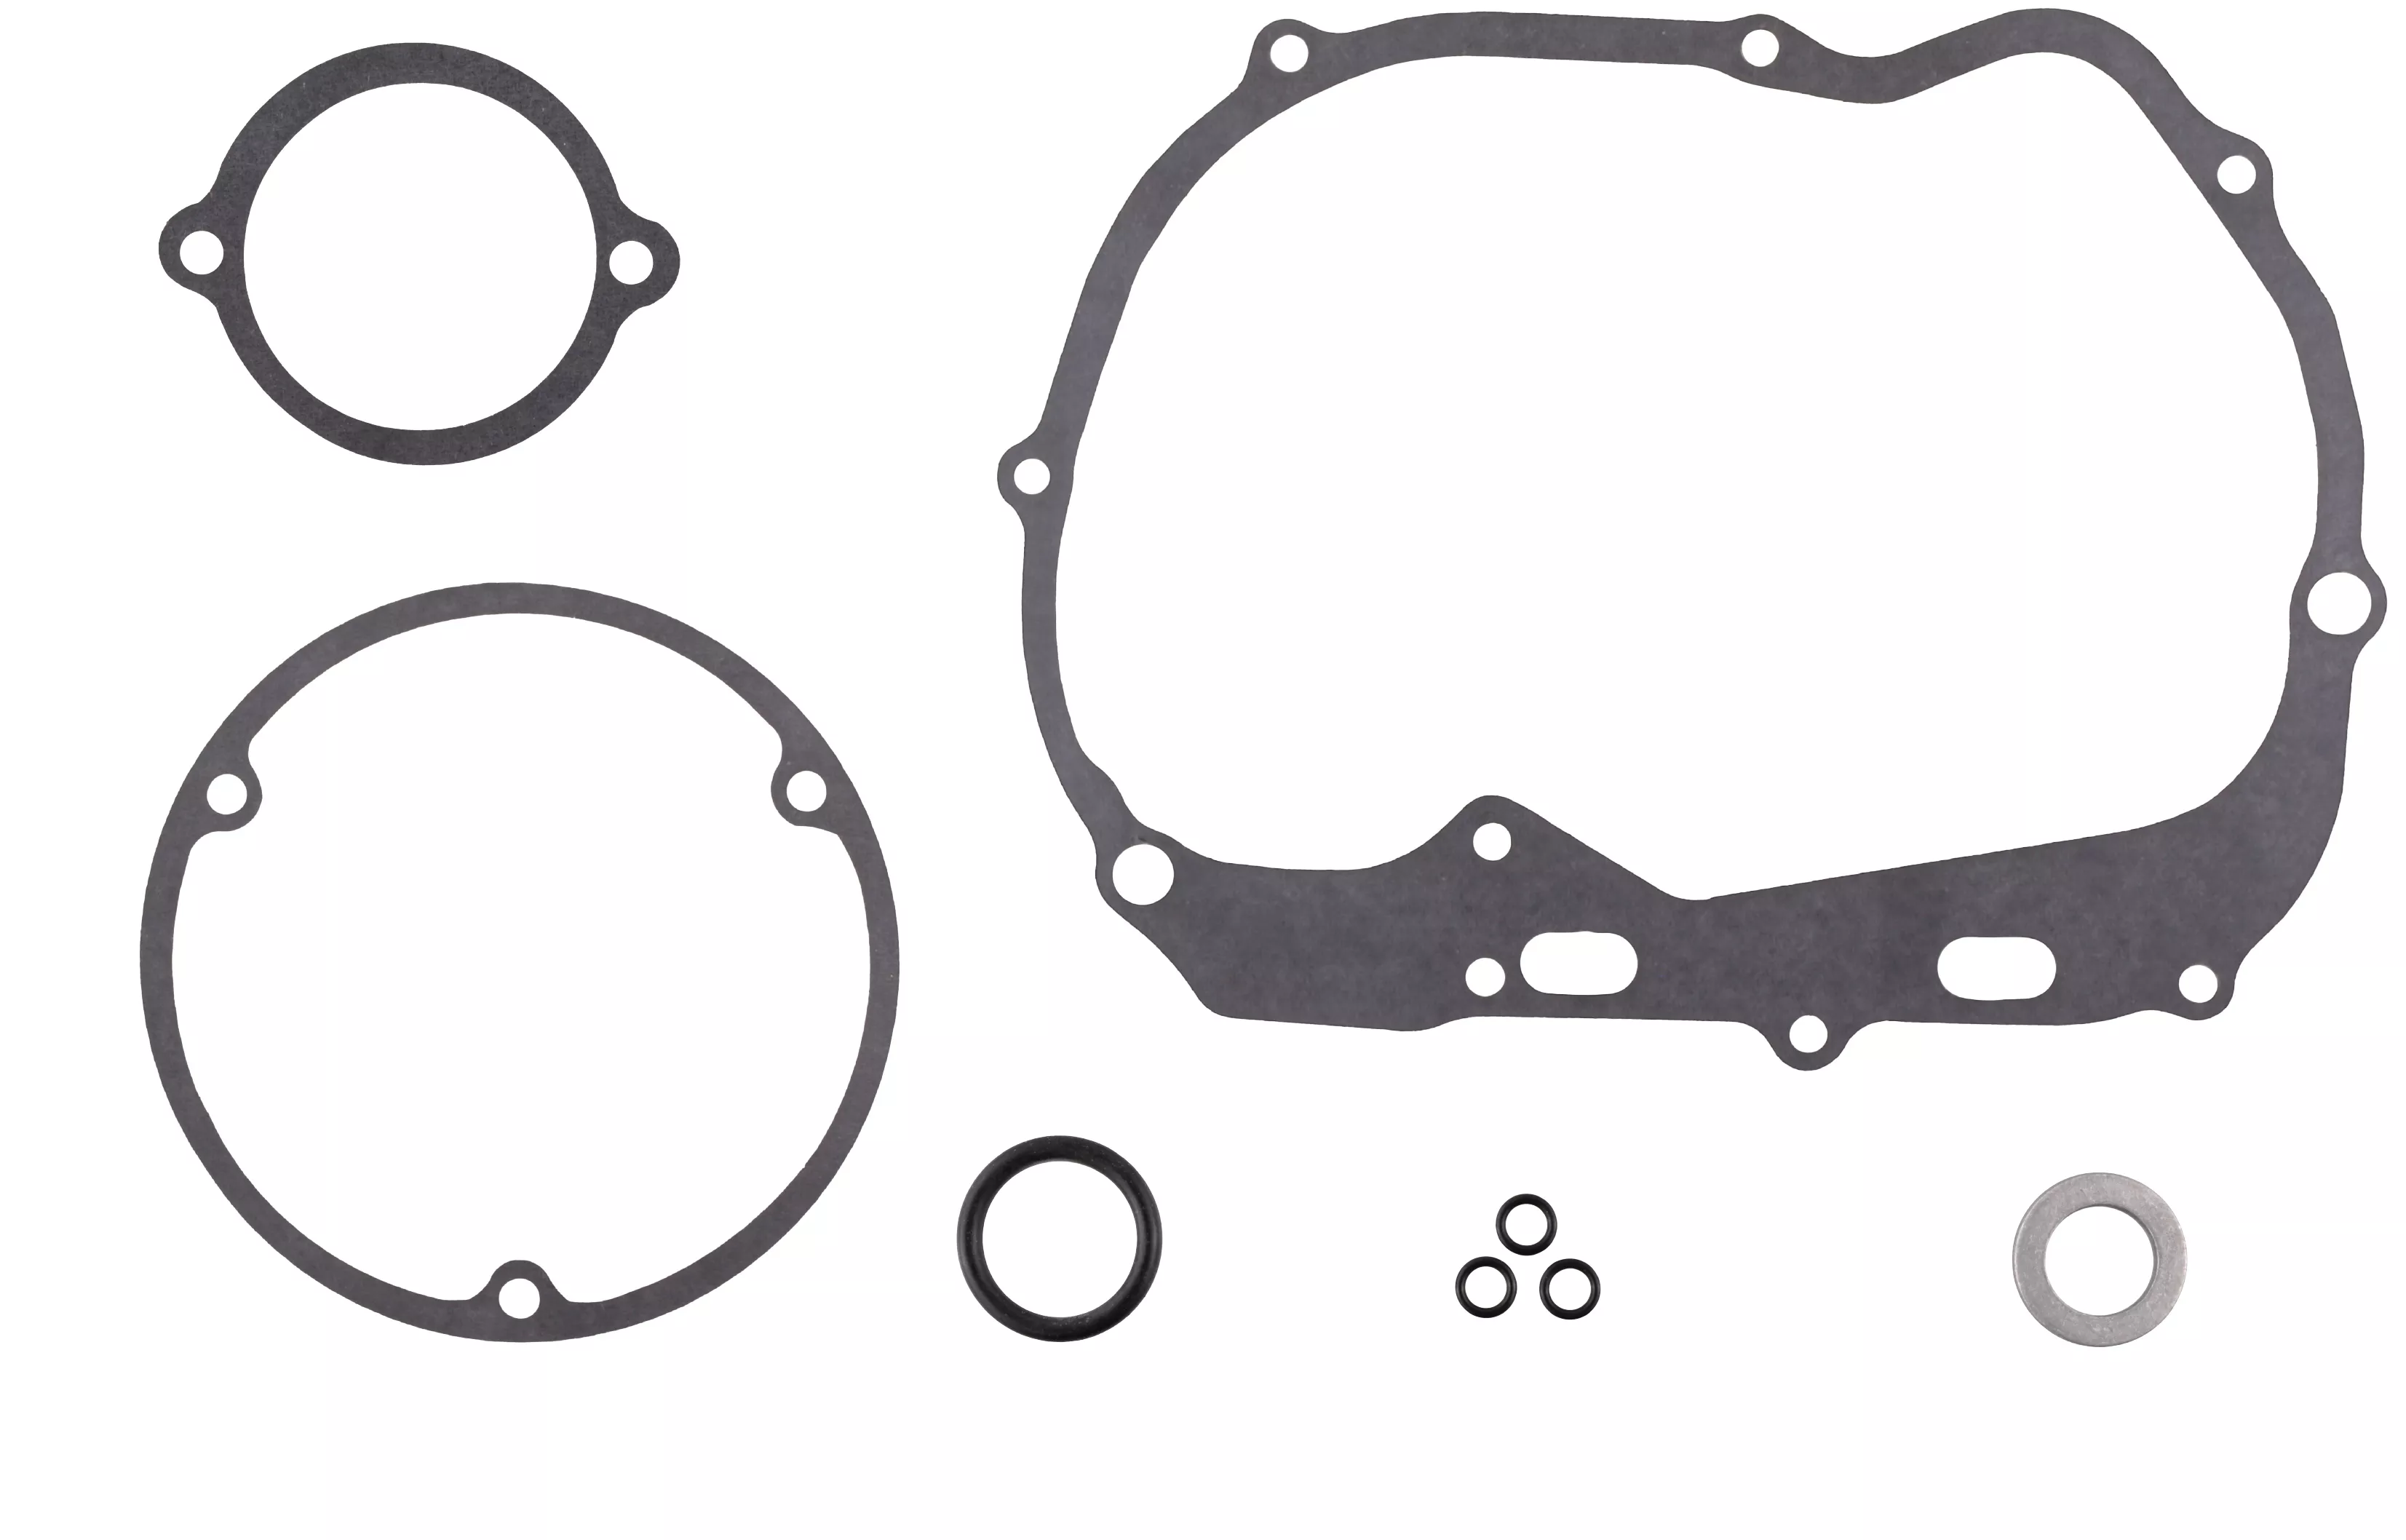
- A: Stator Rotor Cover Bolt O-Rings — 3 pieces
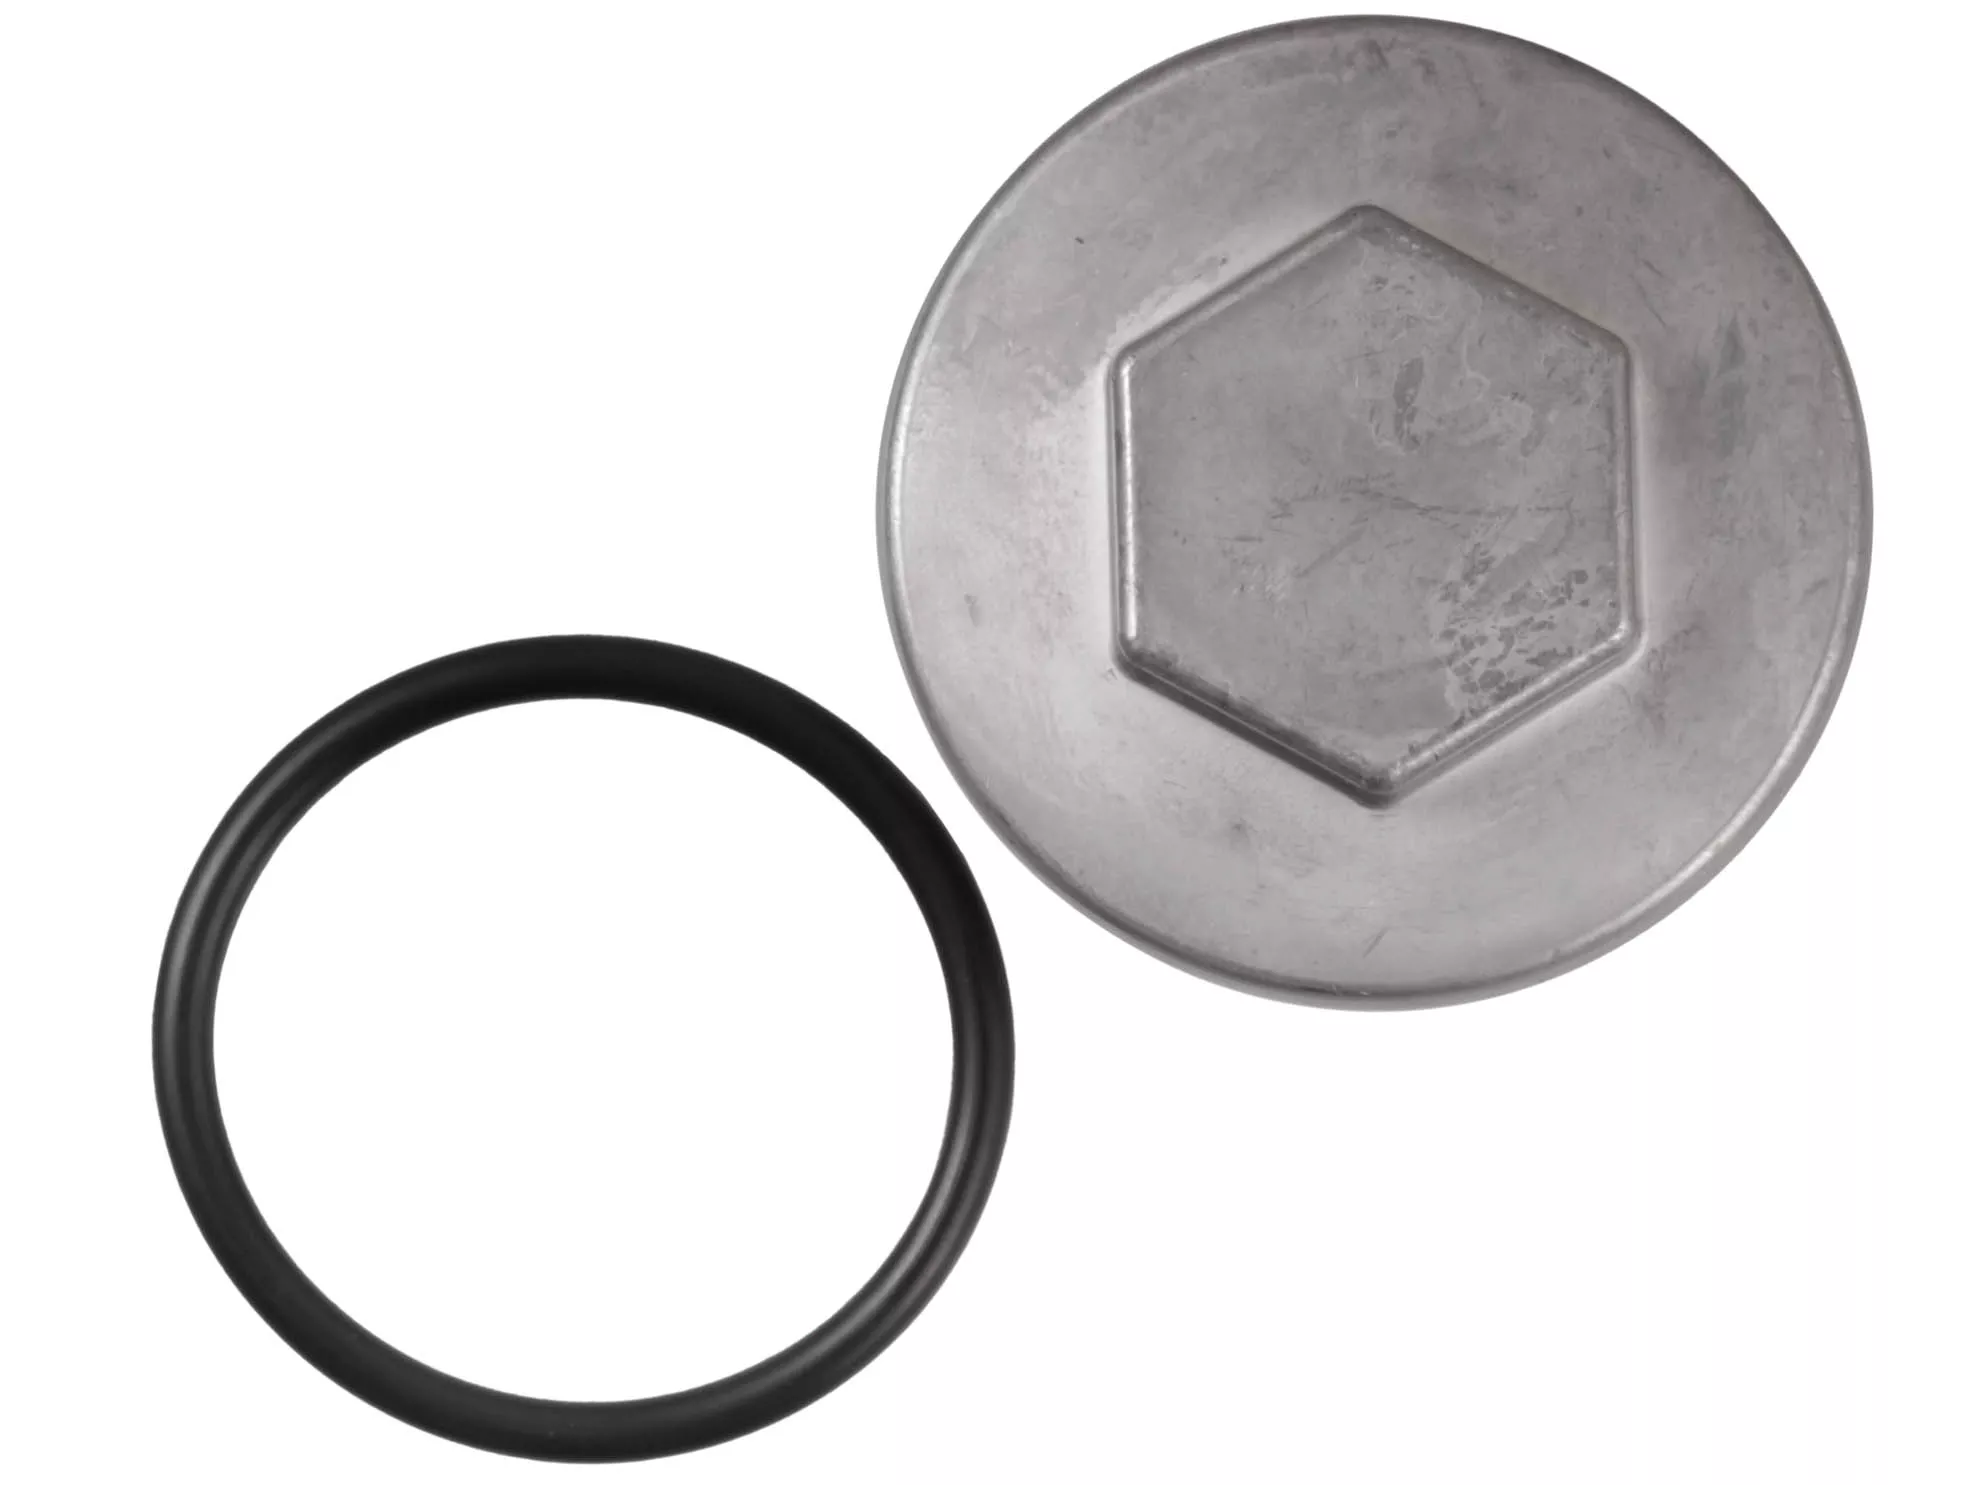
- B: Oil Dipstick O-Ring — 1 piece
- C: Oil Drain Plug Crush Washer — 1 piece
- D: Stator Rotor Cover Gasket — 1 piece
- E: Right Crankcase Cover Gasket — 1 piece
- F: Oil Filter / Clutch Basket Cover Gasket — 1 piece
Total: 8 pieces, 6 unique gasket types.
| Kit | Letter | Gasket | Qty |
|---|---|---|---|
| 4318 Oil Change Gasket Kit (Includes Gaskets A-F) |
A | Stator Rotor Cover Bolt O-Rings | 3 |
| B | Oil Dipstick O-Ring | 1 | |
| C | Oil Drain Plug Crush Washer | 1 | |
| D | Stator Rotor Cover Gasket | 1 | |
| E | Right Crankcase Cover Gasket | 1 | |
| F | Oil Filter / Clutch Basket Cover Gasket | 1 | |
| 4319 Service Gasket Kit (Includes Gaskets A-T) |
G | Points Cover Gasket | 1 |
| H | Carburetor To Intake Manifold Gasket | 1 | |
| I | Intake Manifold To Engine Gasket | 1 | |
| J | Left Crankcase Cover Gasket | 1 | |
| K | Subtransmission Cover Gasket | 1 | |
| L | Points Base Gasket | 1 | |
| N | Rocker Arm Cover Gasket | 1 | |
| O | Cylinder Head Cover Gasket | 1 | |
| P | Point Base Sealing Washers | 3 | |
| Q | Carburetor To Intake Manifold O-Ring | 1 | |
| R | Valve Cover O-Rings | 2 | |
| S | Clutch Lifter Adjuster O-Ring | 1 | |
| T | Subtransmission Selector O-Ring | 1 | |
| 4320 Overhaul Gasket Kit (Includes Gaskets A-AG) |
M | Exhaust Crush Gasket | 1 |
| U | Cylinder Base Gasket | 1 | |
| V | Oil Pump To Crankcase Gasket | 1 | |
| W | Oil Pump Cover Gasket | 1 | |
| X | Head Gasket (Early and Late Style) | 2 | |
| Y | Cam Chain Chamber Base Rubber Gasket (A) | 1 | |
| Z | Cam Chain Chamber Base Rubber Gasket (B) | 1 | |
| AA | Crankcase Split Gasket | 1 | |
| AB | Cam Chain Tensioner Adjuster Cover Sealing Washer | 1 | |
| AC | Cam Chain Tensioner O-Ring | 1 | |
| AD | Exhaust Valve Stem Seal | 1 | |
| AE | Cylinder Header Dowel Oil Passage Rubber Gasket | 1 | |
| AF | Oil Pipe Joint Bolt Crush Washer | 1 | |
| AG | Valve Guide Base O-Rings | 2 |
Installation
Difficulty: Beginner — straightforward bolt-on, no special tools.
Tools needed: 17 mm socket (drain plug), Allen / JIS driver for right side cover bolts, oil drain pan, lint-free rag, razor blade or gasket scraper, fresh 10W-40 mineral oil (about 1 quart), zinc ZDDP additive (2 oz).
- Warm the engine up first. Place the bike on its center stand. Have an oil drain pan ready under the engine.
- Remove the drain plug (17 mm). Drain the oil. Discard the old crush washer (Letter C in this kit).
- Remove anything blocking the right side cover — kickstart lever, foot peg, crash guard if equipped.
- Loosen the right side cover bolts in a star pattern. Tap the cover lightly with a rubber mallet to break the gasket seal. (If you greased the gasket on a prior service, it may release cleanly.)
- Remove the centrifugal filter cover (held by 2 screws). Wipe the filter chamber clean of sludge with a lint-free cloth.
- Pull the oil pickup screen out with needle-nose pliers. Rinse it in clean solvent or fresh oil, set it aside to dry.
- Scrape any remaining gasket material from the case and cover sealing surfaces with a razor blade or gasket scraper. Don’t gouge the aluminum.
- Apply a thin coat of grease to both faces of each new gasket — Letter D (stator rotor cover) and Letter E (right crankcase cover) and Letter F (filter cover).
- Reinstall the pickup screen, then the centrifugal filter cover with new Letter F gasket, then the right side cover with new Letter D and Letter E gaskets and new Letter A O-rings on the rotor cover bolts.
- Apply anti-seize to the bolt threads. Torque the cover bolts evenly. If the original JIS screws are still on your bike, this is a good moment to swap to our Allen bolt kit — JIS strips easily after 50+ years.
- Replace the dipstick O-ring (Letter B) and the drain plug crush washer (Letter C). Reinstall the drain plug and torque to 14.6-25.3 ft-lbs (2.0-3.5 kg-m). Don’t overtighten.
- Refill with about 0.95 US qt (0.9 L) of SAE 10W-40 mineral oil. Add 2 oz of zinc ZDDP additive.
- Run the engine briefly. Check for leaks at the cover and drain plug. Re-check oil level on the dipstick — dip it, don’t thread it in.
If the rotor cover gasket tears during removal: The kit includes a fresh one. The grease trick above is what saves the gasket for next time.
Related products
-
- Sale!
- hot sale
Standard tire 12.5″ (Gen 2.0)
- Original price was: $20.00.$11.59Current price is: $11.59.
- Add to cart
-
- Sale!
- hot sale
Battery charger UL/ USA (Gen 2.0)
- Original price was: $19.96.$12.07Current price is: $12.07.
- Add to cart
-
- Sale!
- hot sale
YADEA COCOA REAR WHEEL ASSEMBLY
- Original price was: $199.20.$102.45Current price is: $102.45.
- Add to cart
-
- Sale!
- hot sale
Knobby tire 12.5″ (Gen 2.0)
- Original price was: $28.00.$18.12Current price is: $18.12.
- Add to cart
-
- Sale!
- hot sale
Yadea KS5 & KS5 Pro Kickstand – Genuine OEM
- Original price was: $7.20.$4.60Current price is: $4.60.
- Add to cart
-
- Sale!
- hot sale
Empulse R20 Power Assist
- Original price was: $1,567.80.$1,164.94Current price is: $1,164.94.
- Add to cart
-
- Sale!
- hot sale
Zippie Backpack
- Original price was: $68.00.$42.63Current price is: $42.63.
- Add to cart
-
- Sale!
- hot sale
Yadea KS3, KS5 & KS5 Pro LED Headlight – Genuine OEM
- Original price was: $7.20.$4.00Current price is: $4.00.
- Add to cart