
Gasket Kit (Overhaul) | Honda CB360 / CL360 / CJ360
Original price was: $40.00.$22.36Current price is: $22.36.
90 in stock
Description
Honda CL360 / CJ360 / CB360 Gasket Kit (Overhaul)
The whole motor is on the bench. Pistons are out, head’s off, lower case is split. This is the top tier of three CB360 family gasket kits — 20 gasket types (33 individual pieces) covering every paper gasket, O-ring, and exhaust gasket touched during a full top-end and bottom-end rebuild.
Why You Need This
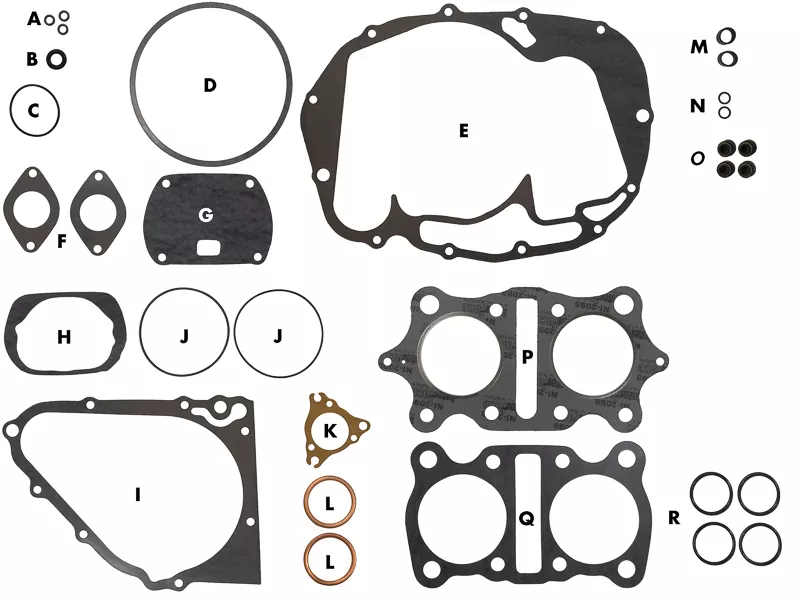
Choose this kit when the cylinders come off. Letters A–E carry over from Oil Change tier (routine filter clean), F–I from Service tier (carb reseal, points cover, left crankcase cover), and J–T are the new-in-Overhaul gaskets — head gasket, cylinder base, cylinder base O-rings, alignment dowel seals, exhaust gaskets, valve stem seals, oil pump gasket and O-rings, dipstick O-ring, neutral switch O-ring, and the four tappet inspection cover O-rings.
The head gasket (Letter P) and cylinder base gasket (Letter Q) are NOT sold individually — this kit is the only way to source them through CMC. We bundle them with the rest of the overhaul-tier gaskets that should be replaced any time the cylinders are off the case.
Specifications
| Spec | Detail |
|---|---|
| Fits Models | CB360G (1974), CB360T (1975–1976), CL360K0 (1974), CL360K1 (1975), CJ360T (1976–1977) |
| Replaces OEM Parts | 91301-426-010, 91301-393-000, 91307-369-000, 91309-286-000, 11691-286-306, 11691-286-000, 11394-369-306, 11394-369-000, 16229-369-306, 16229-286-000, 16229-369-000, 12329-369-306, 12329-369-000, 30372-369-306, 30372-369-000, 11395-369-306, 11395-369-000, 91304-369-000, 12909-428-003, 12909-333-000, 91302-001-020, 15129-369-000, 18291-286-306, 18291-286-000, 91354-371-000, 91354-702-000, 91312-107-000, 12210-362-005, 12251-369-306, 12251-369-000, 12191-369-306, 12191-369-000 |
| Sold As | Set (20 gasket types, 33 individual pieces — Letters A through T) |
Note — Letter R is the four tappet inspection cover O-rings, NOT a main valve cover gasket. The CB360 main rocker arm cover uses Hondabond 4 (or equivalent anaerobic sealant), not a paper gasket. Letter R covers the four small O-rings under the tappet adjustment access covers (one per valve). No paper main valve cover gasket exists for this engine — if you’re servicing the cylinder head, pick up Honda Bond 4 for the main cover seal.
Note — Letter L Exhaust Gaskets are at the head-to-pipe joint. These are the copper exhaust port gaskets between cylinder head and header pipe. The graphite pipe-to-muffler gasket is a separate part (not in this kit). If you have a CJ360 with the factory 2-into-1 routing, the exhaust collar arrangement differs slightly — see our CJ360 Exhaust Differences guide before reassembly.
Note — head gasket and cylinder base gasket are not sold individually. Letter P (head gasket) and Letter Q (cylinder base gasket) only ship as part of this kit. We bundle them with the other top-end gaskets that should be replaced any time the cylinders come off.
Model-Specific Notes
- CB360G = 1974 only. CB360T = 1975–1976. Honda did not make a CB360 in 1973 — if your title says “1973 CB360,” it’s almost certainly a 1973 CB350K5 with the wrong year stamped at registration. Check the engine number stamp on the case — CB360 engines start with “CB360E-” prefix.
- CL360 Scrambler = K0 (1974) and K1 (1975) only. Honda never produced a CL360 K2. Same engine and gasket set as CB360.
- CJ360T = 1976–1977. Same engine and gasket set, but the CJ360 has a 2-into-1 exhaust routing with a different collar arrangement — see the linked KB article above before reinstalling exhaust.
- Does not fit CB350 / CL350 / SL350 / CB400F / CB450. Each is a different engine architecture with different gasket sizes. For CB350 family overhauls, see our CB350 Overhaul Gasket Kit.
What’s in the Kit
This Overhaul kit includes everything from the Service kit (Letters A–I) plus 11 more gaskets and O-rings (J–T) that only get touched when the cylinders are off the case.
| Kit | Letter | Gasket | Qty |
|---|---|---|---|
| 4017 Oil Change Gasket Kit (Includes Gaskets A–E) |
A | Stator Rotor Cover Bolt O-Rings | 3 |
| B | Oil Pick Up Tube O-Ring | 1 | |
| C | Oil Rotor O-Ring | 1 | |
| D | Stator Rotor Cover Gasket | 1 | |
| E | Right Crankcase Cover Gasket | 1 | |
| 4014 Service Gasket Kit (Includes Gaskets A–I) |
F | Intake Manifold Gaskets | 2 |
| G | Breather Cover Gasket | 1 | |
| H | Points Cover Gasket | 1 | |
| I | Left Crankcase Cover Gasket | 1 | |
| 4003 Overhaul Gasket Kit (Includes Gaskets A–T) |
J | Cylinder Base O-Ring | 2 |
| K | Oil Pump Gasket | 1 | |
| L | Exhaust Gaskets (copper, head-to-pipe) | 2 | |
| M | Alignment Dowel Seals | 2 | |
| N | Oil Pump O-Rings | 2 | |
| O | Valve Stem Seals | 4 | |
| P | Head Gasket | 1 | |
| Q | Cylinder Base Gasket | 1 | |
| R | Tappet Inspection Cover O-Rings | 4 | |
| S | Dipstick O-Ring | 1 | |
| T | Neutral Light Switch O-Ring | 1 |
Installation
Difficulty: Advanced
Tools needed: JIS Phillips driver (or upgrade to Lower Allen Bolt Kit + Upper Allen Bolt Kit), torque wrench, single-edge razor blade, acetone, Honda Bond 4, anti-seize lubricant, valve spring compressor for valve stem seals (Letter O), piston ring compressor for cylinder reinstall.
- Drain oil. Remove engine from frame. A full overhaul on the CB360 generally means engine out — remove fuel tank, disconnect starter cable and wiring coupler, drop engine onto a stand.
- Strip the top end. Remove the carbs (disturbs Letter F intake manifold gaskets), the breather cover (G), the points cover (H), the four tappet inspection covers (R — each has its own small O-ring), the rocker arm cover, the camshaft, the cylinder head (P), and the cylinders (Q + J cylinder base O-rings + M alignment dowel seals).
- If pulling the bottom end: remove both crankcase covers (D, E, I), drop the AC generator, starting clutch, oil pump (K + N O-rings), filter rotor, transmission gears, kickstarter shaft, then split the cases.
- Clean every mating surface. Use a razor blade and acetone. Scrape every trace of old paper, RTV, or sealing agent. Any residue under a fresh gasket is the most common cause of post-rebuild leaks.
- Inspect the head + cylinder bores for warpage or damage. A warped head will not seal regardless of how perfect the gasket is. Send the head to our Cylinder Head Machining Service for decking if needed. If cylinders are scored or out-of-round, the Cylinder Boring & Honing Service handles overbore prep.
- Valve stem seal install (Letter O). Use a valve spring compressor. Oil each valve stem before sliding through the guide. Seat the new seal squarely on the guide boss. Four seals total (one per valve).
- Cylinder reinstall. Place the alignment dowels and seat the two cylinder base O-rings (Letter J) in their grooves — press flush, not poking out. Lay the cylinder base gasket (Letter Q) DRY on the upper crankcase. Apply a thin bead of Honda Bond 4 around the oil passages only — do NOT use RTV silicone, it sheds debris into the oil galleries.
- Head install. Lay the head gasket (Letter P) DRY between cylinder and head — no sealer on the gasket itself. Torque the head bolts in the criss-cross pattern shown in the factory diagram, in stages.
- Cam chain + camshaft. Reinstall the cam chain over the cam sprocket. While the engine is open, this is the right moment to replace the CB360 Cam Chain Tensioner — the tensioner is the documented weak point of the CB360 family. The tensioner can also be replaced with the engine in the frame, but if the engine is already on the bench you’ve removed every excuse.
- Rocker arm cover seal. Apply Honda Bond 4 to the main rocker cover mating surface (no paper gasket exists). Install the four tappet inspection covers each with a fresh O-ring from Letter R.
- Reseat ancillary covers. Right crankcase cover with Letter E gasket. Left crankcase cover with Letter I gasket. Points cover with Letter H. Breather cover with Letter G. Carb intake manifolds with Letter F gaskets. Stator rotor cover with Letter D + A bolt O-rings.
- Torque all 6mm crankcase cover bolts to 0.7–1.1 kg-m (5.1–8.0 lb-ft) in criss-cross. Uneven loading is the most common cause of post-overhaul leaks.
- Set valve clearance, ignition timing, then carb sync in that order. Reference our CB360 Carb Sync Tool Kit for the final sync step. Idle warm to 1,200 RPM.
- Refill engine oil. 2.0 L / 2.1 US qt after crankcase split (1.5 L / 1.6 US qt for routine fills). SAE 10W-40 100% mineral oil + 2 oz of Zinc ZDDP additive per quart. Avoid semi-synthetic — modern reformulated diesel oils (Shell Rotella T4, Chevron Delo 400, Mobil Delvac 1300, all reformulated to semi-synthetic in late 2023) cause clutch slip on CB360 wet clutches.
- Heat-cycle and retorque the head. After the first short ride (5–10 minutes warm), let cool, then retorque the head bolts. Check for weeps at the head-to-cylinder, cylinder-to-case, and exhaust gasket joints.
Installation Tip: Clean every mating surface with a single-edge razor and acetone before applying the new gasket. Old silicone or scored aluminum is the 1 reason a fresh gasket still leaks. Honda Bond 4 only for sealing applications — never RTV.
Related products
-
- Sale!
- hot sale
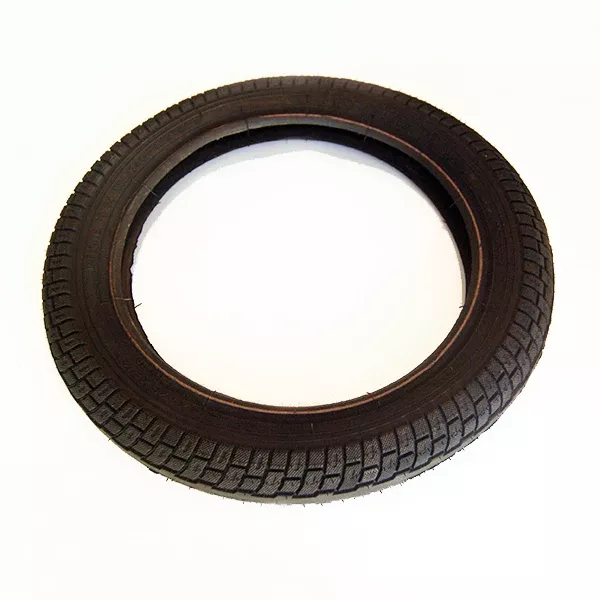
Standard tire 12.5″ (Gen 2.0)
- Original price was: $20.00.$11.59Current price is: $11.59.
- Add to cart
-
- Sale!
- hot sale
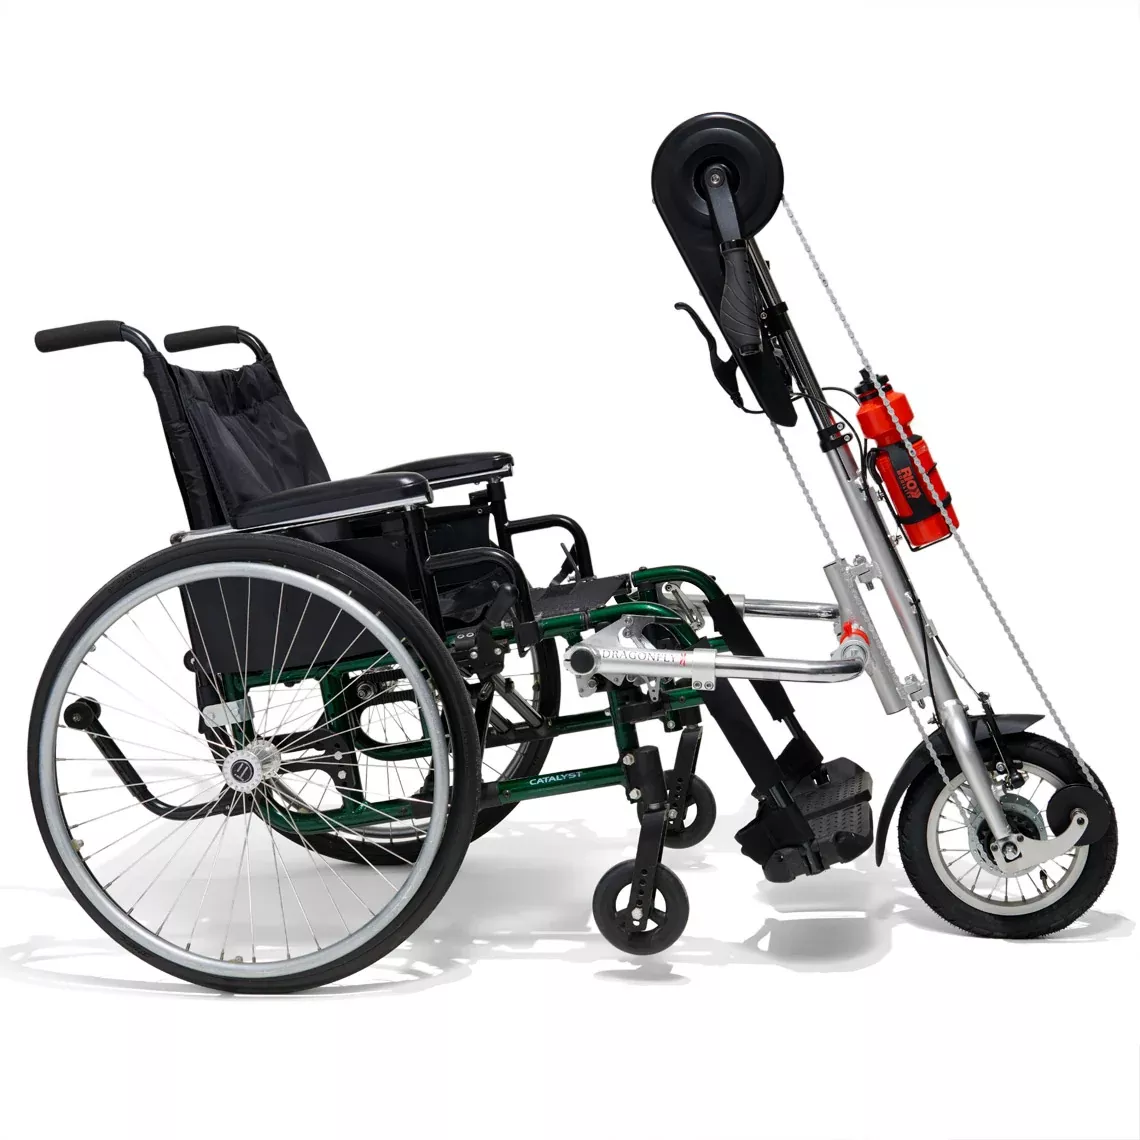
Dragonfly 2.0 – Nexus 8 Manual Handcycle
- Original price was: $1,259.40.$1,004.38Current price is: $1,004.38.
- Add to cart
-
- Sale!
- hot sale
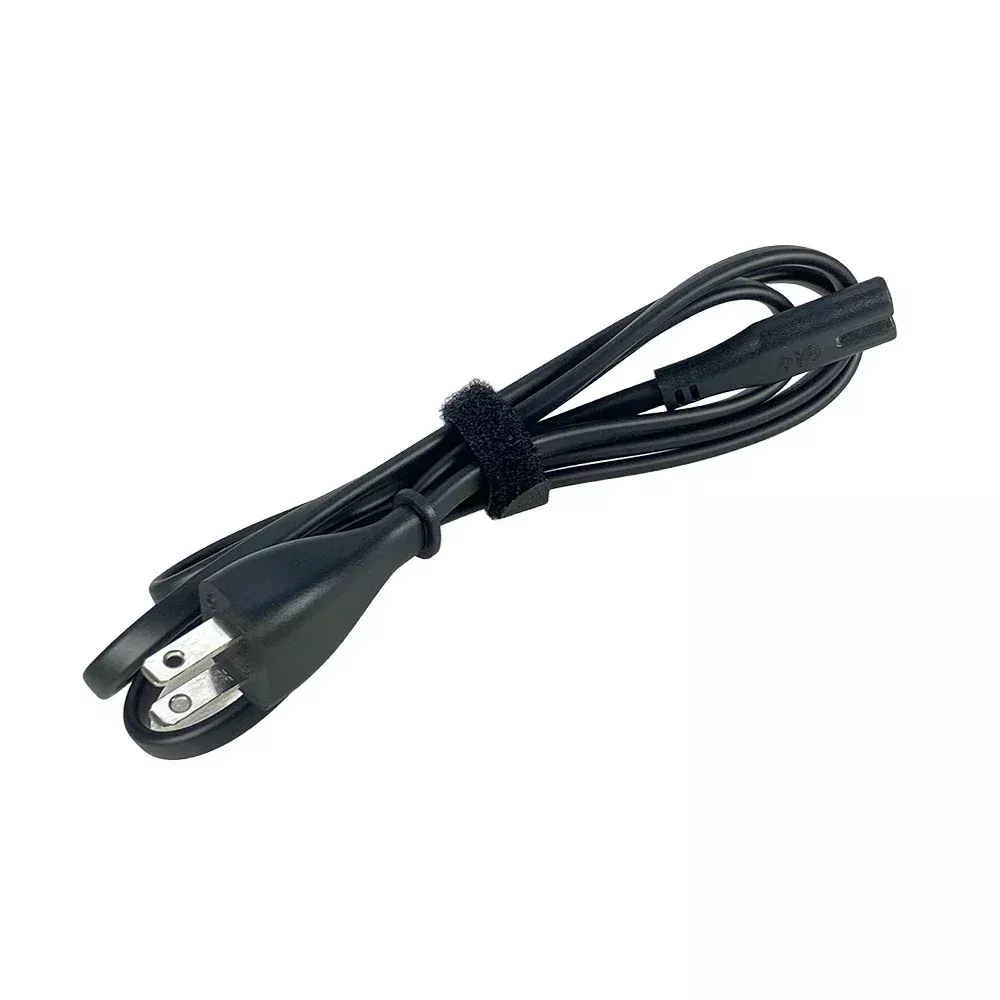
Yadea Elite Prime & KS Series AC Charging Cord (OEM)
- Original price was: $3.20.$1.80Current price is: $1.80.
- Add to cart
-
- Sale!
- hot sale
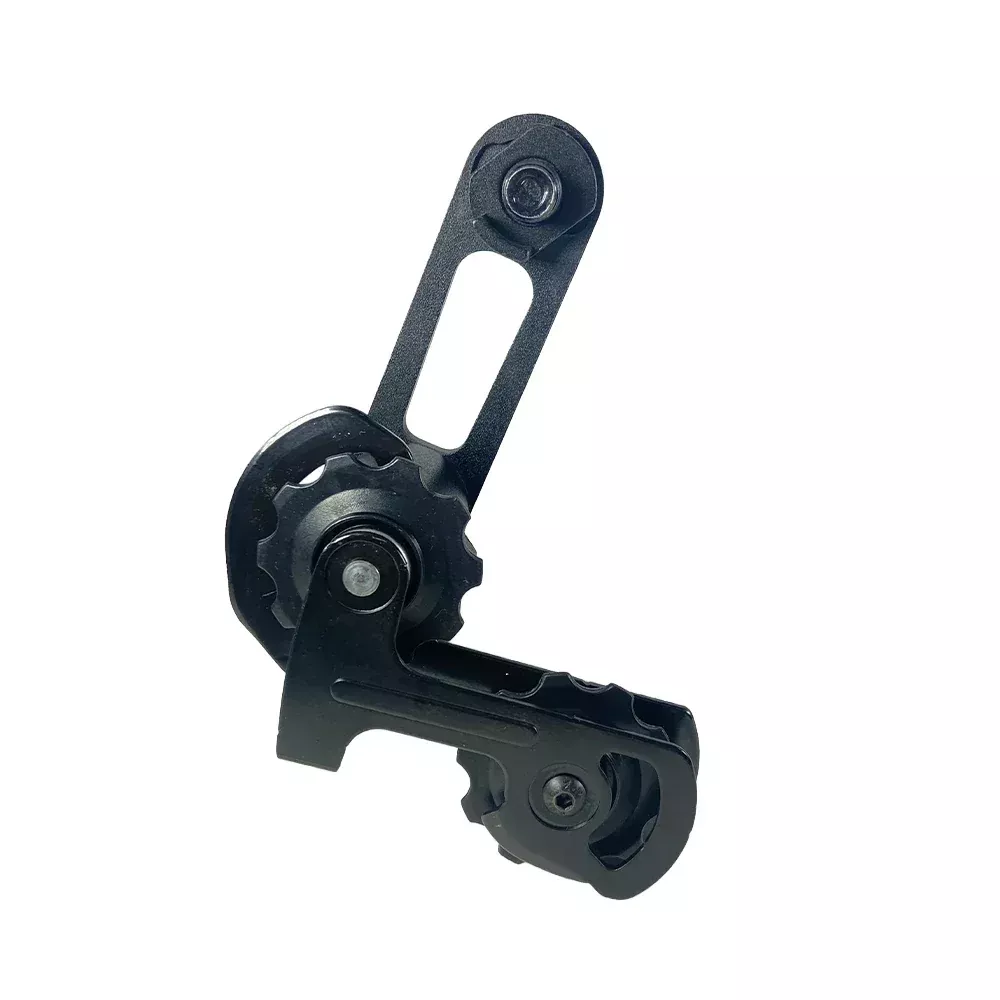
Yadea Trooper 01 Chain Tensioner – Genuine OEM
- Original price was: $23.20.$14.92Current price is: $14.92.
- Add to cart
-
- Sale!
- hot sale
Inner tube for 12.5″ tire (Gen 2.0)
- Original price was: $12.00.$6.78Current price is: $6.78.
- Add to cart
-
- Sale!
- hot sale
Chair clamp shim set
- Original price was: $9.60.$5.71Current price is: $5.71.
- Add to cart
-
- Sale!
- hot sale
V-brake pads (Gen 2.0)
- Original price was: $7.16.$4.88Current price is: $4.88.
- Add to cart
-
- Sale!
- hot sale
Yadea KS3 & KS3 Lite Front Fender – White OEM Replacement
- Original price was: $4.00.$2.47Current price is: $2.47.
- Add to cart