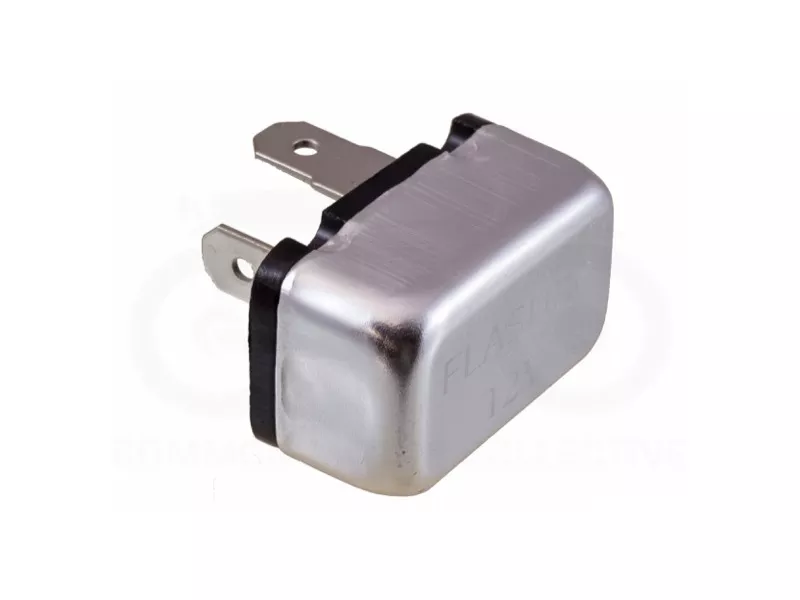
Honda Flasher Relay
Original price was: $8.00.$6.30Current price is: $6.30.
67 in stock
Description
Turn Signal Flasher Relay | Honda CB175 / CB200 / CB350 / CB360 / CB450 / CB500 / CB550 / CB750
If your turn signals stopped flashing — staying on solid or not lighting at all — the flasher relay is the most common cause. This is the OEM-style thermal flasher relay, identical to the original factory unit Honda used across all 12V twins and fours from 1965 through 1978.
Why You Need This
The turn signal flasher relay is a thermal device — current flowing through a bimetallic strip heats it until it bends and breaks the circuit, creating the on-off flashing pattern. Over time, the internal contacts corrode or the bimetallic strip weakens — resulting in signals that stay on solid, flash erratically, or stop working entirely. Because the relay is grounded through its case, corrosion at the mounting point can also cause failures.
This replacement is identical to the original factory unit — same two-terminal design with spade connectors labeled B (battery) and L (load). It is designed for use with incandescent bulbs. If you are running LED turn signals, you need the electronic flasher relay instead — thermal flashers depend on the higher current draw of incandescent bulbs to generate enough heat to cycle.
Specifications
| Spec | Detail |
|---|---|
| Replaces OEM Parts | 38301-KJ6-743, 38300-292-670, 38301-KJ6-741, 38301-KJ6-742 |
| Fits Models | CB175 / CL175 / SL175 (1968–1973), CB200 / CL200 (1973–1976), CB250 / CL250, CB350 / CL350 / SL350 (1968–1973), CB360 / CL360 / CJ360 (1974–1977), CJ250T, CB450 / CL450 (1965–1974), CB500T (1975–1976), CB500K (1971–1973), CB550K / CB550F (1974–1978), CB750 (1969–1978) |
| Terminals | Two spade: B (battery/12V+) and L (load) |
| Grounding | Negative grounding through case — mounting point must be clean bare metal |
| Sold As | Single unit |
Note: This thermal flasher is designed for incandescent bulbs only. It will not reliably flash LED turn signals due to their lower current draw. For LED-compatible operation, use our electronic flasher relay.
Installation
Difficulty: Beginner
- Locate the flasher relay — it is typically mounted under the seat or inside the headlight bucket, depending on the model.
- Disconnect the two spade connectors from the old relay and remove it from its mounting bracket.
- Clean the mounting point to ensure bare metal contact — the relay grounds through its case.
- Mount the new relay and connect the wiring: black wire (12V+) goes to the B terminal, gray wire goes to the L terminal.
- Turn the key on and test both turn signals.
Troubleshooting tip: If the new relay does not flash, check the connectors on the wiring harness for corrosion. Also inspect the switch in the left-hand control to ensure it is making proper contact.
Related products
-
- Sale!
- hot sale
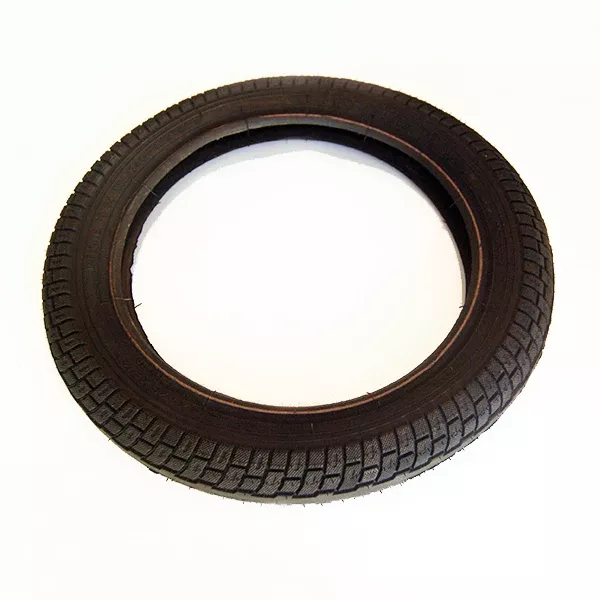
Standard tire 12.5″ (Gen 2.0)
- Original price was: $20.00.$11.59Current price is: $11.59.
- Add to cart
-
- Sale!
- hot sale
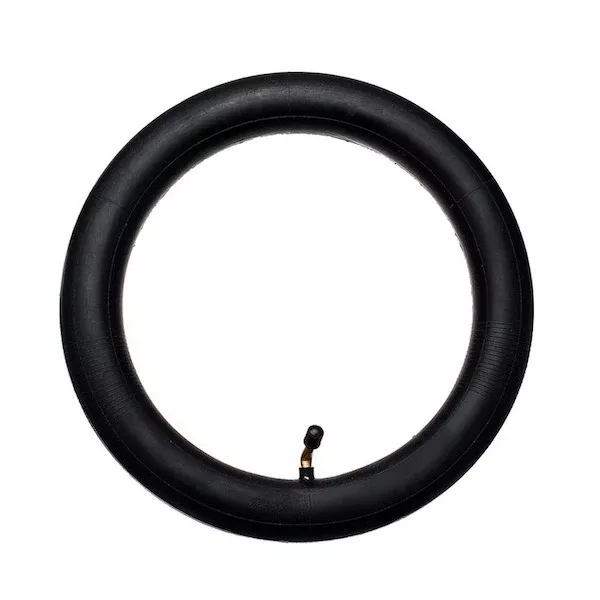
Inner tube for 12.5″ tire (Gen 2.0)
- Original price was: $12.00.$6.78Current price is: $6.78.
- Add to cart
-
- Sale!
- hot sale
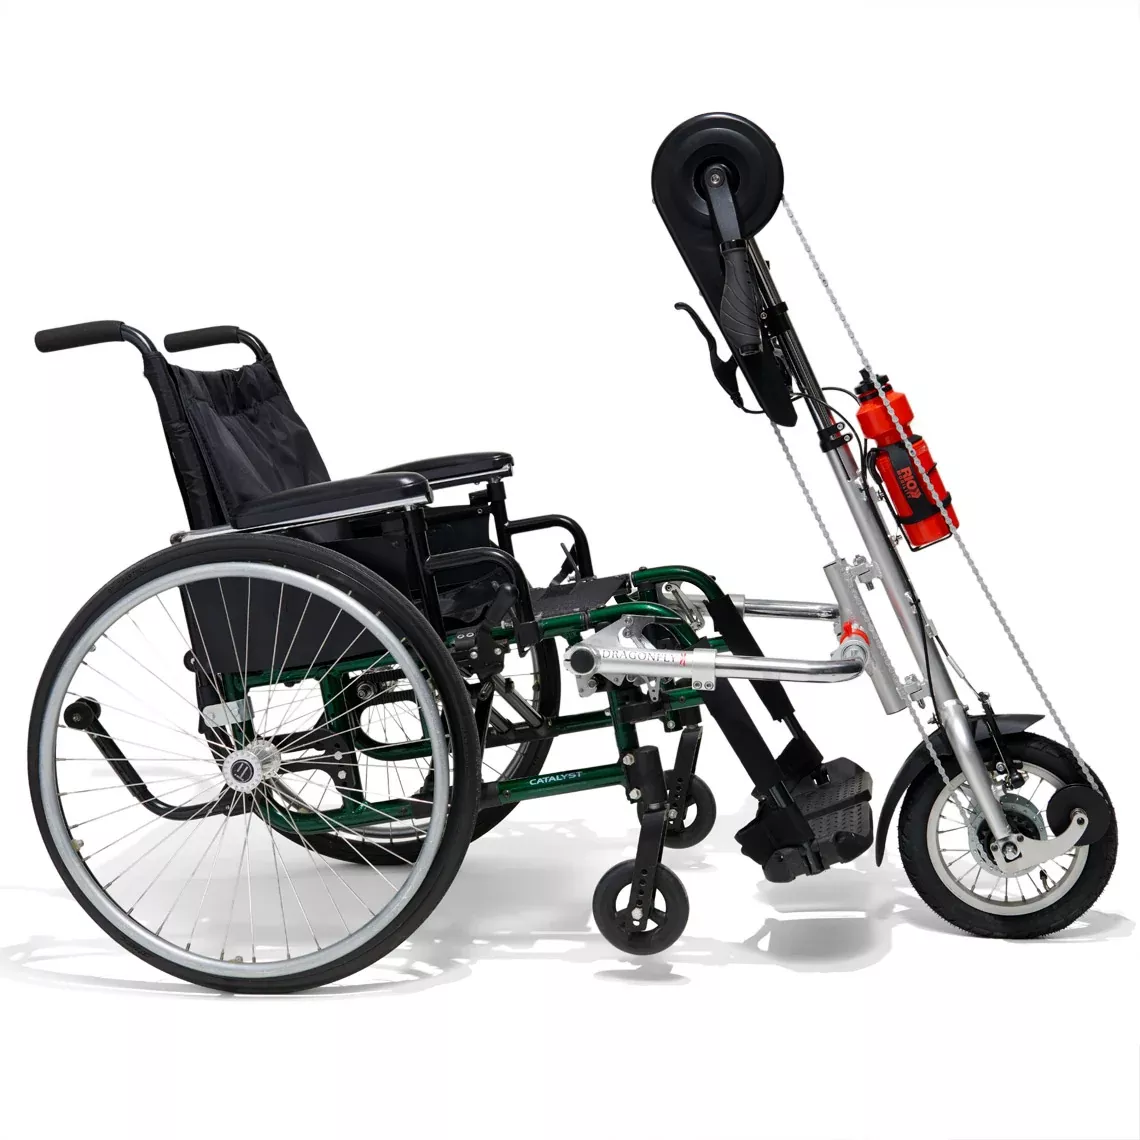
Dragonfly 2.0 – Nexus 8 Manual Handcycle
- Original price was: $1,259.40.$1,004.38Current price is: $1,004.38.
- Add to cart
-
- Sale!
- hot sale
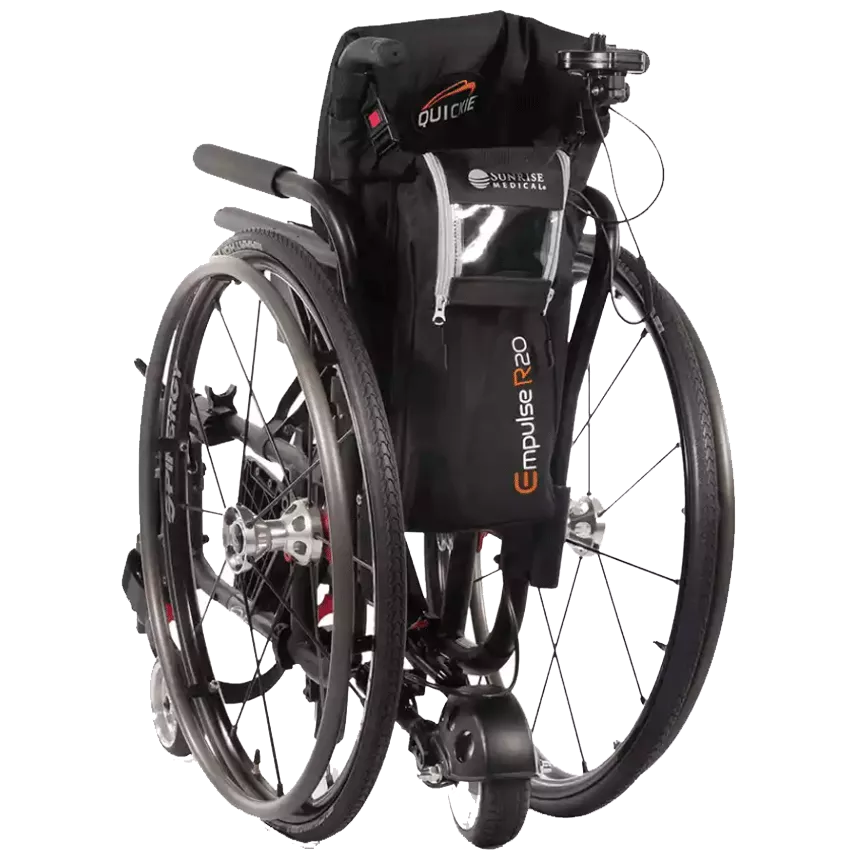
Empulse R20 Power Assist
- Original price was: $1,567.80.$1,164.94Current price is: $1,164.94.
- Add to cart
-
- Sale!
- hot sale
YADEA Y80 REAR AXLE
- Original price was: $7.20.$4.10Current price is: $4.10.
- Add to cart
-
- Sale!
- hot sale
Yadea KS5/KS5 Pro Folding Latch Buckle – Genuine OEM
- Original price was: $6.40.$4.96Current price is: $4.96.
- Add to cart
-
- Sale!
- hot sale
V-brake pads (Gen 2.0)
- Original price was: $7.16.$4.88Current price is: $4.88.
- Add to cart
-
- Sale!
- hot sale
Yadea KS3 & KS3 Lite Front Fender – Yellow OEM Replacement
- Original price was: $4.00.$3.14Current price is: $3.14.
- Add to cart