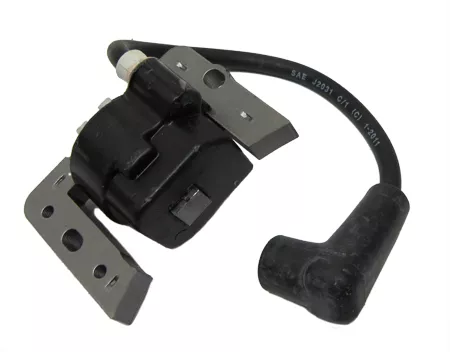

Ignition Coil | Honda CT90 / Trail 90
Original price was: $52.00.$40.21Current price is: $40.21.
40 in stock
Description
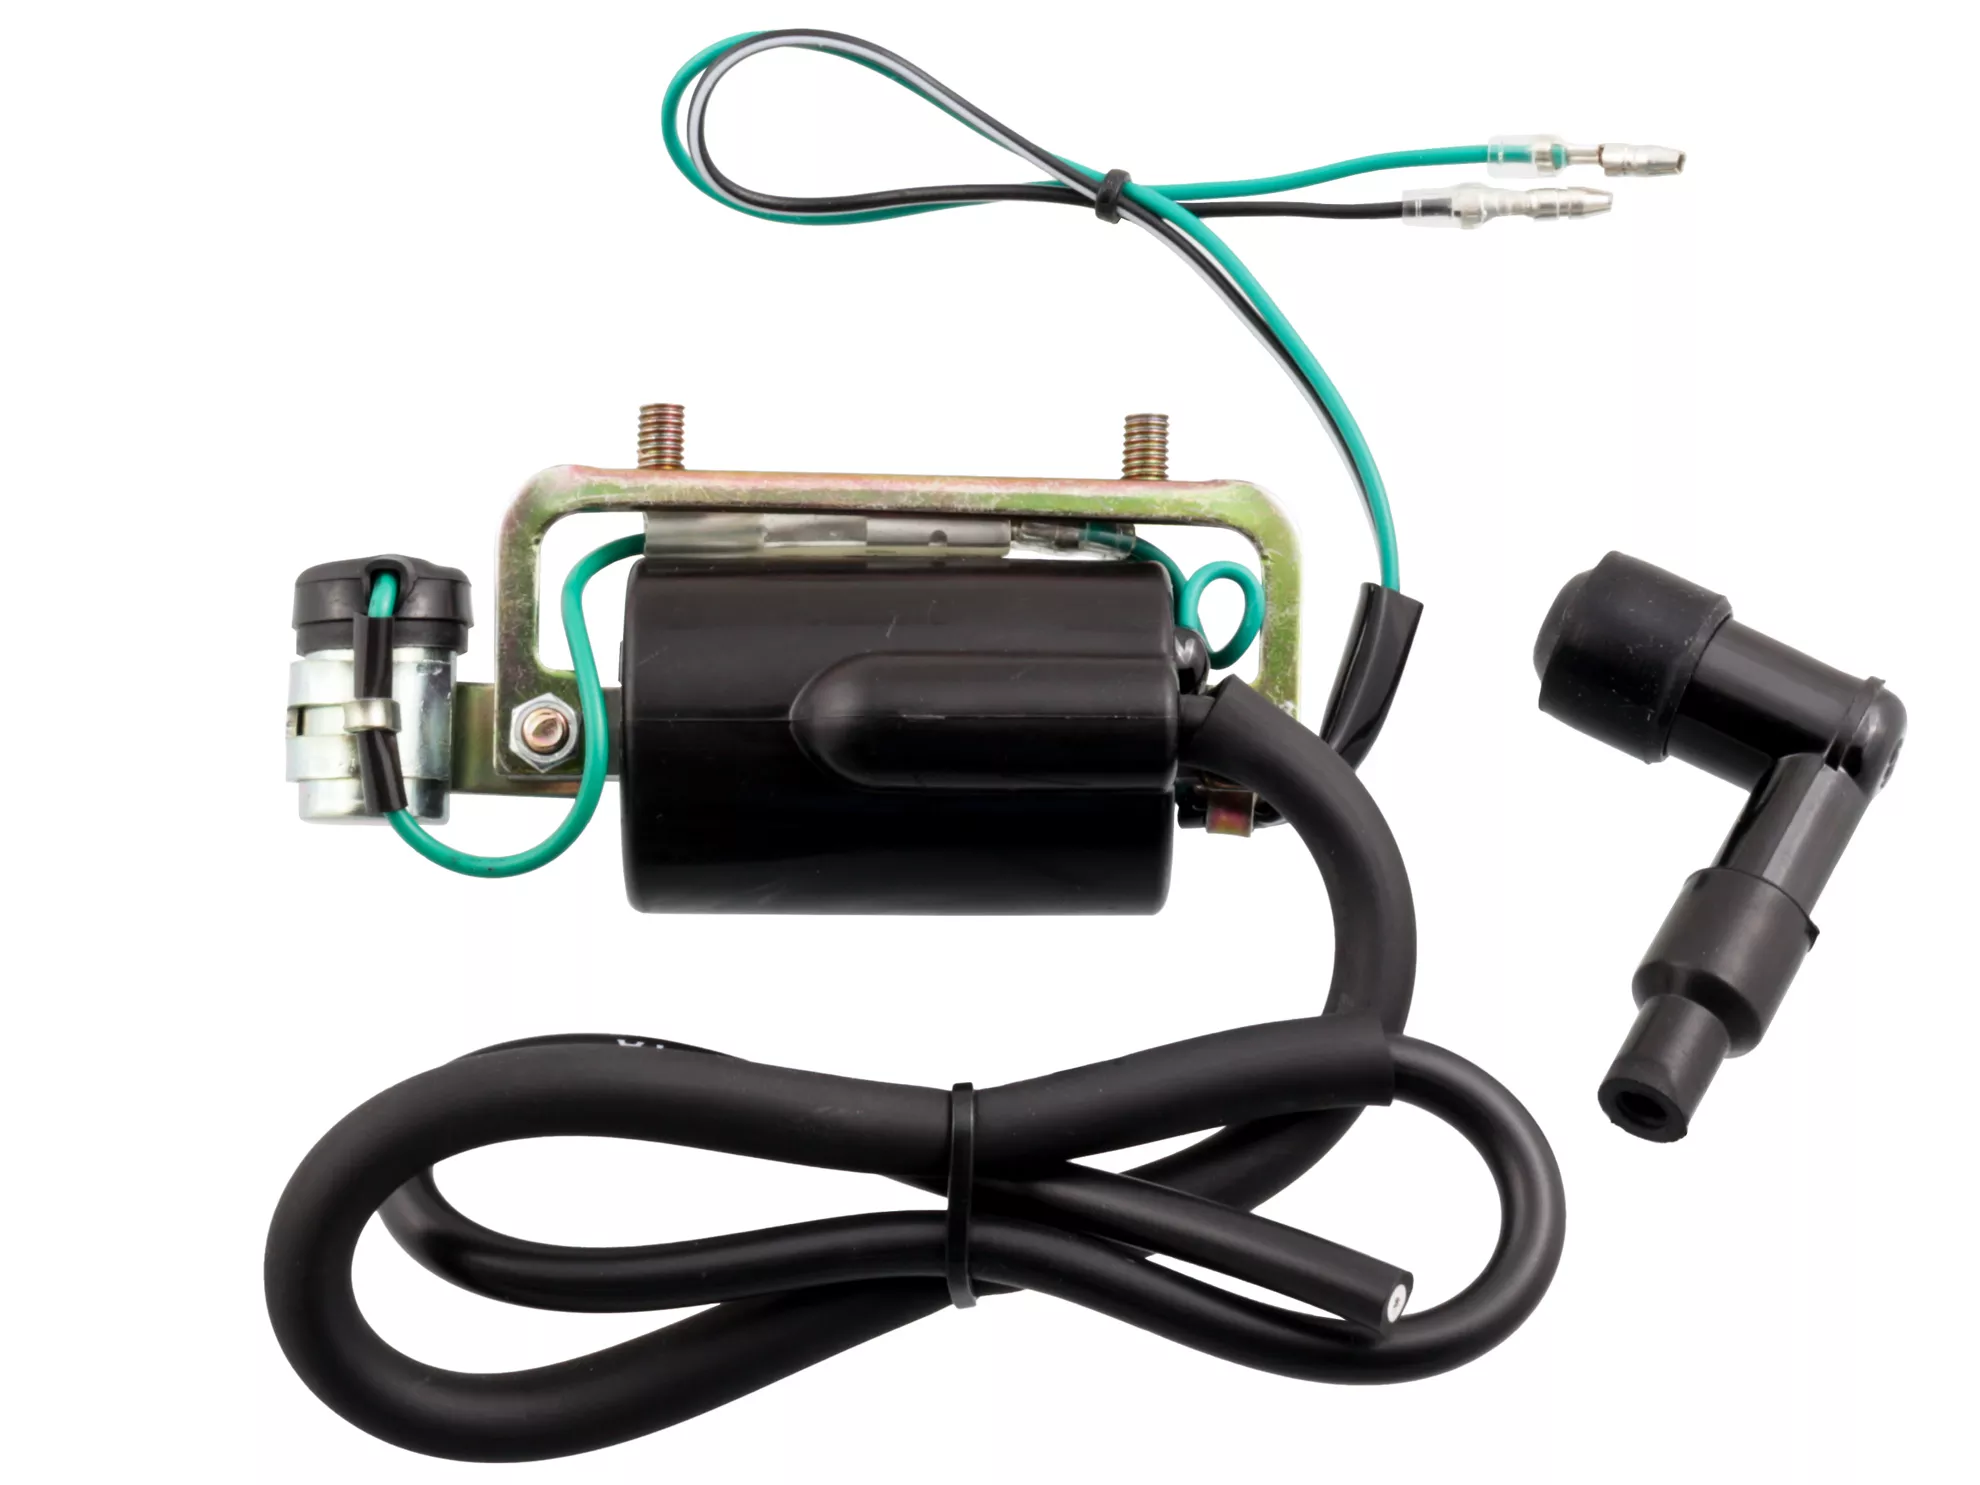
Ignition Coil & Condenser Kit | Honda CT90 / Trail 90
If your CT90 is hard to start, won’t idle, or has a weak spark that looks dull white or yellow instead of bright blue, your decades-old factory ignition coil has likely worn out. This complete kit includes a new ignition coil, condenser, and spark plug boot — everything you need to restore strong, reliable spark to your Trail 90.
Why You Need This
Ignition coils degrade over time, producing weaker and more irregular sparks until they fail completely. Most CT90s are still running on their original coil from the 1960s or 1970s. A fresh coil delivers a stronger spark, which means easier kick-starting, smoother idle, and better performance across the rev range.
This kit also includes a new condenser — one of the most failure-prone electrical components on the CT90. Even if your coil is the primary concern, replacing the condenser at the same time makes sense because both parts are buried deep inside the frame, under the gas tank, and behind the battery. Getting to them requires removing several components, so doing both jobs at once saves significant labor. Extra condensers are available as an optional add-on so you can keep spares on hand.
If your ignition troubles persist after replacing the coil and condenser, check your spark plug and ignition contact points next.
Specifications
| Spec | Detail |
|---|---|
| Replaces OEM Part Numbers | 30530-102-780 (coil), 30500-128-013 (coil), 30250-052-000 (condenser), 30700-MG7-000 (boot) |
| Fits Models | CT90 K0–K9 / Trail 90 (1966–1979) |
| Sold As | Complete kit (coil + condenser + spark plug boot) |
| Voltage | 6V |
What’s in the Kit
- Ignition coil (1)
- Ignition condenser (1)
- Spark plug boot (1)
Installation
Difficulty: Intermediate — requires removing several components to access the coil inside the frame.
- Disconnect the battery. Remove the spine cover, air filter box, and brush guard/crash guard.
- Remove the muffler — spray the header pipe nuts with penetrating oil first, as they tend to be very rusty. There are two bolts at the cylinder head, one at the gas tank stud, and one at the rear shock mount.
- Unbolt the gas tank and tie it up out of the way (you do not need to fully remove it).
- Remove the battery and battery tray front bracket for clearance.
- Unbolt the old coil (two nuts hold it inside the frame). Disconnect the black/white stripe wire (positive) and the green wire (points connection).
- Unscrew the spark plug boot and pull the old spark plug wire back through the frame.
- Feed the new spark plug wire through the frame tube and out near the cylinder head.
- Mount the new coil with the condenser pointing toward the rear and the wire toward the front. Reconnect the black/white stripe wire and green wire.
- Thread the spark plug boot onto the wire end — the boot has an internal screw that threads into the wire like a corkscrew. Push and twist until seated.
- Set the ignition timing. Even if you get spark immediately, the timing may not be correct for proper engine operation.
Wire routing tip: The factory routing runs the spark plug wire close to the exhaust, which exposes it to heat. We recommend routing the wire over the top of the engine and down to the spark plug instead. This keeps the wire away from the exhaust and cylinder fins.
Related products
-
- Sale!
- hot sale
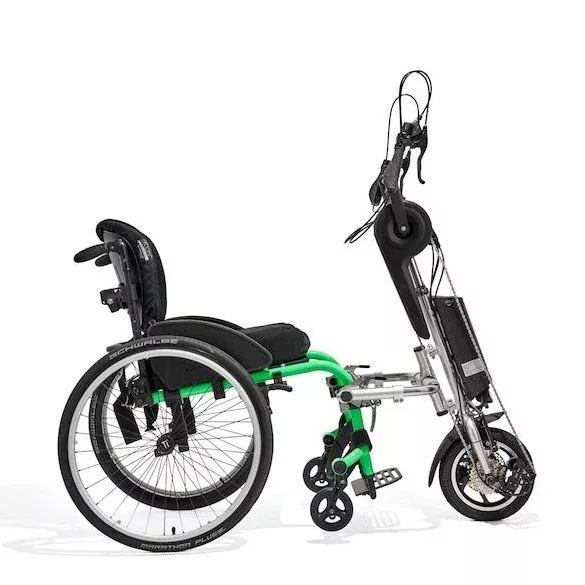
eDragonfly 2.0 Electric Assisted Handcycle
- Original price was: $1,559.40.$976.86Current price is: $976.86.
- Add to cart
-
- Sale!
- hot sale
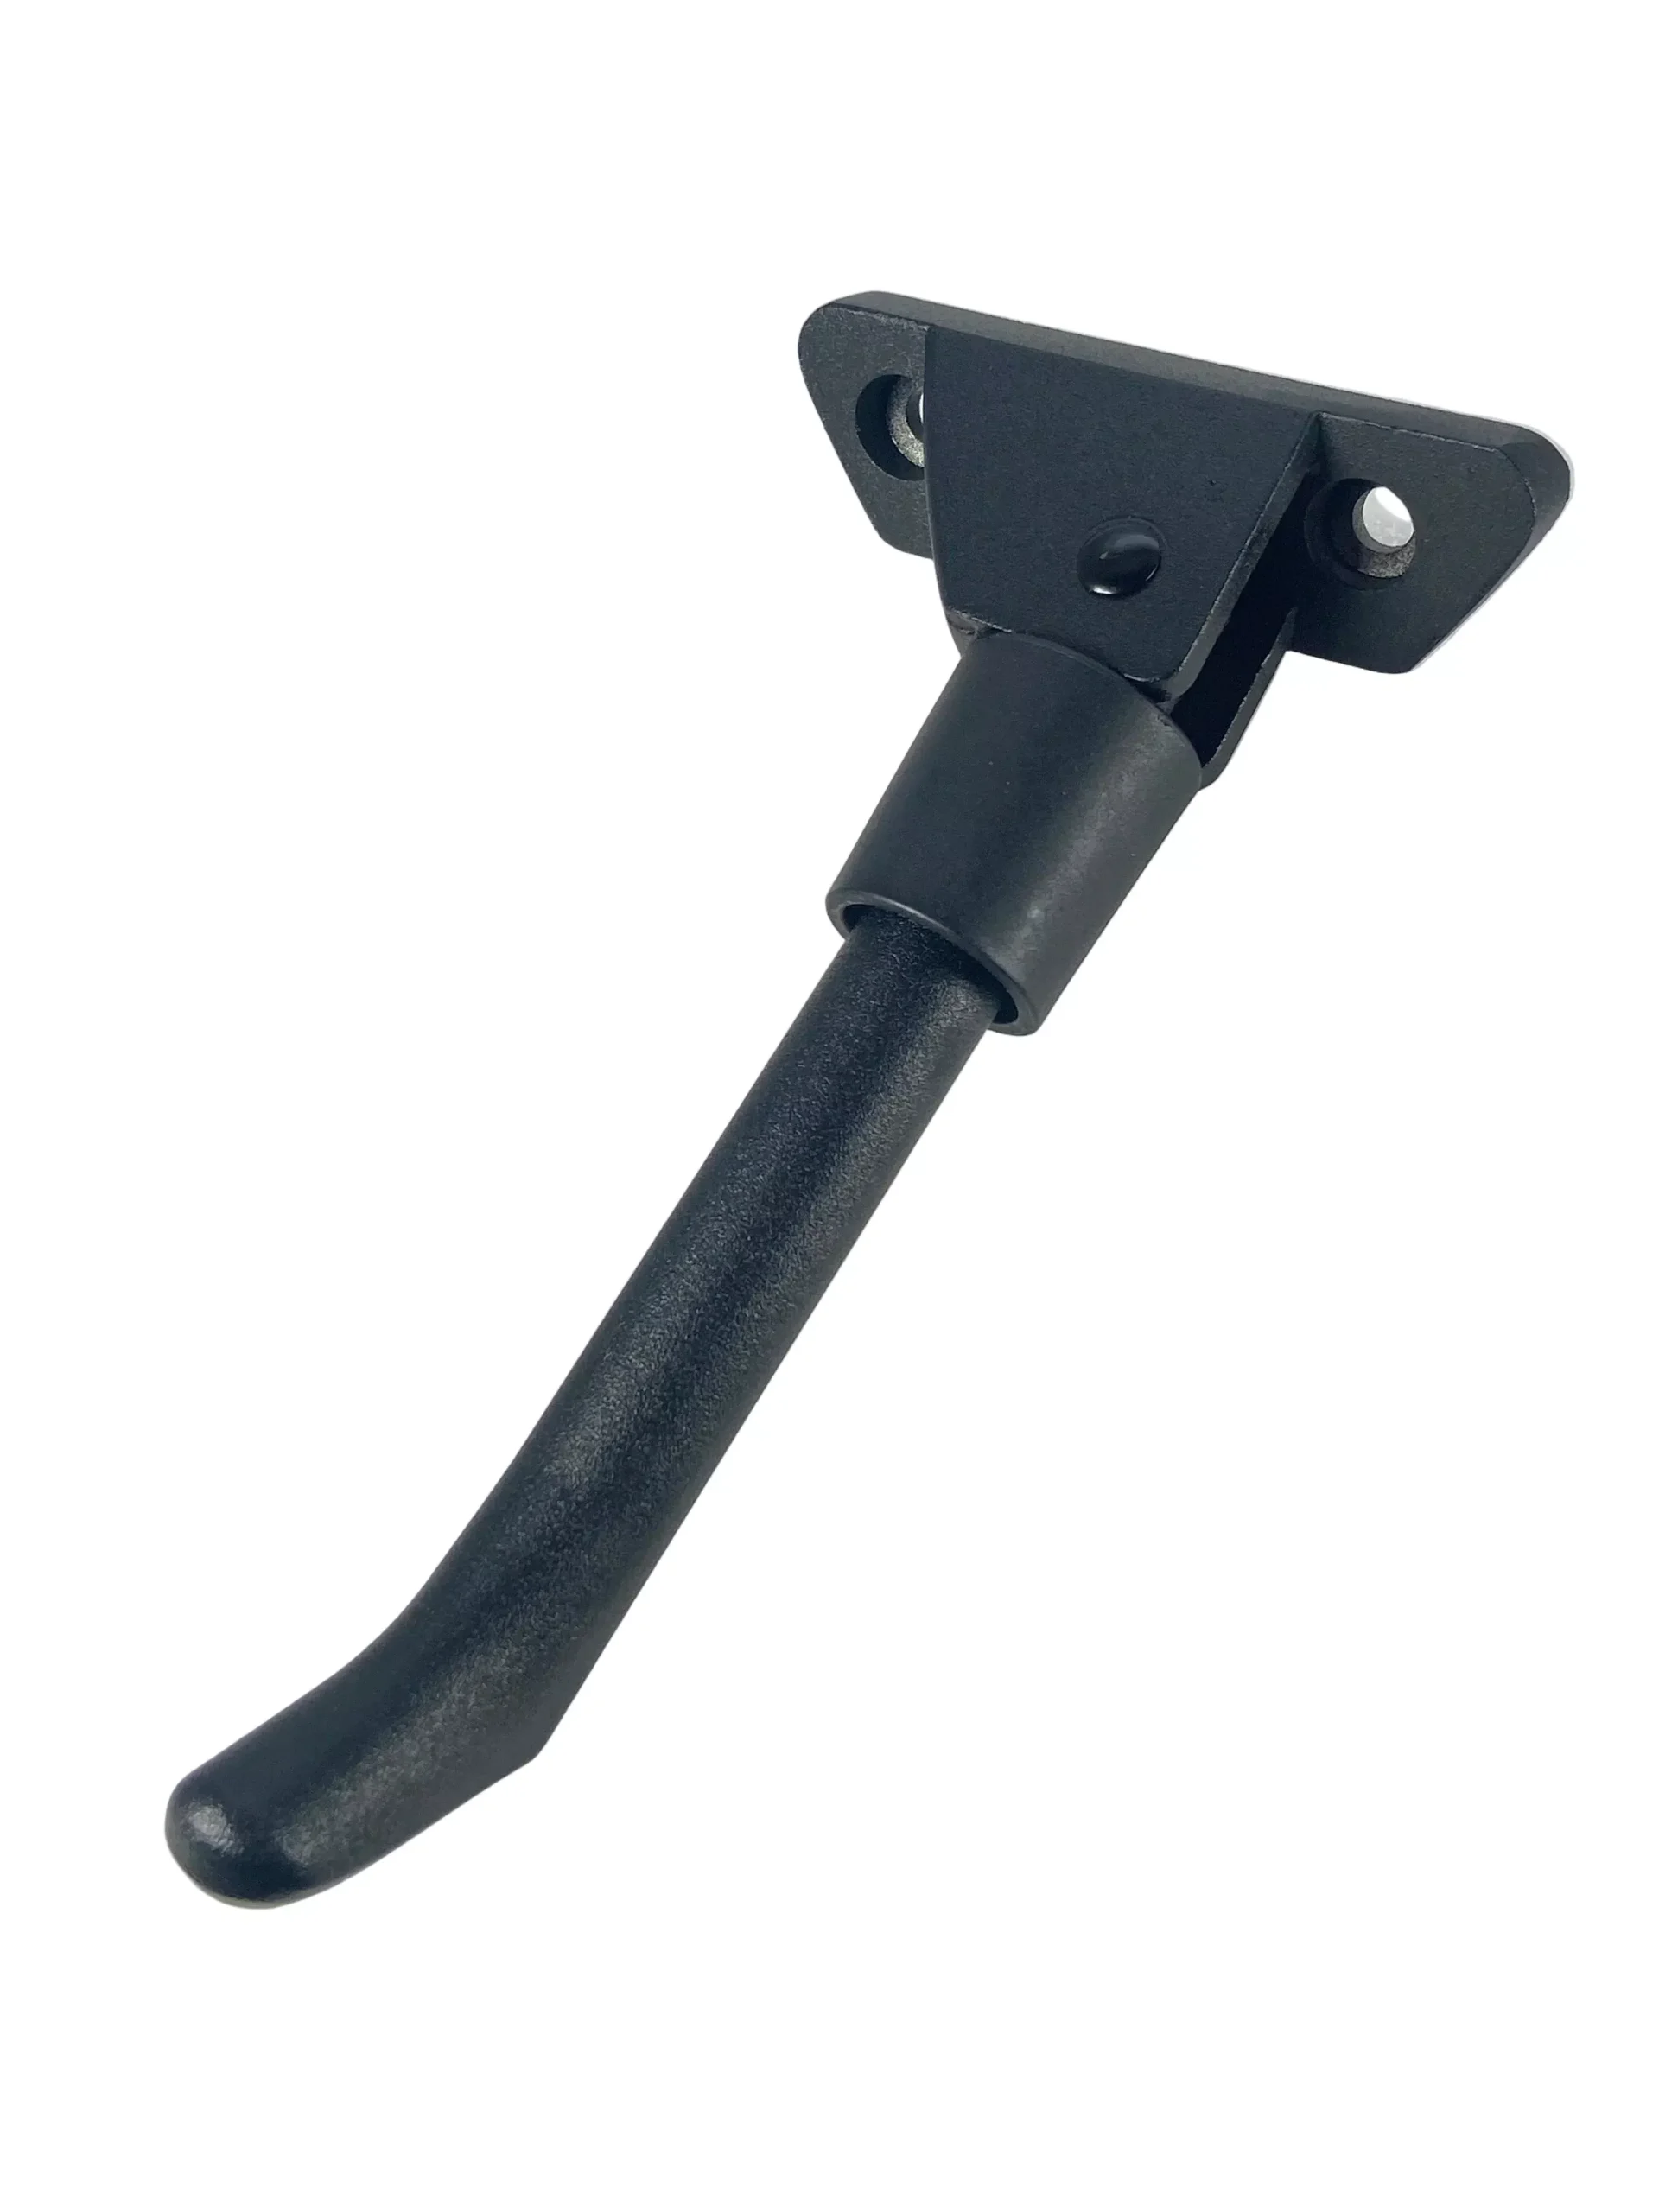
Yadea KS5 & KS5 Pro Kickstand – Genuine OEM
- Original price was: $7.20.$4.60Current price is: $4.60.
- Add to cart
-
- Sale!
- hot sale
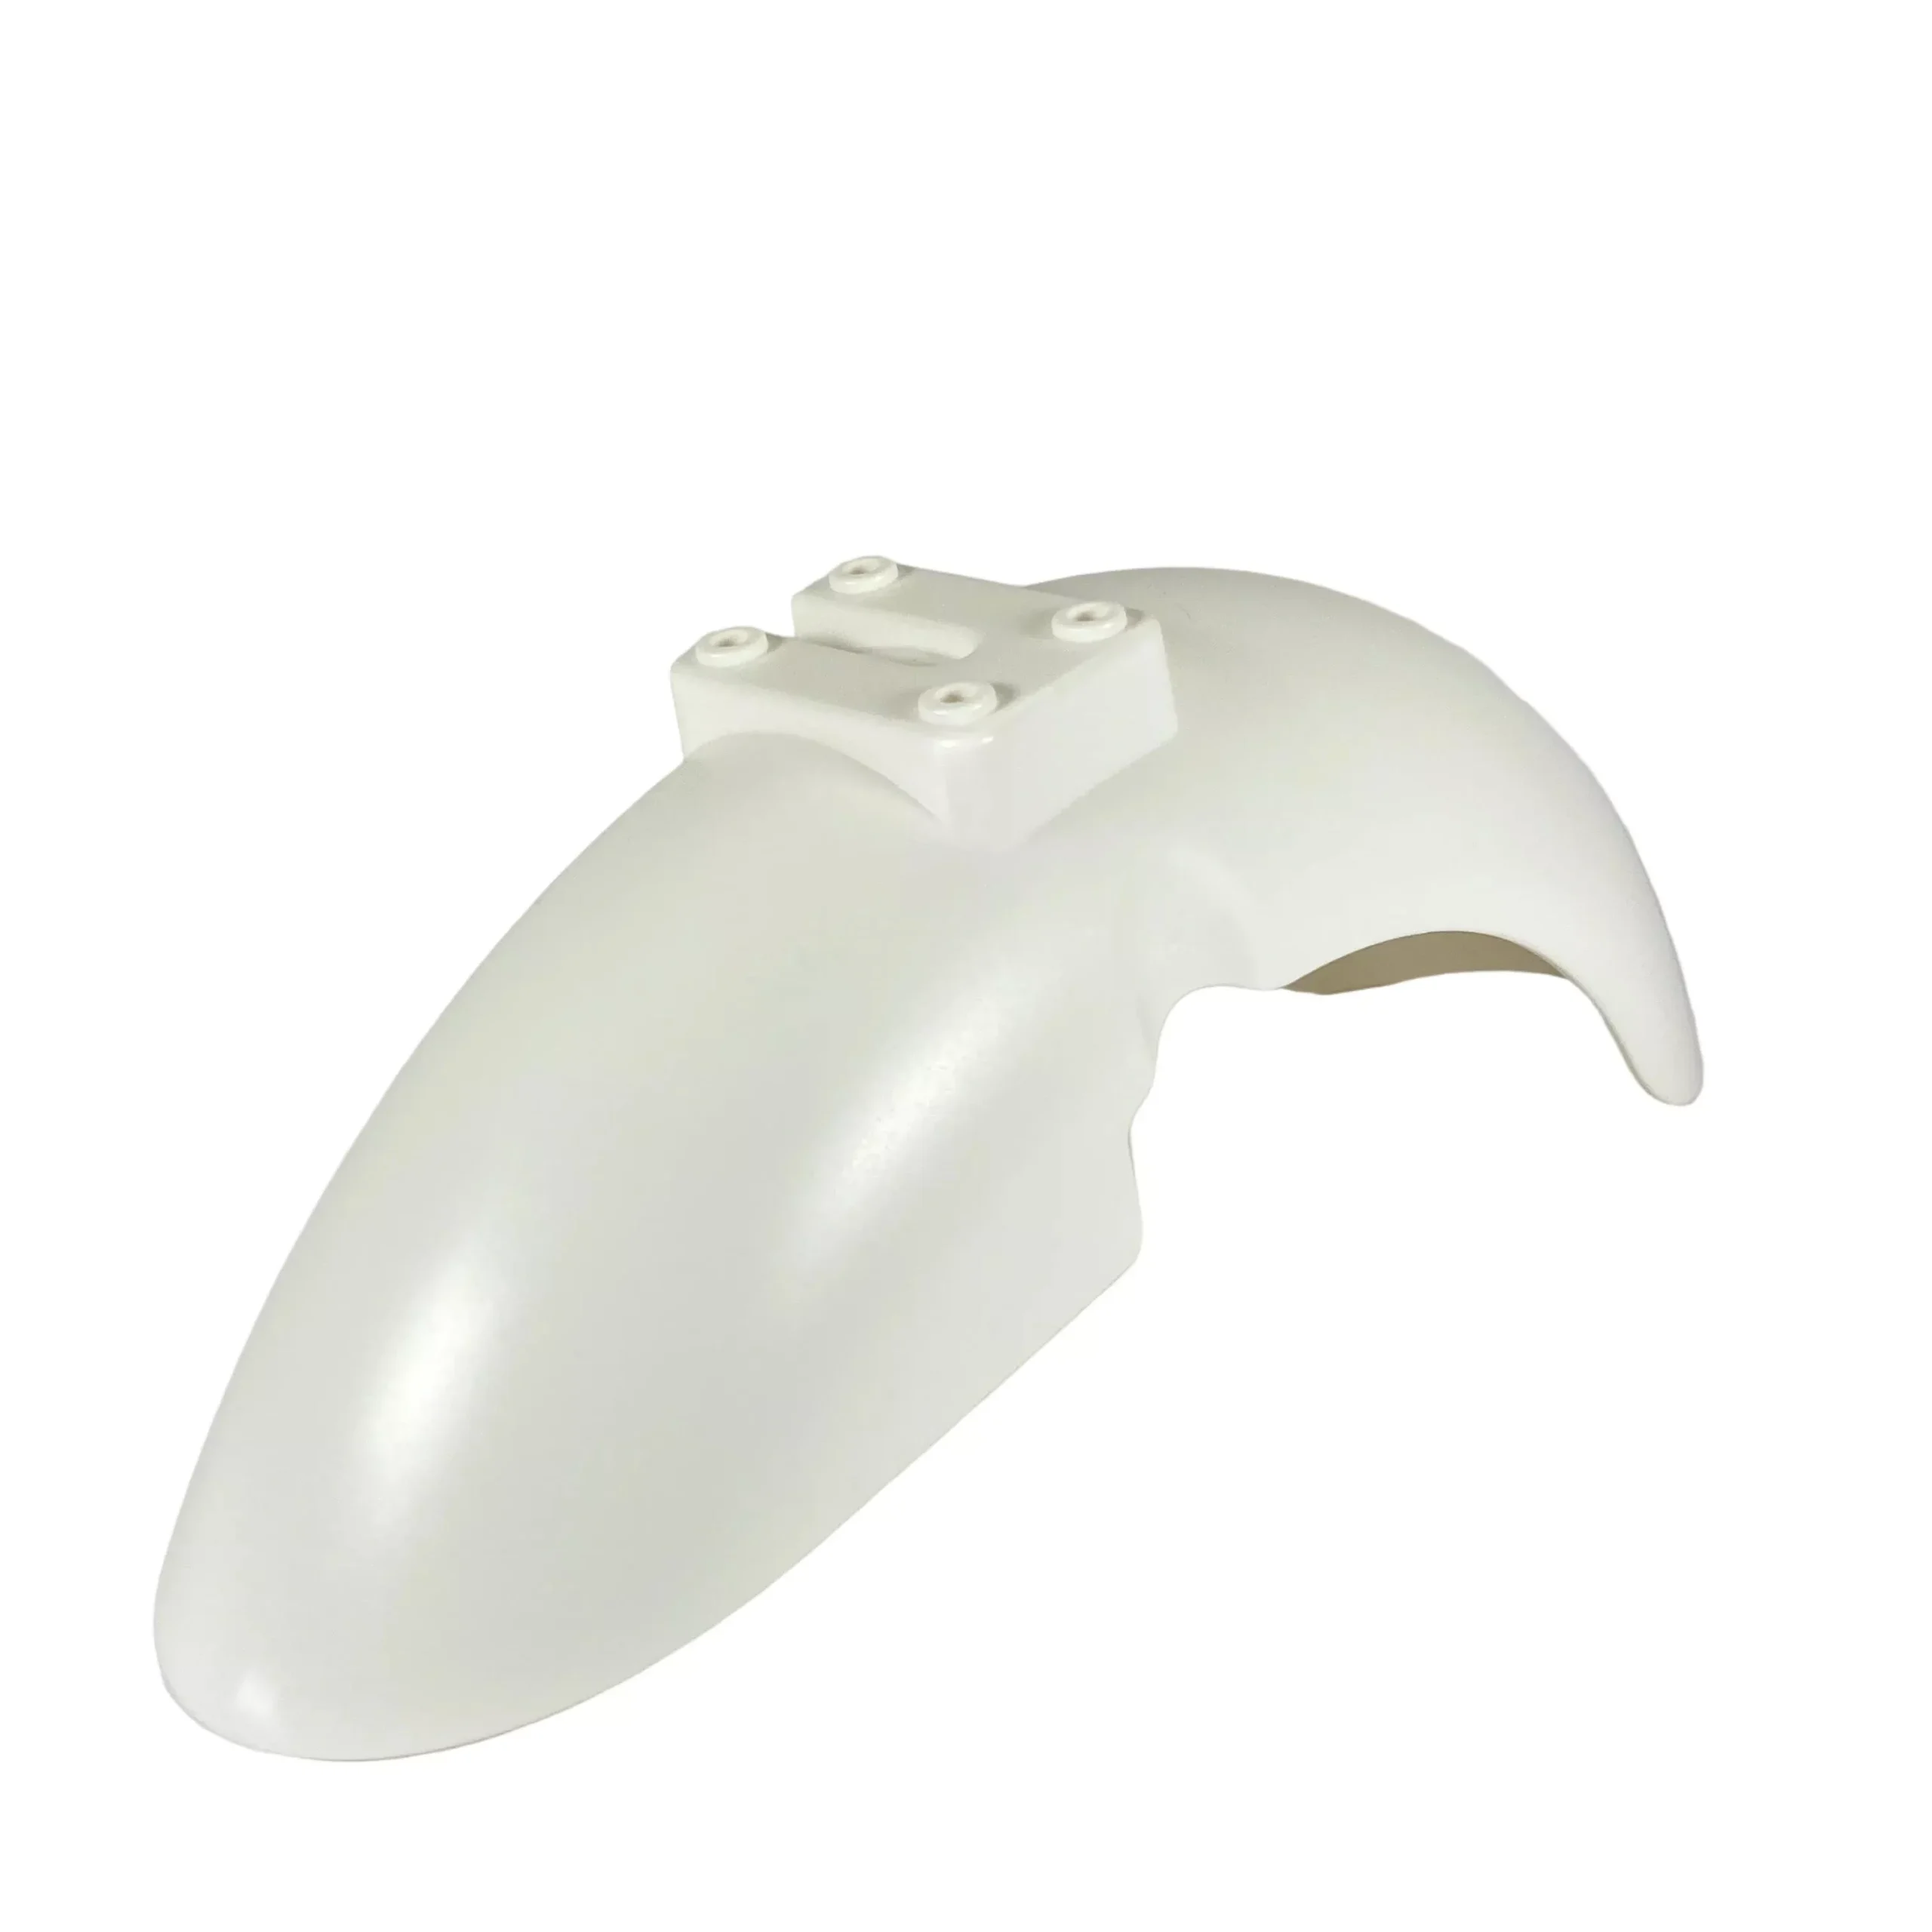
Yadea KS3 & KS3 Lite Front Fender – White OEM Replacement
- Original price was: $4.00.$2.47Current price is: $2.47.
- Add to cart
-
- Sale!
- hot sale
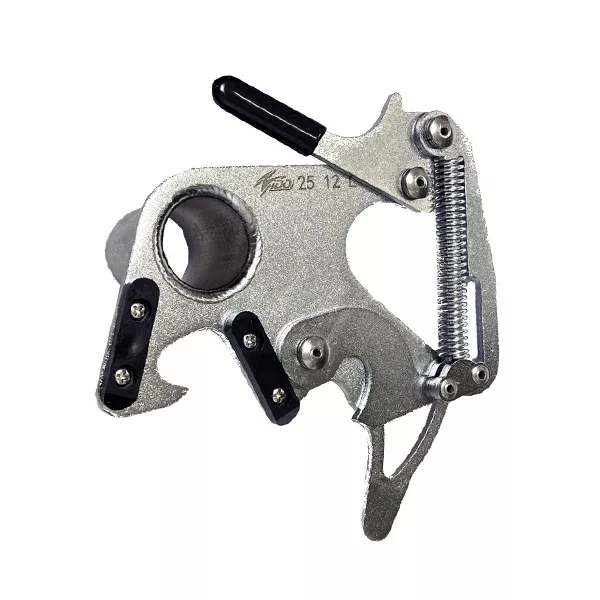
Coupler plate -QR attachment mechanism (sold per side)
- Original price was: $59.96.$39.98Current price is: $39.98.
- Add to cart
-
- Sale!
- hot sale
Yadea Elite Prime & KS Series AC Charging Cord (OEM)
- Original price was: $3.20.$1.80Current price is: $1.80.
- Add to cart
-
- Sale!
- hot sale
Genuine Yadea Trooper 01/Trooper Plus Motor Controller – OEM
- Original price was: $88.00.$55.16Current price is: $55.16.
- Add to cart
-
- Sale!
- hot sale
Inner tube for 12.5″ tire (Gen 2.0)
- Original price was: $12.00.$6.78Current price is: $6.78.
- Add to cart
-
- Sale!
- hot sale
Disc brake pads (Bengal – Gen 2.0)
- Original price was: $15.16.$11.29Current price is: $11.29.
- Add to cart