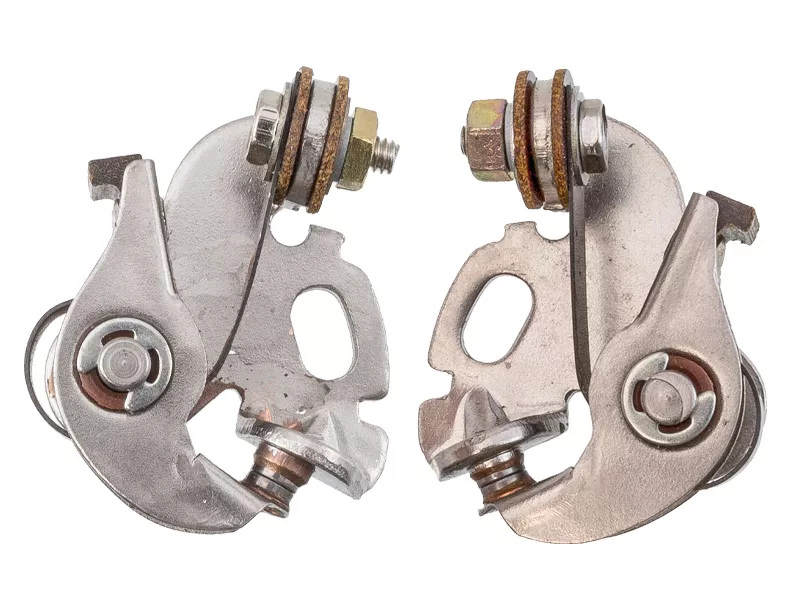
Ignition Point Set | Honda CB500K / CB550 / CB750
Original price was: $24.00.$17.22Current price is: $17.22.
27 in stock
Description
Ignition Point Set | Honda CB500K / CB550 / CB750
If your four-cylinder Honda is stuttering, missing, hard to start, or dead in the water, worn contact points are one of the first places to look. This is the complete set — both the 1-4 and the 2-3 points — so you fix both sides of the ignition in one go.
Why You Need This
Contact points are a wear item. After decades of service (or 6,000 miles, whichever comes first), the faces get pitted, the spring tension weakens, and the gap drifts out of spec. When that happens the spark timing gets sloppy and your CB500K, CB550, or CB750 starts running on three cylinders, refusing to idle, or refusing to start at all. Swapping in a fresh set is the most reliable way to restore clean, consistent spark timing — and it’s part of CMC’s standard 1,500-mile tune-up interval for these bikes.
This set ships as a pair because every four-cylinder Honda in this family uses two contact breakers — one for cylinders 1 and 4 (the left point), and one for cylinders 2 and 3 (the right point). Replacing only one side leaves you chasing timing problems on the other. Get both, do both.
Specifications
| Spec | Detail |
|---|---|
| Replaces OEM Part Numbers | 30203-300-154, 30203-300-005 (1-4 points); 30204-300-154, 30204-300-005 (2-3 points) |
| Fits Models | CB500K (1971–1973), CB550K (1974–1978), CB550F (1975–1977), CB750A (1976–1978), CB750KA (1977–1978), CB750FA (1977–1978) |
| Sold As | Set of 2 (one 1-4 point, one 2-3 point — both sides in one kit) |
| Point Gap Spec | 0.012″–0.016″ (0.3–0.4 mm) |
| Service Life | Inspect and adjust every 1,500 mi / 2,400 km; plan to replace around 6,000 mi / 9,600 km |
Note: This set fits the four-cylinder Honda family only (CB500K, CB550, CB750). It does not fit the CB500T parallel twin, which uses a completely different ignition points assembly shared with the CB450 and CL450.
What’s in the Kit
- 1 x Contact Point — cylinders 1 & 4 (left point)
- 1 x Contact Point — cylinders 2 & 3 (right point)
Installation
Difficulty: Intermediate
Tools needed: 12V test lamp, feeler gauge (0.012″ leaf), flathead screwdriver, and — for dynamic timing — a stroboscopic timing light.
- Pull the spark plugs so the engine turns over easily by hand.
- Remove the point cover on the left side of the engine at the crankshaft to expose the two contact breakers.
- Rotate the crankshaft until the slipper on the 1-4 contact breaker is sitting on the highest point of the cam lobe. Set that gap to 0.012″–0.016″ (0.3–0.4 mm) with a feeler gauge.
- Repeat for the 2-3 contact breaker, rotating the crank to the highest point on that side before measuring.
- Static-time the 1-4 side with a 12V test lamp clipped to the primary cord connection, aligning the “F” (1-4) mark with the timing mark when the lamp lights.
- Do the same for the 2-3 side using the opposite contact breaker’s primary cord.
- Dynamic-time with a stroboscopic timing light once the engine is warmed up. The strobe method is what gets you to truly dead-on timing.
Keep your kill switch OFF between checks. If the kill switch is ON and the points happen to be closed, you’ll be running continuous current through the coils and you can cook them. The test lamp procedure is quick — only power the coils when you’re actively reading the lamp.
Tip from the video: Before you install fresh points, it’s worth pulling the mechanical advance mechanism, cleaning it, and re-greasing it. A gummed-up advancer will throw your dynamic timing off no matter how carefully you set the static gap. A small dab of white grease on the felt wick keeps the follower lubricated after install.
Related products
-
- Sale!
- hot sale
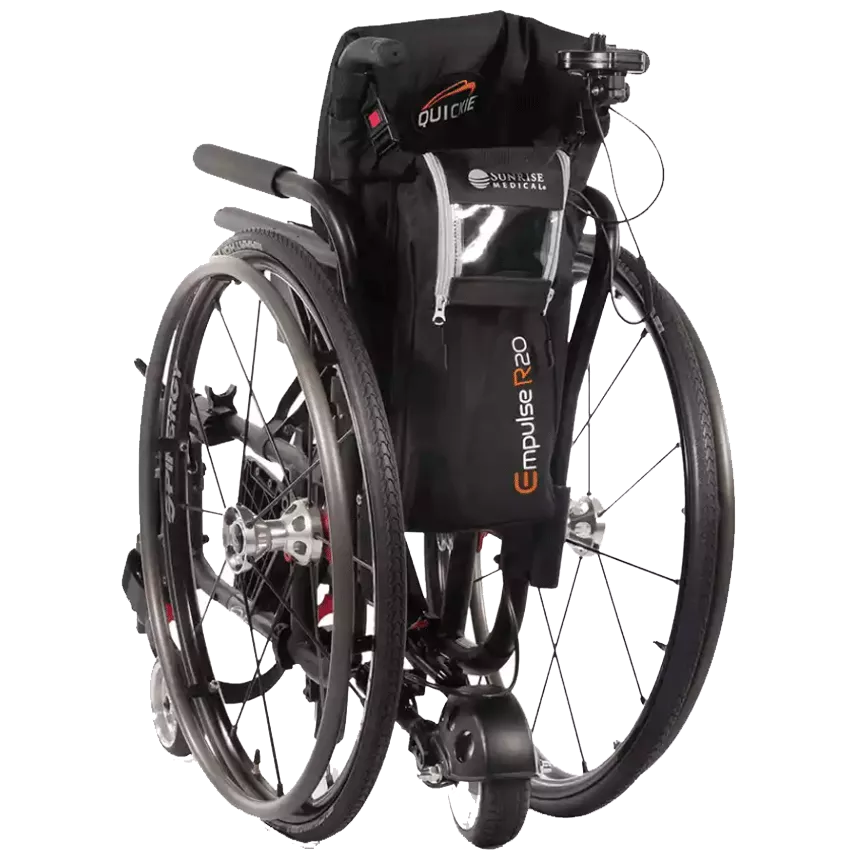
Empulse R20 Power Assist
- Original price was: $1,567.80.$1,164.94Current price is: $1,164.94.
- Add to cart
-
- Sale!
- hot sale
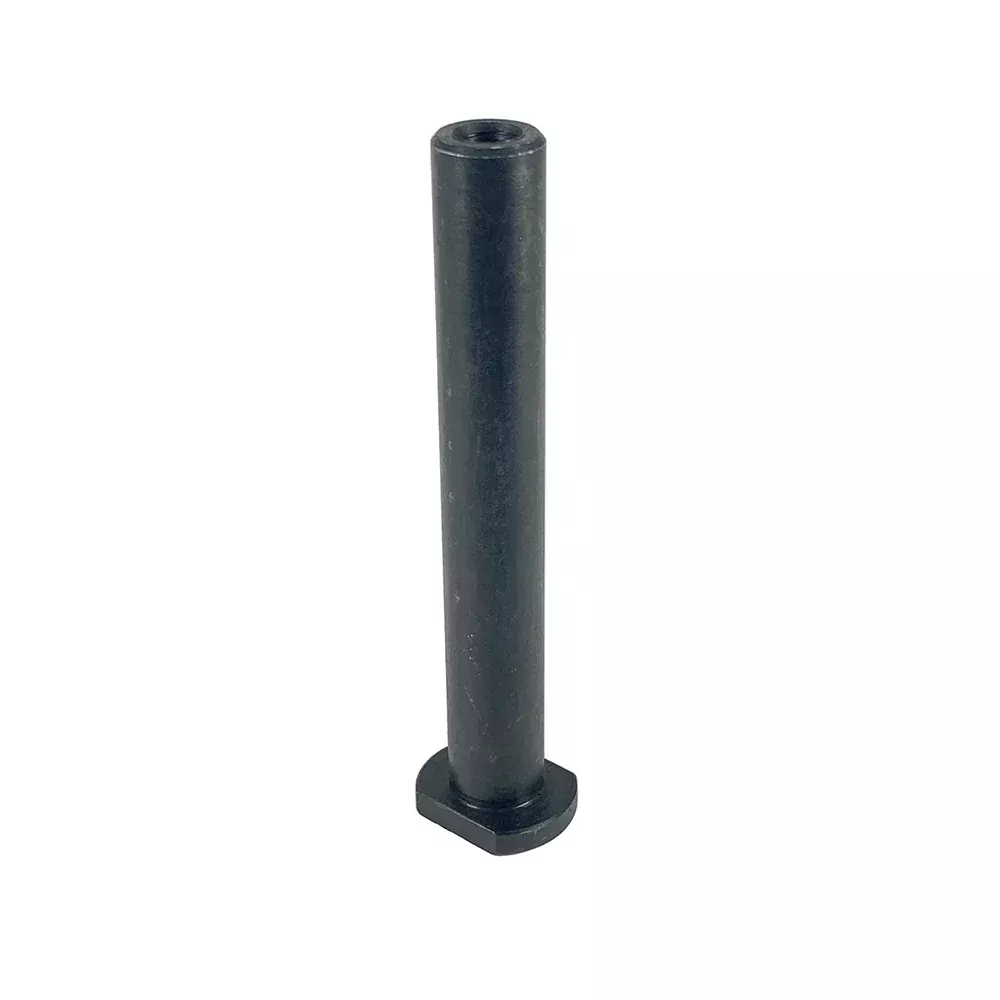
YADEA Y80 REAR AXLE
- Original price was: $7.20.$4.10Current price is: $4.10.
- Add to cart
-
- Sale!
- hot sale
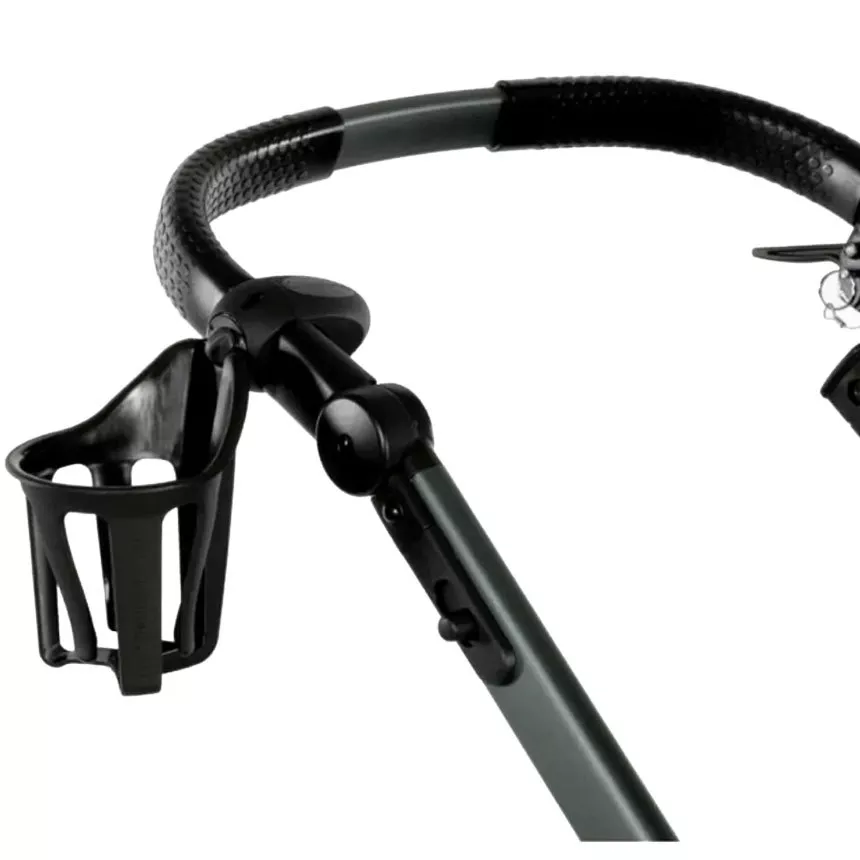
Cup Holder Universal Mount Kit
- Original price was: $28.80.$21.70Current price is: $21.70.
- Add to cart
-
- Sale!
- hot sale
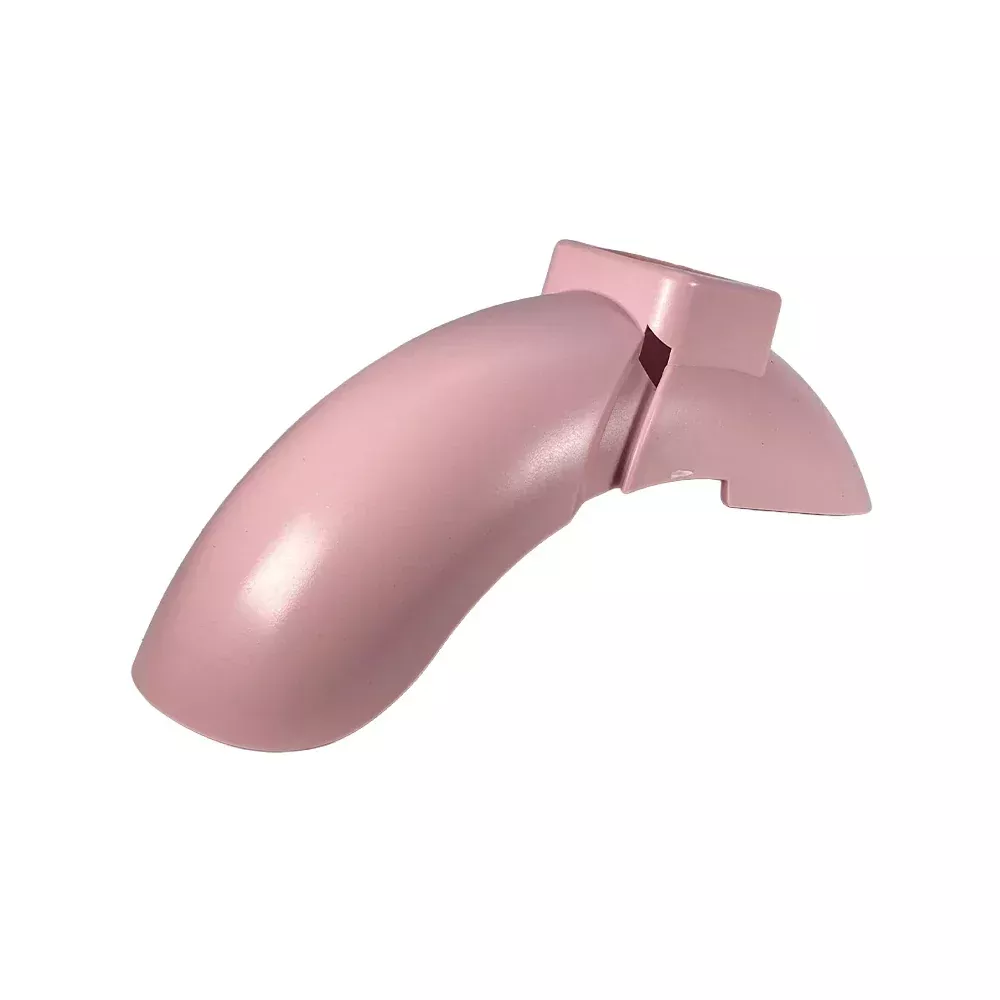
Yadea KS3 & KS3 Lite Front Fender – Pink OEM Replacement
- Original price was: $4.80.$2.94Current price is: $2.94.
- Add to cart
-
- Sale!
- hot sale
Yadea KS5 & KS5 Pro Kickstand – Genuine OEM
- Original price was: $7.20.$4.60Current price is: $4.60.
- Add to cart
-
- Sale!
- hot sale
V-brake pads (Gen 2.0)
- Original price was: $7.16.$4.88Current price is: $4.88.
- Add to cart
-
- Sale!
- hot sale
Yadea KS3 & KS3 Lite Front Fender – White OEM Replacement
- Original price was: $4.00.$2.47Current price is: $2.47.
- Add to cart
-
- Sale!
- hot sale
eDragonfly 2.0 Electric Assisted Handcycle
- Original price was: $1,559.40.$976.86Current price is: $976.86.
- Add to cart