Rear Wheel Bearing & Seal Kit | Honda CB350 / CL350 / CB360 / CL360
Original price was: $24.00.$18.47Current price is: $18.47.
66 in stock
Description
Rear Wheel Bearing & Seal Kit | Honda CB350 / CB360
Wheel bearings are what let your Honda’s rear wheel spin smooth and true, and they are one of the most overlooked parts on these bikes — most are still riding on whatever the previous owner left in the hub. This kit covers the rear drum-brake hub on the CB350 / CL350 / SL350 K0 and the CB360 / CL360 / CJ360 with top quality European made bearings and a fresh dust seal.
Why You Need This
Worn rear wheel bearings let the wheel develop play and wobble — and it only gets worse the more you ride. If your rear bearings are oozing grease, feel crunchy when you spin the wheel, or show lateral play (back-and-forth movement perpendicular to the axle), it is time to replace them.
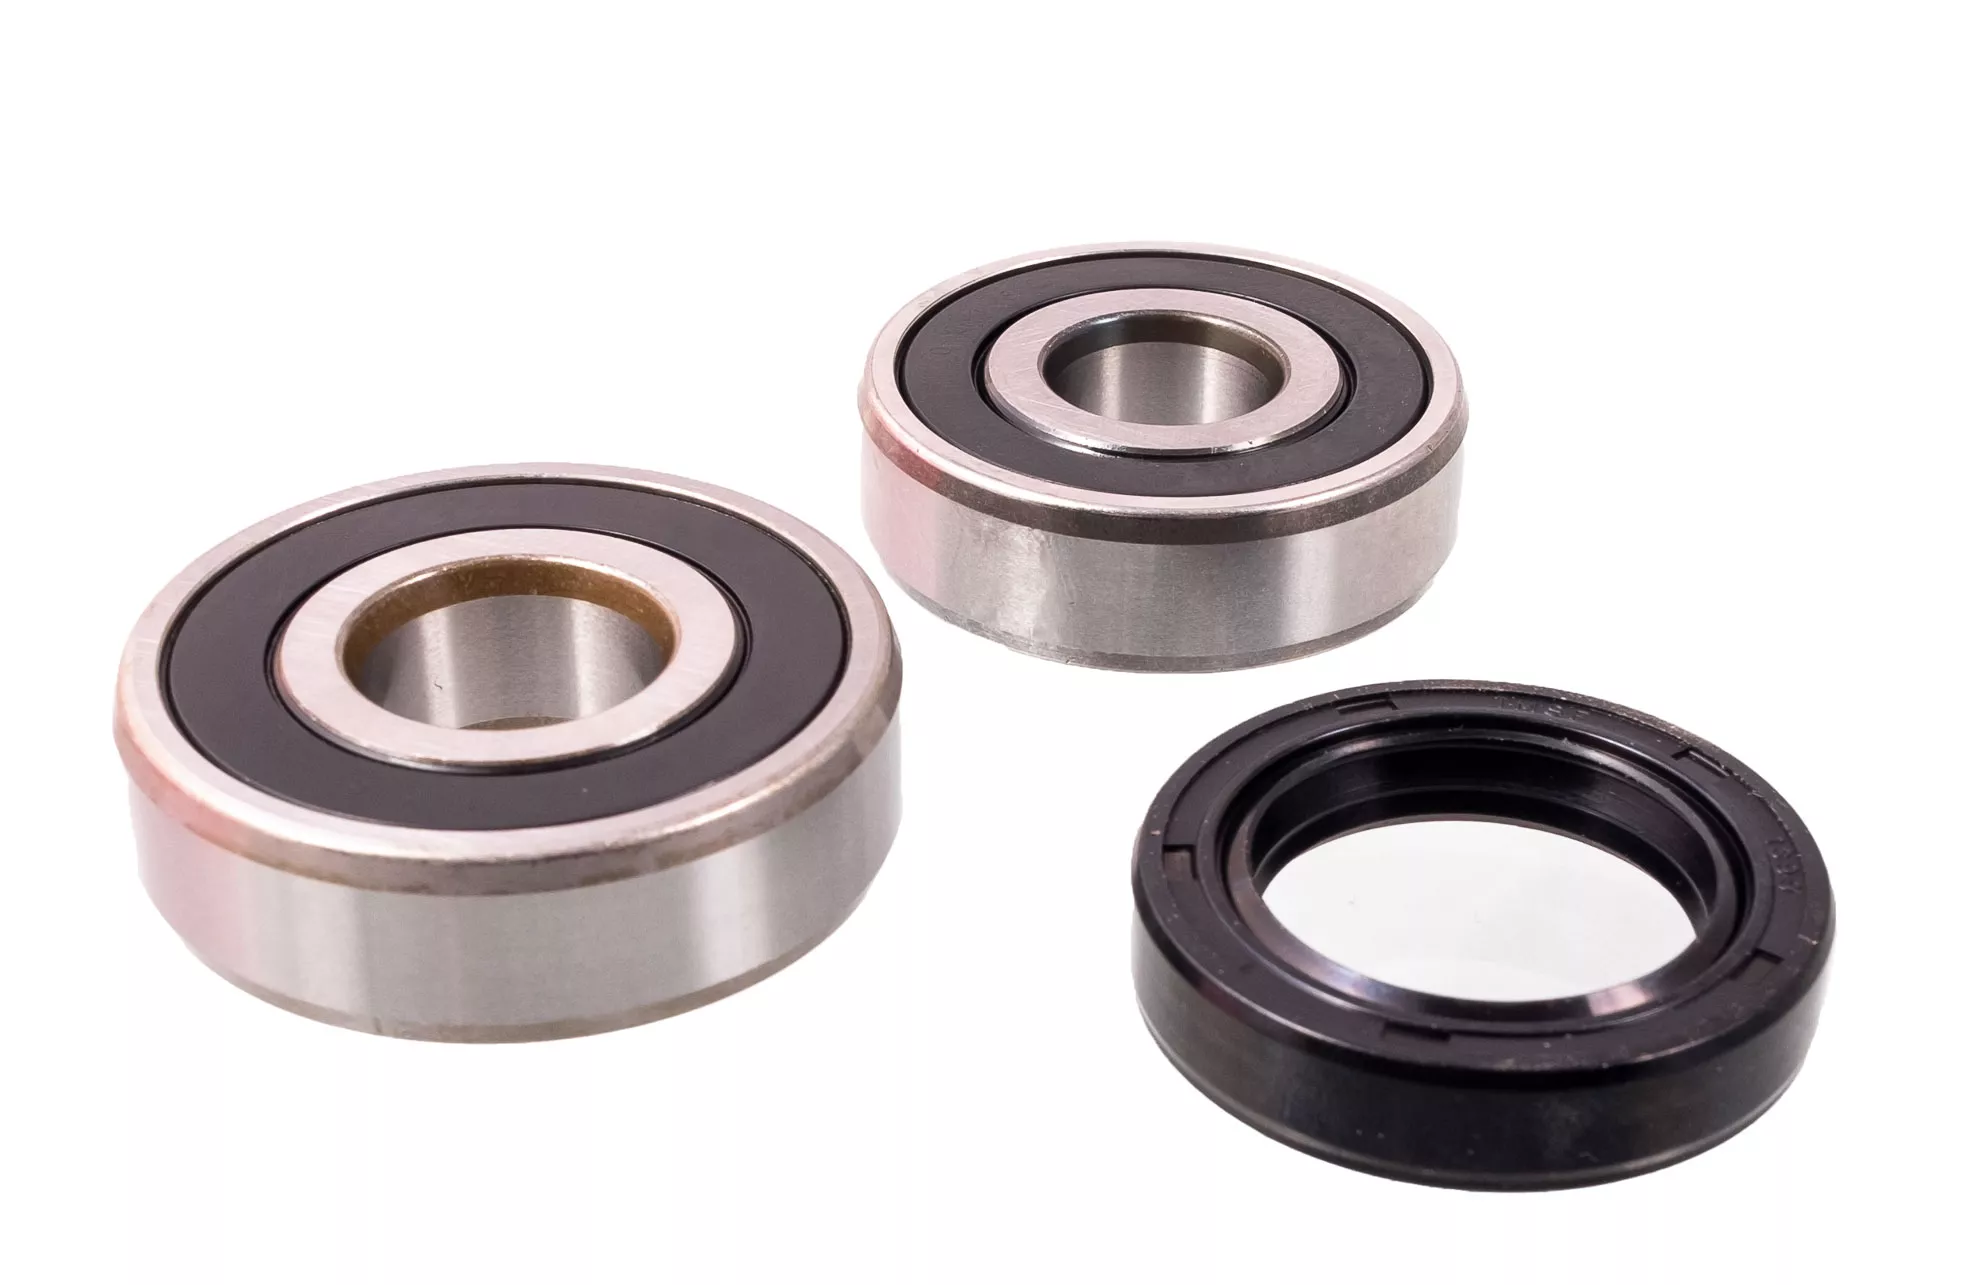
These are sealed bearings, not the kind you repack — once they are dry or contaminated, fresh ones are the fix. Our kit pairs the large drive-side bearing with the smaller brake-side bearing and includes the dust seal, with ample grease packing in both.
What’s in the Kit
- Drive side (large) rear wheel bearing
- Brake side (small) rear wheel bearing
- Dust seal
Specifications
| Spec | Detail |
|---|---|
| Fits Models | CB350 K0–K5 (1968–1973), CL350 K0–K5 (1968–1973), SL350 K0 (1969–1970), CB360G (1974), CB360T (1975–1976), CL360 K0–K1 (1974–1975), CJ360T (1976–1977) |
| Sold As | Kit (drive-side bearing, brake-side bearing, dust seal) |
SL350 owners: This kit fits the SL350 K0 (1969–1970). The SL350 K1 and K2 (1971–1973) use a different, smaller rear drum and are not covered here.
Note: The bearing retainer itself is not part of this kit. If yours gets chewed up on the way out, grab a replacement retainer (also available as an add-on above).
Installation
Difficulty: Intermediate
- The factory bearing retainer is staked into the hub. Drill the peen marks ever so slightly with a sharp 1/8″ drill bit — just past the surface, no deeper — then soak the retainer in penetrating oil.
- Heat the hub with a heat gun to expand the aluminum, then back the retainer out with the retainer tool. Heat is what gets retainers and bearings out without a fight.
- Drive the old bearings out with a long punch or drift worked at an angle on the inner edge — carefully, so you do not damage the hub. A hot hub will often give them up with light taps.
- Toss the new bearings in the freezer for a few hours before the job. Install the bearing on the retainer side first — that side of the hub has a seat lip that sets the depth — and account for every spacer that came out. On the 360 rear hub, one of the spacers rides on the bearing’s inner race, so note where each one goes.
- Drive the new bearings in with a large socket or tube just smaller than the bearing’s outer race. Do not press on the inner race or the dust covers — that damages the bearing.
- Reinstall the retainer with anti-seize on the threads — it should go mostly by hand once the threads are clean — then stake it in a few places with a center punch so it cannot back out.
Related products
-
- Sale!
- hot sale
eDragonfly 2.0 Electric Assisted Handcycle
- Original price was: $1,559.40.$976.86Current price is: $976.86.
- Add to cart
-
- Sale!
- hot sale
Standard tire 12.5″ (Gen 2.0)
- Original price was: $20.00.$11.59Current price is: $11.59.
- Add to cart
-
- Sale!
- hot sale
Yadea KS5/KS5 Pro Folding Latch Buckle – Genuine OEM
- Original price was: $6.40.$4.96Current price is: $4.96.
- Add to cart
-
- Sale!
- hot sale
Cup Holder Universal Mount Kit
- Original price was: $28.80.$21.70Current price is: $21.70.
- Add to cart
-
- Sale!
- hot sale
Genuine Yadea Trooper 01/Trooper Plus Motor Controller – OEM
- Original price was: $88.00.$55.16Current price is: $55.16.
- Add to cart
-
- Sale!
- hot sale
YADEA Y80 REAR AXLE
- Original price was: $7.20.$4.10Current price is: $4.10.
- Add to cart
-
- Sale!
- hot sale
Zippie Backpack
- Original price was: $68.00.$42.63Current price is: $42.63.
- Add to cart
-
- Sale!
- hot sale
Dragonfly 2.0 – Nexus 8 Manual Handcycle
- Original price was: $1,259.40.$1,004.38Current price is: $1,004.38.
- Add to cart