Starter Solenoid (OEM-Style)
Original price was: $40.00.$31.41Current price is: $31.41.
57 in stock
Description
Electric Starter Solenoid (OEM-Style) | Honda CB175 / CB200 / CB350 / CB360 / CB450 / CB500 / CB550 / CB750
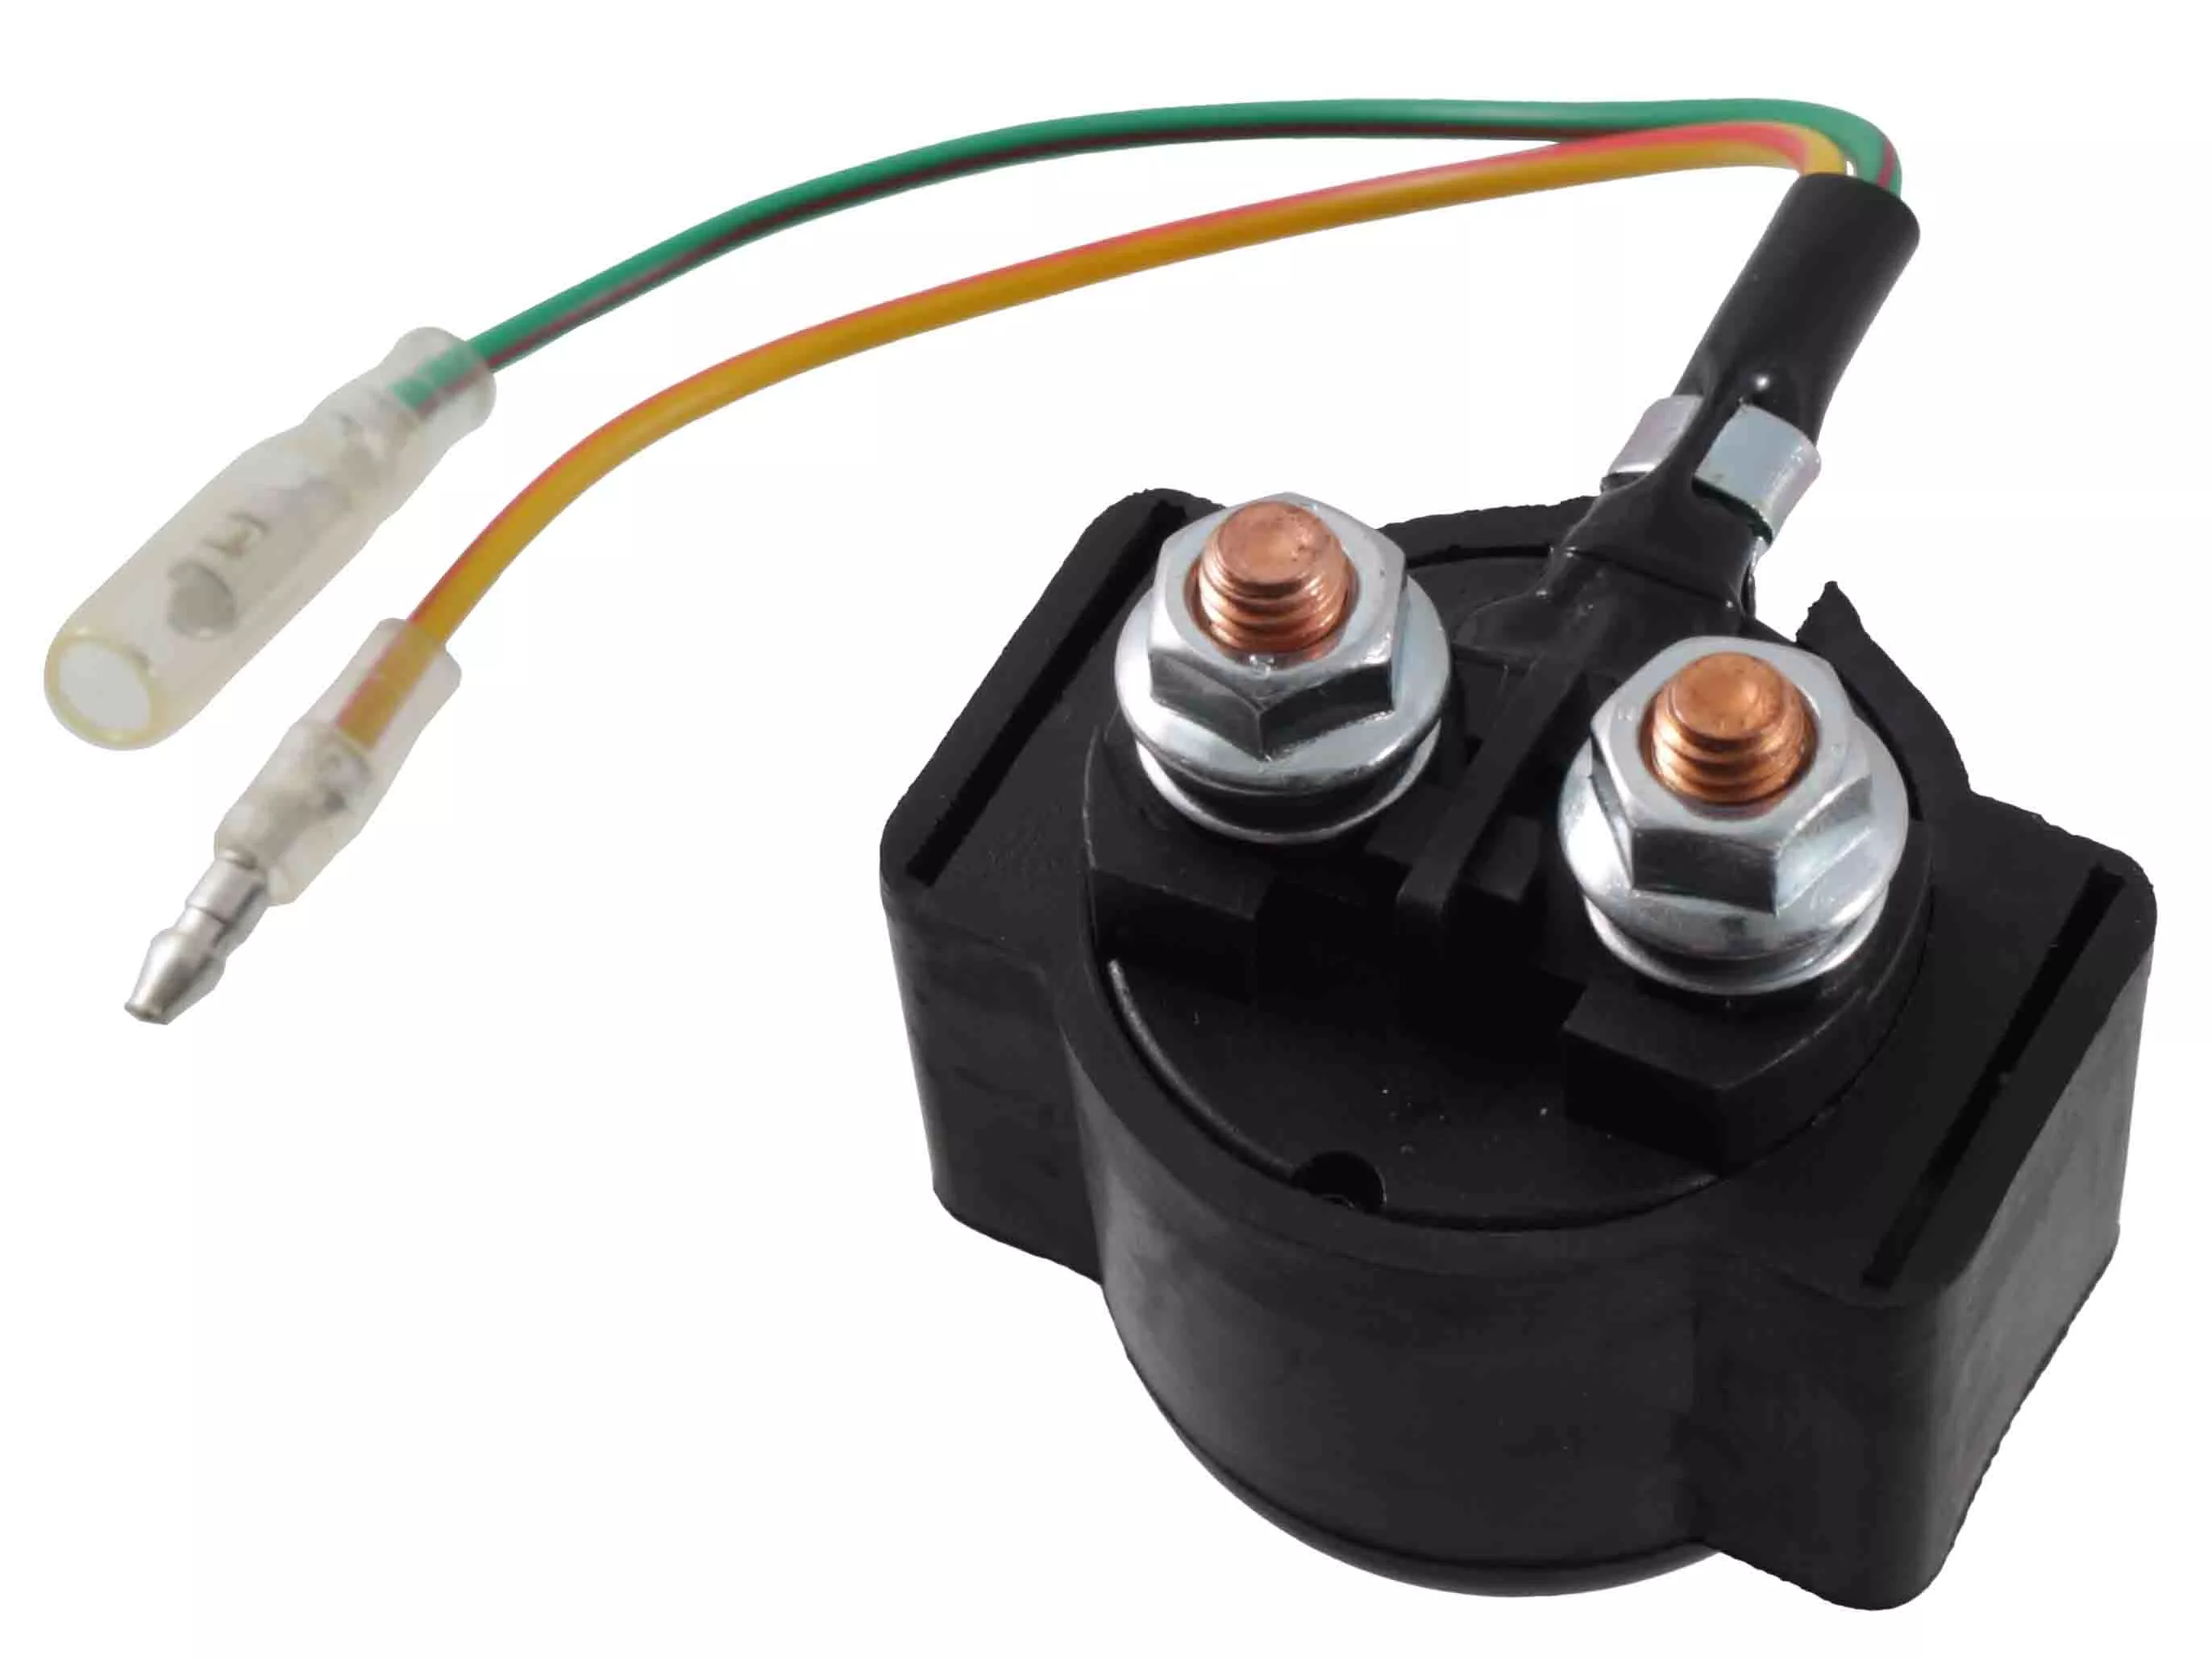
Press the starter button and hear click, click, click but the engine doesn’t crank? Most of the time that click is telling you the solenoid’s plunger is moving but the internal contacts are pitted and can’t pass the 100+ amps your starter motor needs. This is the direct-replacement solenoid for the full vintage Honda twin and four-cylinder lineup, with symmetrical terminals so it drops in the same way the factory one came out.
Why You Need This
The starter solenoid is a high-current switch. Push the starter button, a small 12V signal energizes the solenoid’s coil, the coil pulls a plunger, and the plunger bridges two big terminals that connect the battery directly to the starter motor. The factory spec calls out about 100–120 amps — enough to pit, weld, or burn through contact faces after fifty years of cycling.
When the solenoid wears out, you get one of three failure modes: it clicks but doesn’t pass current (dead contacts), it passes current intermittently and the starter cranks then stops (carbon arcing), or the contacts weld closed and the starter runs whenever the battery is connected (stuck solenoid — a real thing, and it drains your battery overnight). All three modes need the solenoid replaced.
This is the OEM-style drop-in. Same footprint as the factory unit, same terminal layout. It’s the right part for a factory-harness bike. If you’re running custom wiring and want an integrated 30A fused power tap for accessories, see our Universal Starter Solenoid instead.
Specifications
| Spec | Detail |
|---|---|
| Replaces OEM Part Numbers | 35850-375-000, 35856-413-010, 35856-413-000, 5856-286-010, 35856-KR3-670, 94111-06000, 94002-06000-0S, 94002-06000 |
| Fits Models | CB175 / CL175 (1968–1973), CB200 / CL200 (1973–1976), CB350 / CL350 (1968–1973), SL350 K0 (1969–1970), CB360 / CL360 (1974–1976), CB450 / CL450 (1965–1974), CB500T (1975–1976), CB500K (1971–1973), CB550K / CB550F (1974–1978), CB750 (1969–1978) |
| Current Rating | Passes ~100–120 A from battery to starter motor (Honda factory spec) |
| Terminal Layout | Symmetrical — large and small wires connect in either orientation |
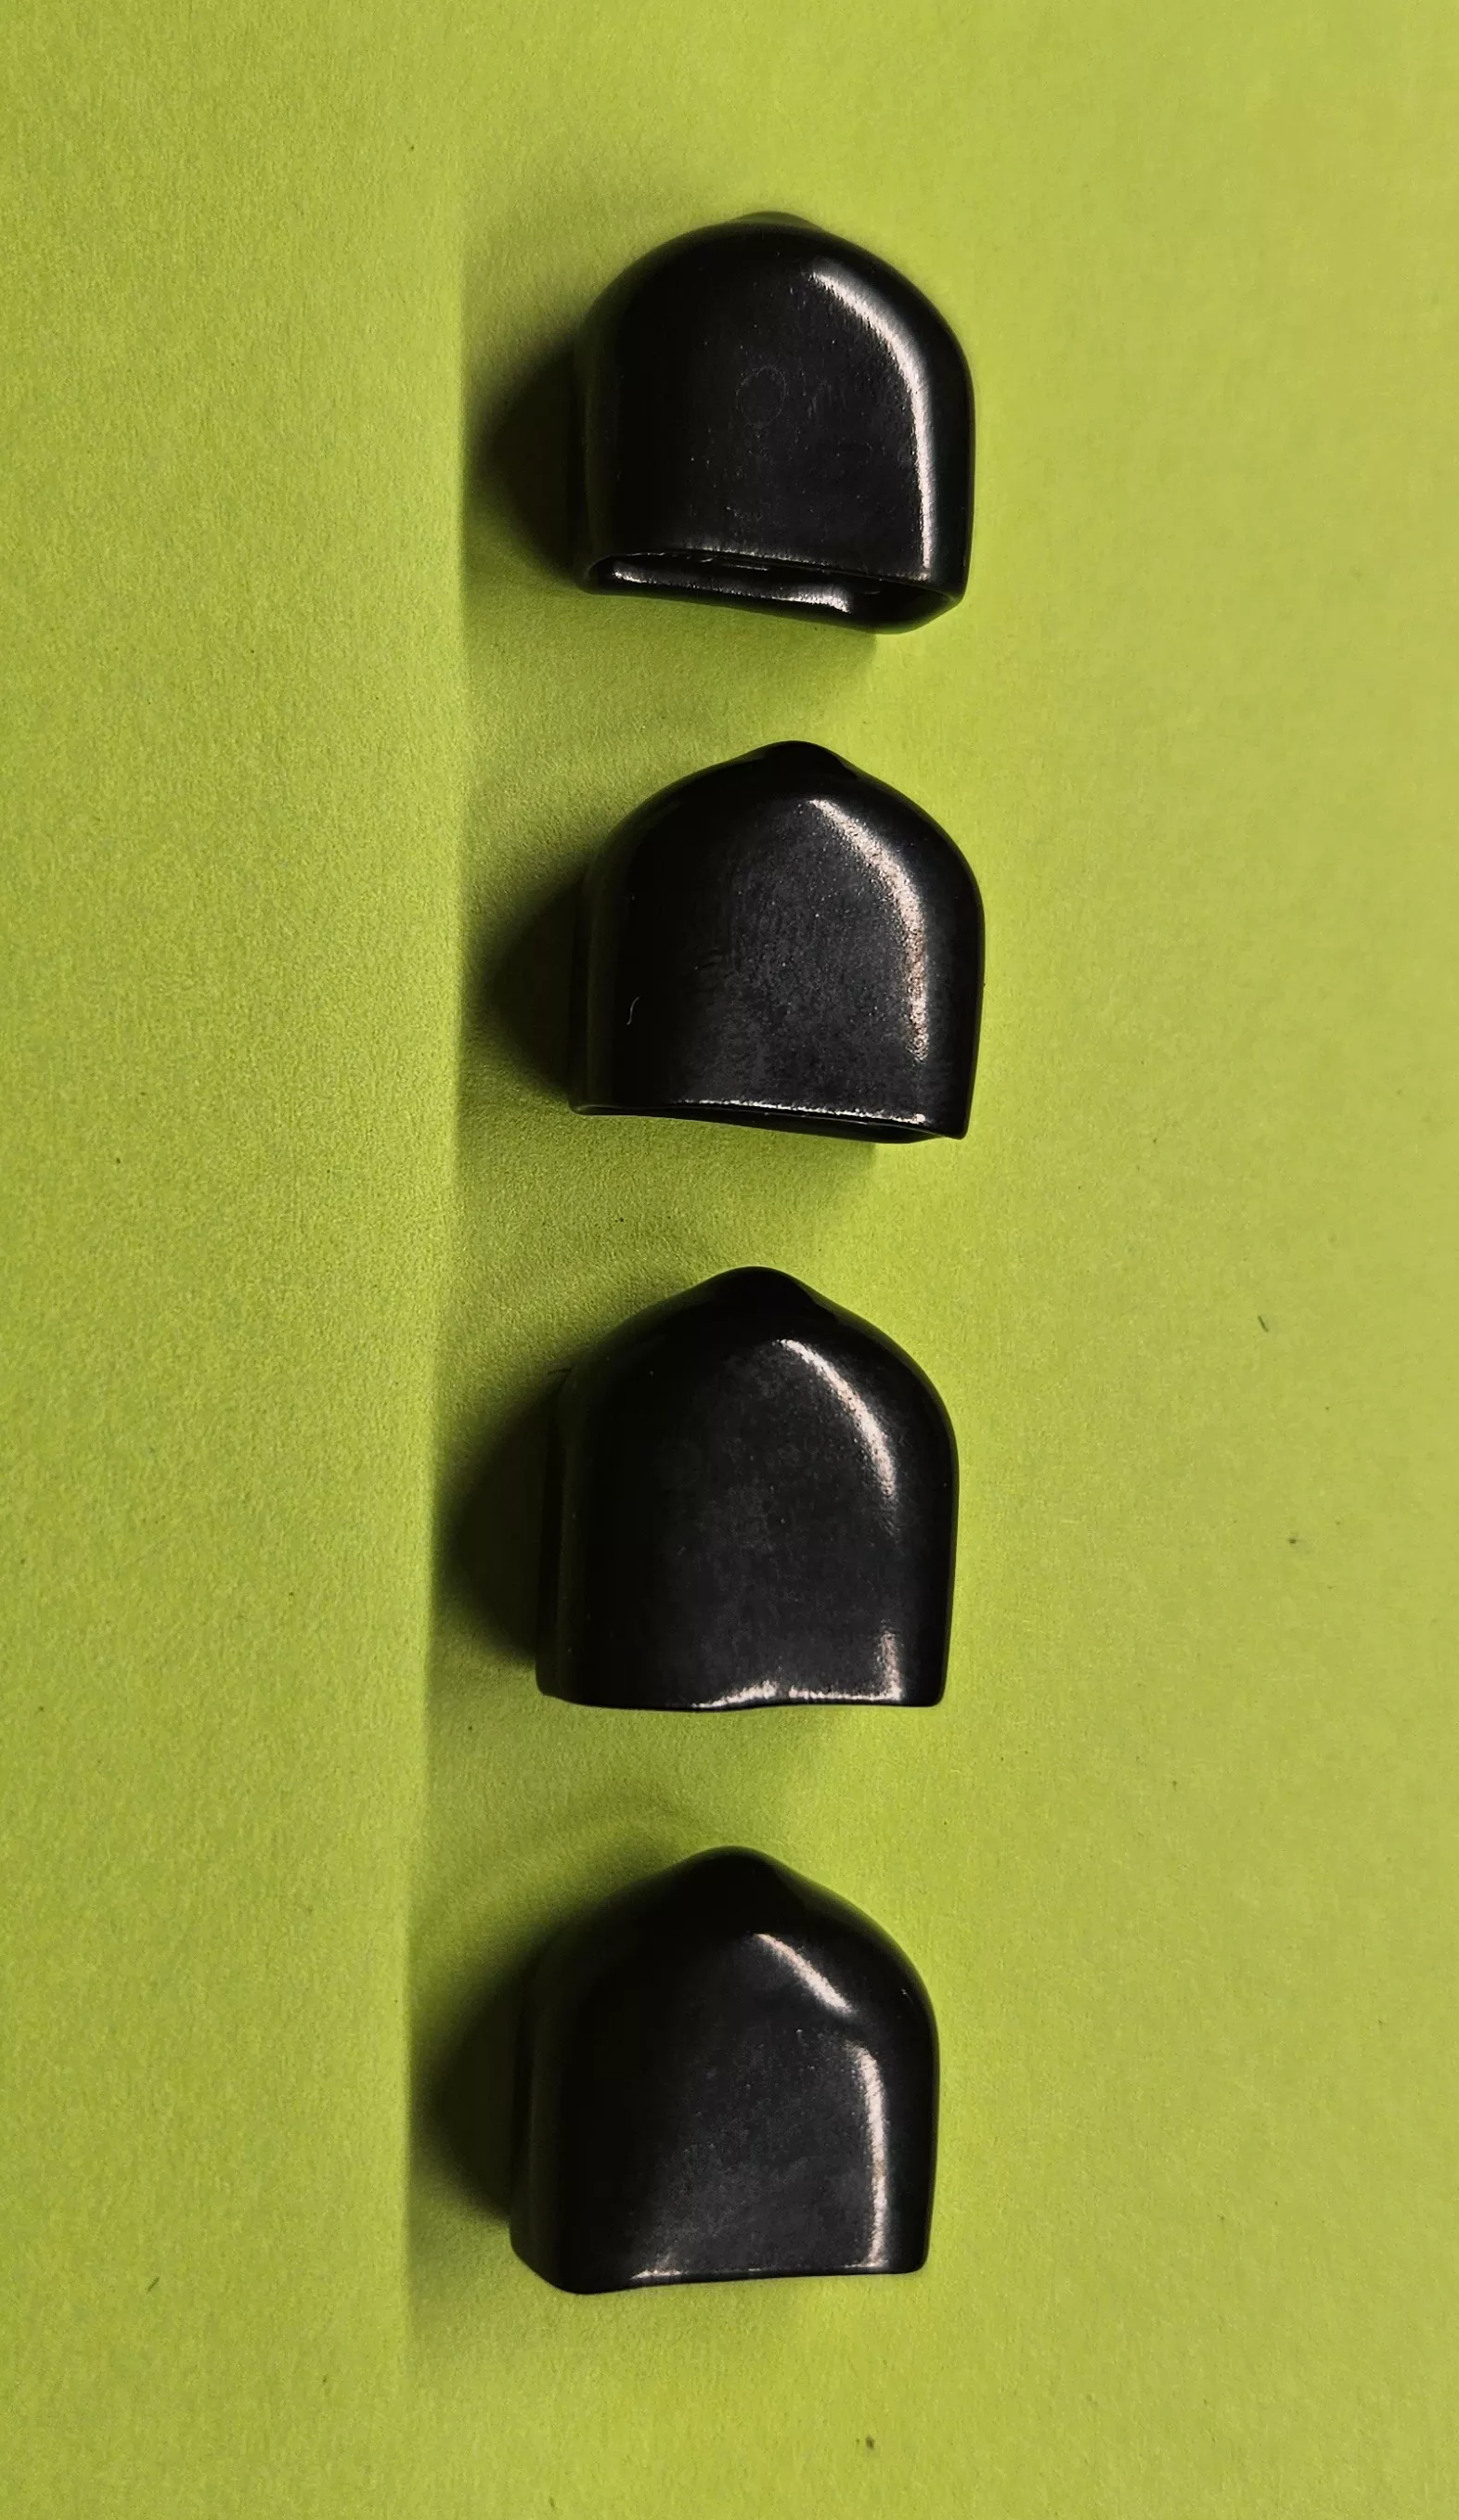
| Kit Contents | 1 solenoid + 2 insulating boots (vertical + horizontal mount) |
| Sold As | Each |
Before you swap the solenoid, test the button. We’ve seen more bikes come in with a dirty starter button or a bad internal spring than with a genuinely dead solenoid. If pressing the button does nothing — no click at all — the button itself is the usual culprit. Our Starter / Horn Button and Spring Kit rebuilds the handlebar switch when that’s the real problem.
Symmetrical terminals. The two large posts and the two small terminals on this solenoid are interchangeable left-to-right — both pairs work the same in either orientation. You can’t install it backwards as long as you put the large cables on the large posts and the small trigger wires on the small terminals.
Model-Specific Notes
- CB450 K0 Black Bomber (1965–1967): The K0 has different upstream wiring from later CB450 variants. The solenoid itself is the same physical unit, but double-check your wire colors against the factory wiring diagram before connecting — K0 black-striped wires don’t always map to K1+ colors.
- CB550 K0–K1 (1974–1975) and CB750 K3–K5 (1973–1975): These bikes use a unique “starter motor safety unit” (a gray box in the wiring diagram) instead of the simple diode found on other late-style bikes. The solenoid fits and functions the same; only the upstream safety circuit is different. If your safety unit has failed, our KB article on the post-1974 starter circuit walks through converting to the diode-style setup.
- Pre-1973 bikes (CB175 / CL175 / CB350 / CL350 / SL350 K0 / CB450 / CL450 / CB500K through 1973 / CB750 K0–K2): solenoid trigger is on the ground side. Pressing the starter button grounds the yellow-with-red-stripe wire, which energizes the coil against a constant +12V on the solid black wire.
- 1974–1975 (early safety): CB360 K0–K1, CB750 K3–K4. Safety switches (clutch + neutral) added in series with the ground trigger. Same activation principle as pre-1973, just more things that have to agree before the coil energizes.
- 1976+ (late safety): CB360T, CB550 1976+, CB550F, CB750 K6+, CB500T. Trigger polarity flipped — the starter button now switches +12V, not ground. If you press the starter and the headlight goes off, you have a late-style system.
Installation
Difficulty: Beginner — about 15 minutes once you find it.
Tools needed: 8 mm and 10 mm sockets or combination wrenches (battery terminals and solenoid nuts vary by year), small flathead screwdriver, electrical contact cleaner.
- Disconnect the battery. Negative terminal first, then positive. This is not optional — one slip of a wrench on a live solenoid terminal will weld your socket to the frame.
- Find the old solenoid. On the CB350 family it sits right behind the battery, tucked under the seat. On CB450/CB550/CB750 it’s on the battery tray or wall of the battery box. On CB175/CB200 it’s in the same general area but smaller.
- Take pictures. Before you unhook anything, photograph the wire colors and which terminal each wire connects to. Honda changed connector genders and wire colors over production years, so your “new” wiring may need to reference your old layout.
- Unbolt the two large cables. One goes straight to the battery positive, the other runs down to the starter motor.
- Unplug the two small trigger wires. These are the 12V coil inputs from the starter button circuit.
- Remove the solenoid from its mounting bracket.
- Mount the new solenoid. The new solenoid ships with a fresh mounting boot, but the original can be reused if it is a better fit for your model.
- Reconnect the wires. Large cables on large posts, small trigger wires on small terminals. Terminals are symmetrical — either orientation works.
- Reconnect the battery. Positive first, then negative.
- Test. Turn the key on, pull the clutch, press the starter. A single clean click followed by the starter cranking = success.
Bench test before swap (optional but smart). If you’re not sure the old solenoid is actually bad, disconnect its two small trigger wires and run a jumper directly from the battery positive to one small terminal and battery negative to the other (either orientation). If you hear a crisp click, the coil side works. If you hear nothing, the coil is dead. If you hear click but the main terminals don’t pass 12V when bridged (check with a meter), the main contacts are shot. That’s three tests in under a minute.
Related products
-
- Sale!
- hot sale
Zippie Backpack
- Original price was: $68.00.$42.63Current price is: $42.63.
- Add to cart
-
- Sale!
- hot sale
Chair clamp shim set
- Original price was: $9.60.$5.71Current price is: $5.71.
- Add to cart
-
- Sale!
- hot sale
Inner tube for 12.5″ tire (Gen 2.0)
- Original price was: $12.00.$6.78Current price is: $6.78.
- Add to cart
-
- Sale!
- hot sale
YADEA COCOA REAR WHEEL ASSEMBLY
- Original price was: $199.20.$102.45Current price is: $102.45.
- Add to cart
-
- Sale!
- hot sale
YADEA Y80 REAR AXLE
- Original price was: $7.20.$4.10Current price is: $4.10.
- Add to cart
-
- Sale!
- hot sale
Coupler plate -QR attachment mechanism (sold per side)
- Original price was: $59.96.$39.98Current price is: $39.98.
- Add to cart
-
- Sale!
- hot sale
Standard tire 12.5″ (Gen 2.0)
- Original price was: $20.00.$11.59Current price is: $11.59.
- Add to cart
-
- Sale!
- hot sale
Disc brake pads (Bengal – Gen 2.0)
- Original price was: $15.16.$11.29Current price is: $11.29.
- Add to cart